DIY Makeover: Bedroom Sliding Closet Doors
Tired of drab, boring bedroom closet doors that you look at every single day? Now is the time to take action and make a simple improvement!
What to do with my 1960s triple sliding closet doors? Hmm. A home improvement DIY idea for an bedroom closet door makeover. Simple, easy design for closet doors using trim and paint!

The quality of the doors back in the day were really good. The hollow doors have some weight to them which means real wood construction for the framework.
Disclosure: If you make a purchase from some links in this post, I may earn a referral fee at no cost to you.
Once in the woodshop, the painted doors are sanded with 100 grit and 120 grit sandpaper to smooth the surface. I love my palm sander! It is used for almost every project.
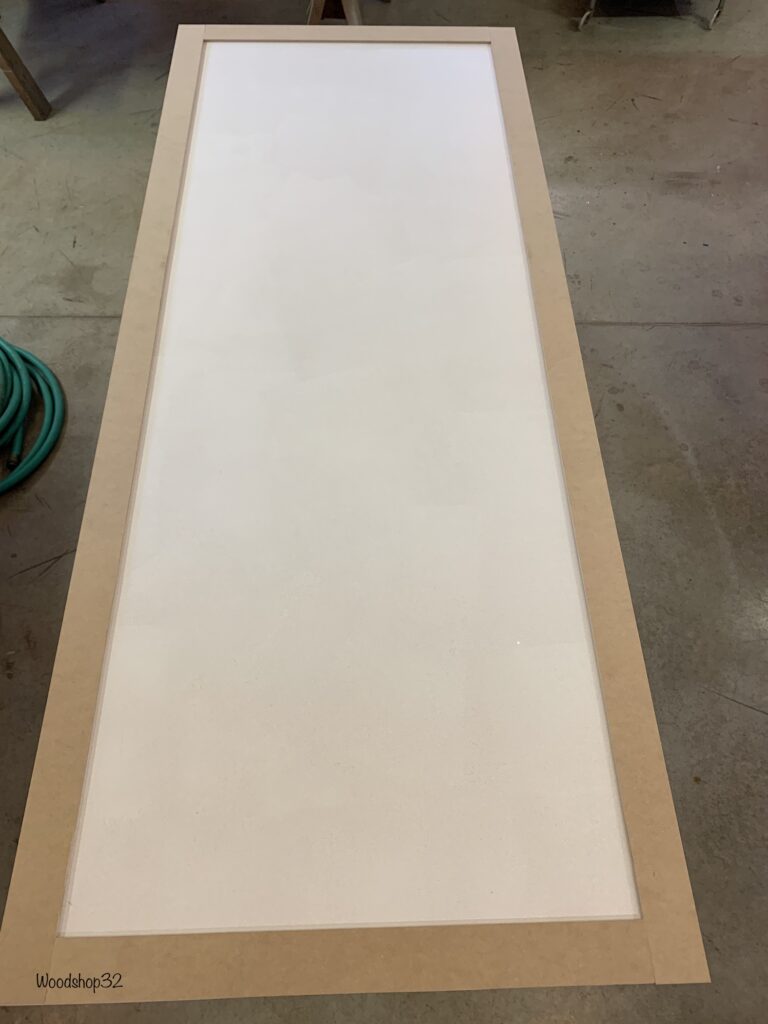
The Masonite 4×8 sheet is cut into three inch trim strips and butt joined. The trim strips are glued and secured in place with pneumatic brad nail gun. The nail holes are filled with spackle and re-sanded. (I should have used automotive Bondo to fill in the holes instead for better results because spackle shrinks when drying.)
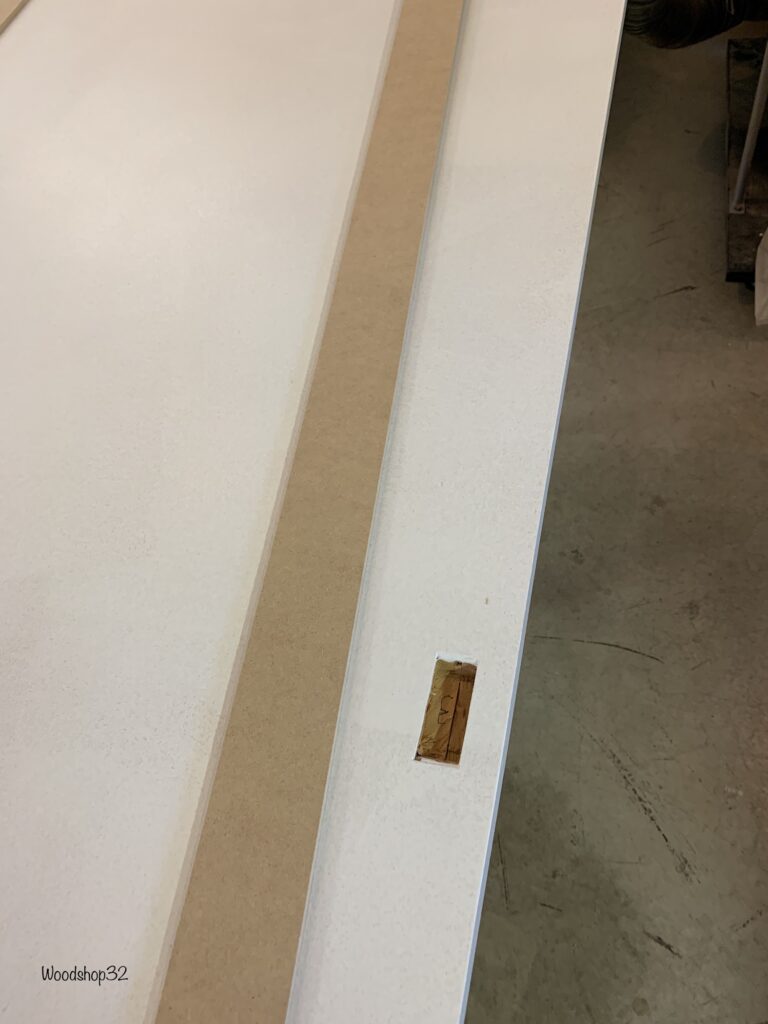
The trim will now cover up the existing pocket handle opening.
Follow Woodshop32.com on Pinterest!
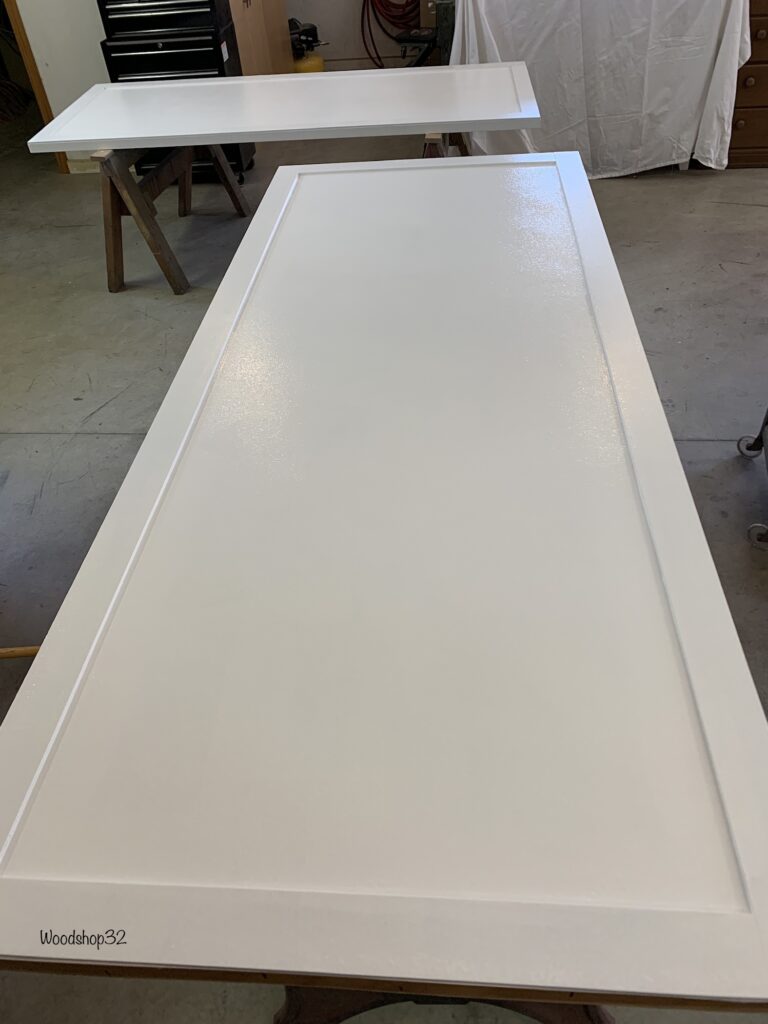
The Masonite trim was great for painting and it will match the smooth surface of the bedroom doors. The doors are primed and painted a simple white color. In between paint coats, I sanded with 150 grit for a smoother finish. My DIY bedroom closet door makeover is looking good so far!
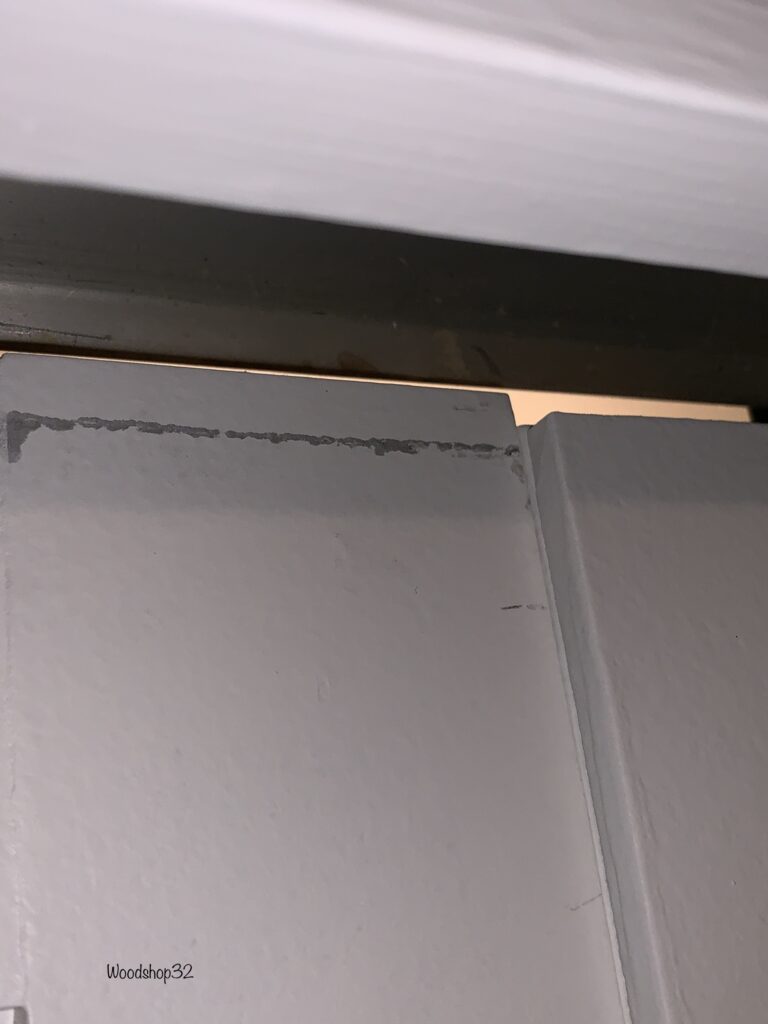
And there it is! The big oops! One simple oversight to scrape away my nice paint job. We forgot about the trim width and how that would effect the doors sliding. The roller hardware scraped the door behind it. Argh! Home improvement is always a learning tool for DIY projects.
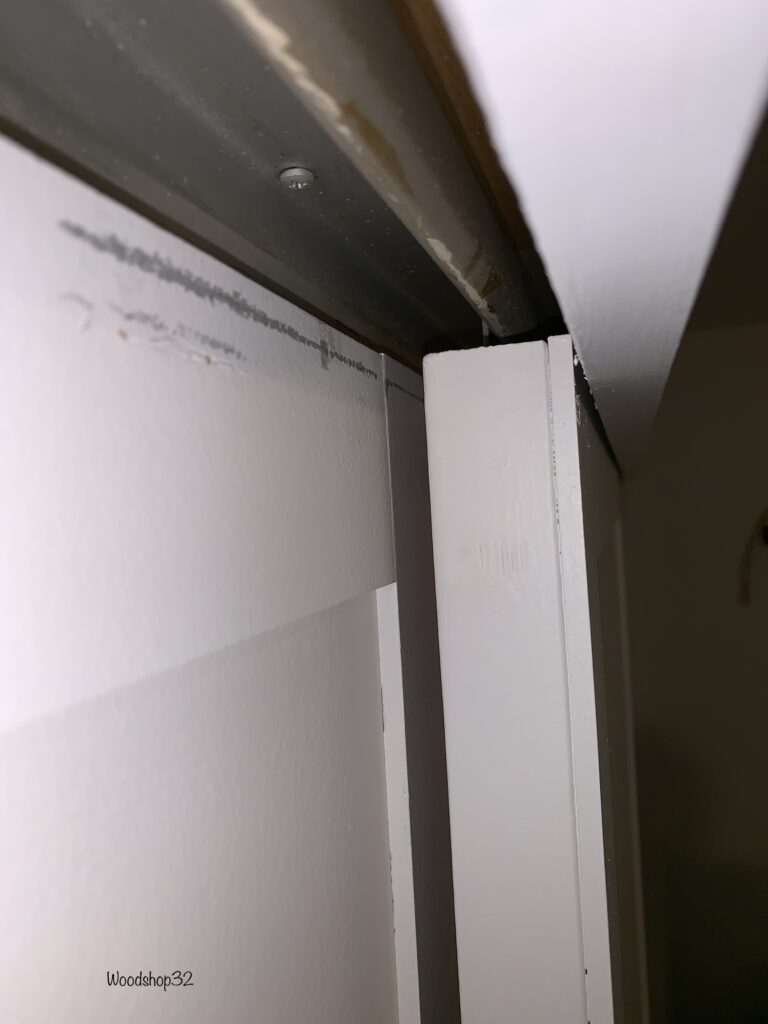
The front middle door was also scraping the inside of the closet opening trim.
Want to save this post for later? Make sure to Pin It!
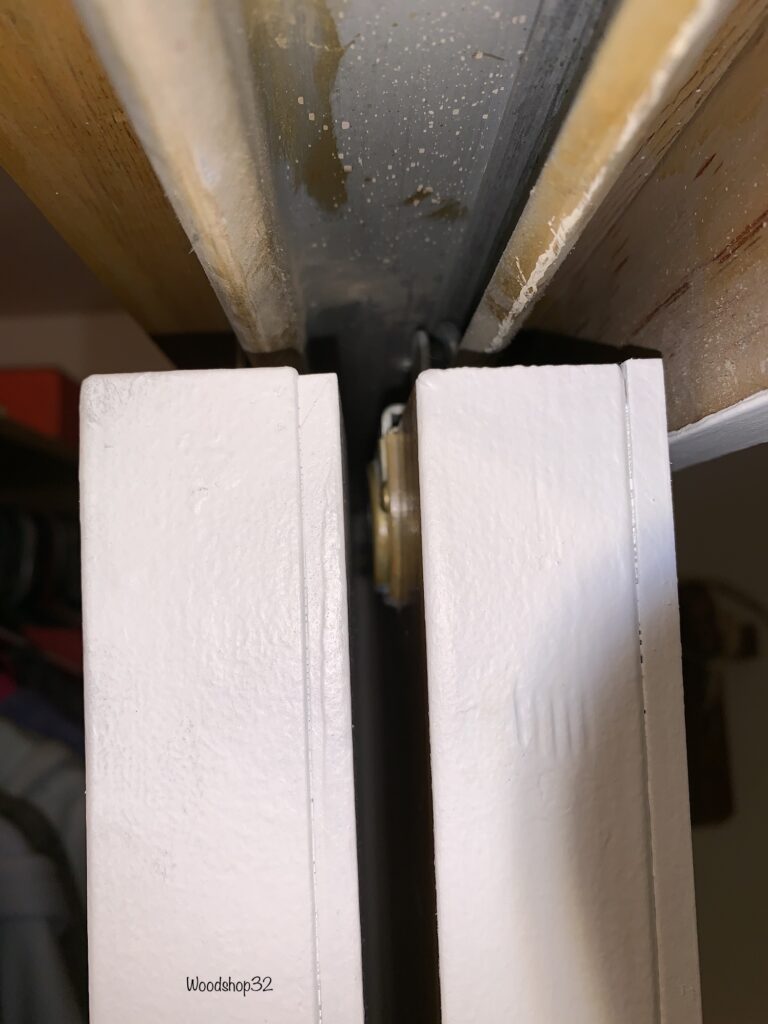
The doors are too tight, need more room.
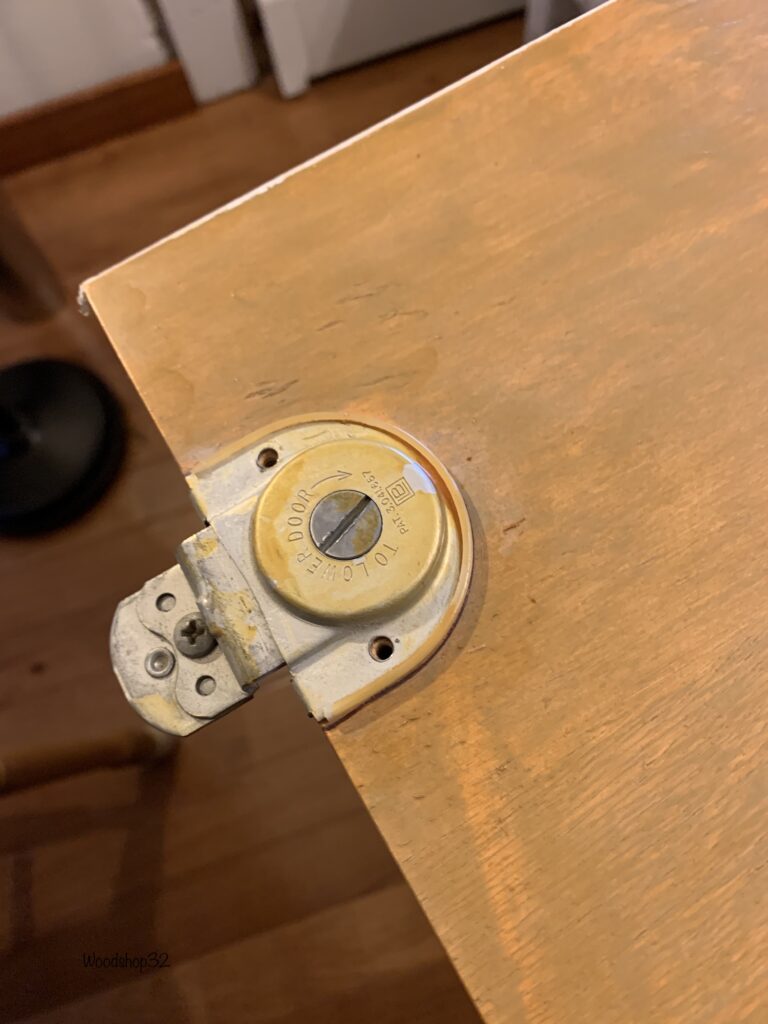
The solution was to take the middle sliding bedroom door and lay it on the kitchen table for surgery.
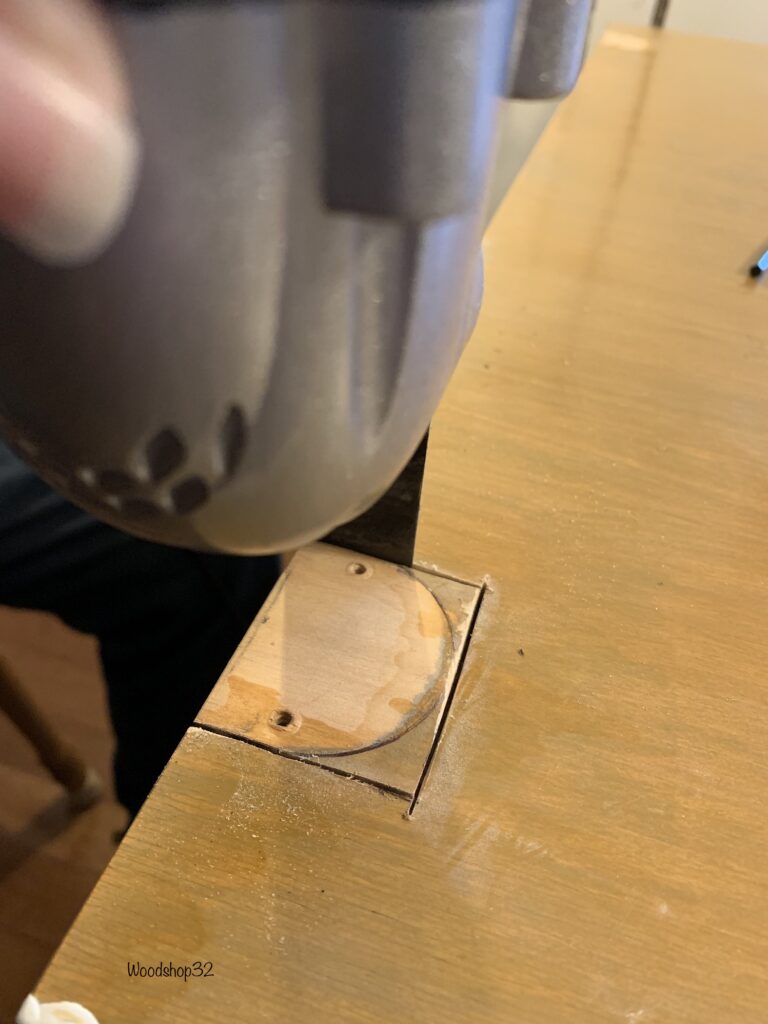
After removing the hardware, our oscillating multi-tool easily cut out the wood to increase the depth. So glad the framework was solid wood! Notice that I didn’t paint the backside? You will never see it – a definite cost savings!
Looking for more DIY Makeovers? Click on my other DIY projects: DIY Dresser Makeover, Repurposed Vanity Dresser, Motorcycle Helmet Holders, Garden Statue Shelter
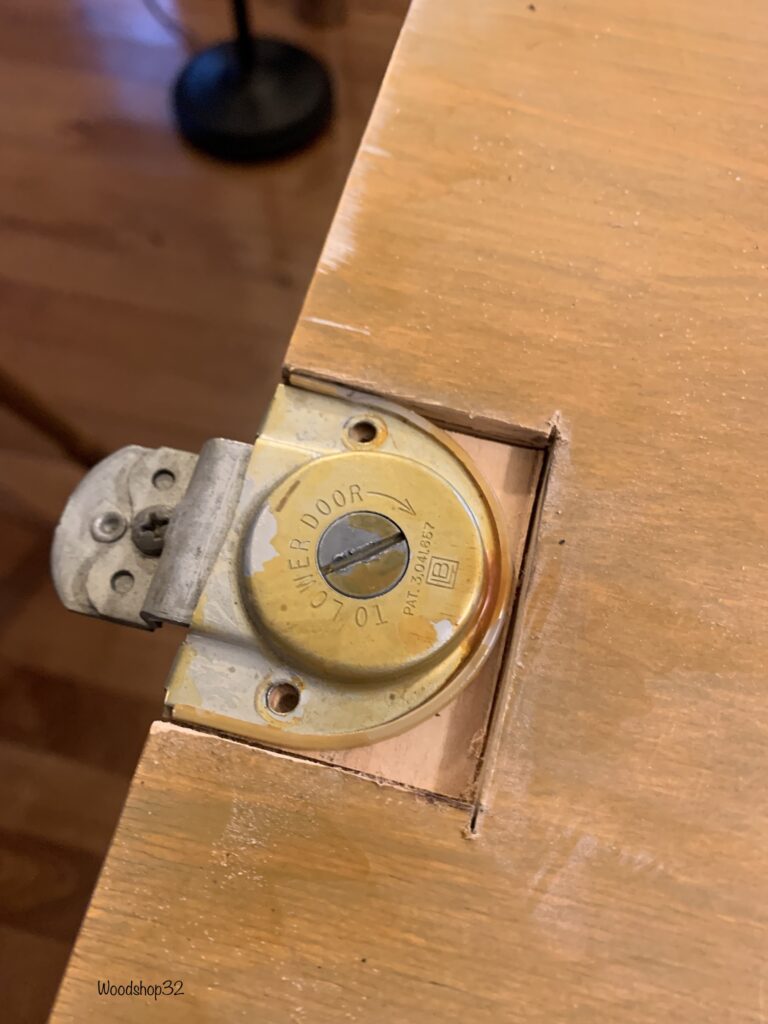
The hardware fits nice and snug in it’s new place. No more scraping doors while sliding them! Easy fix!
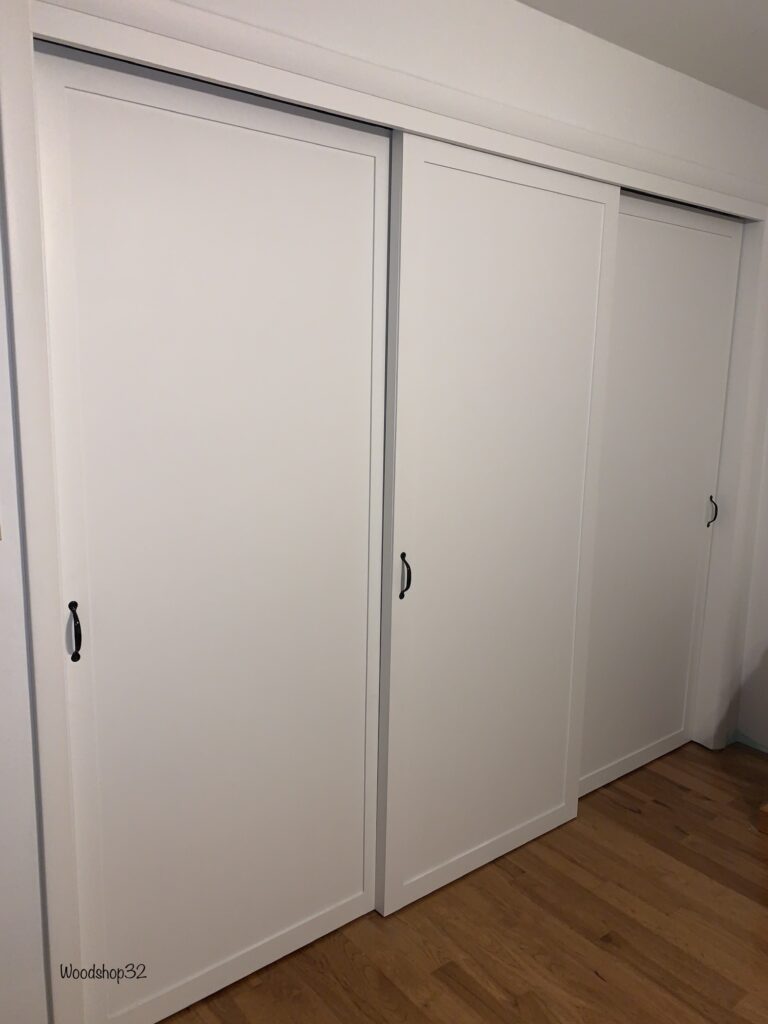
The sliding closet doors look updated and modern with a farmhouse style. The damaged area was repainted and new black handles installed.
Click on Menu Categories for More DIY Projects!
This is a simple DIY home improvement project that you can apply to your bedroom closet doors!
Thank you for visiting the Woodshop32.com blog!
I have a two sliding door closet. This will work great!
Your doors will be amazing. Thanks for visiting my blog!
Perfect!
No more boring closet doors!