Repurposed Hutch Cabinet
A hutch cabinet is a great furniture item to repurpose. Why? You can separate the hutch top from the bottom cabinet and get two pieces of furniture. Double your money if you furniture flip!
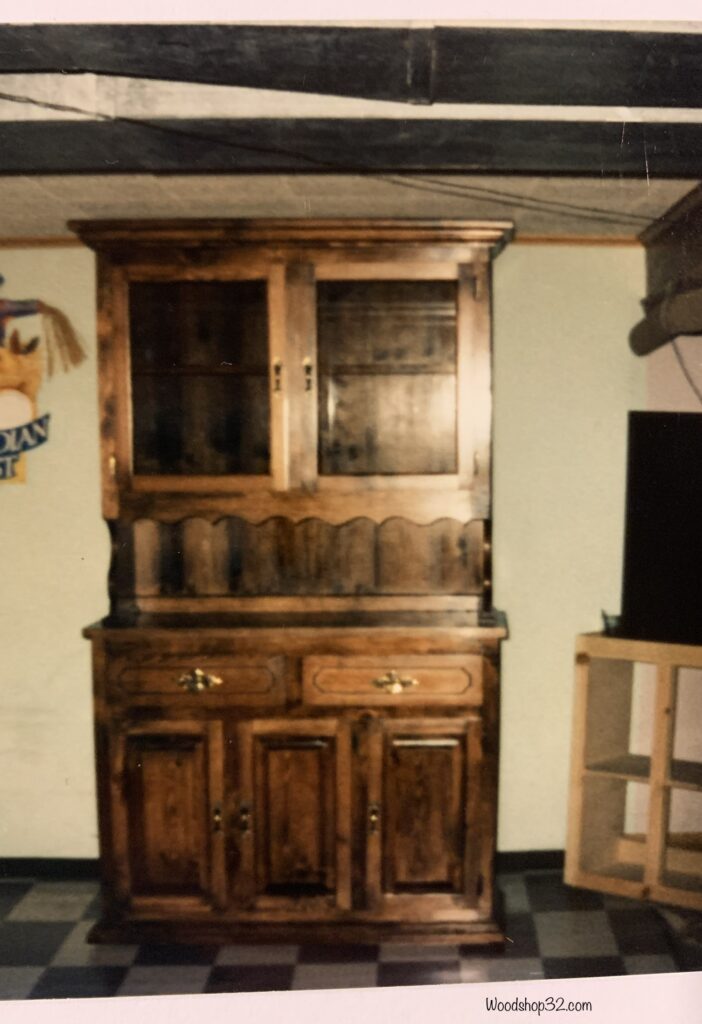
When my husband was in college, he built a heavy duty hutch (also called a china cabinet). Luckily, I found the original photo of what the hutch cabinet looked like. The vintage hutch is heavy, tall, and built extremely well!
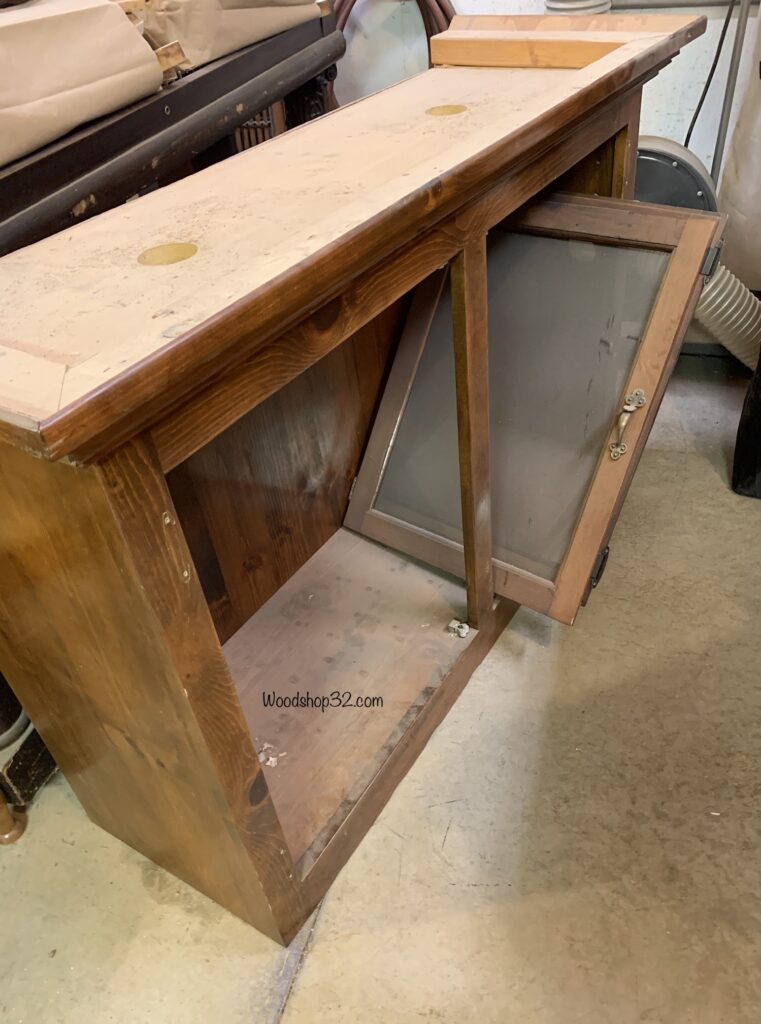
Step 1: Remove Hutch Top
The hutch glass doors are removed first. The top section is taken off the bottom cabinet. The hutch top scalloped edges are cut off to provide a straight edge to remove the outdated look. (The bottom section of the hutch cabinet will be repurposed at a later time.)
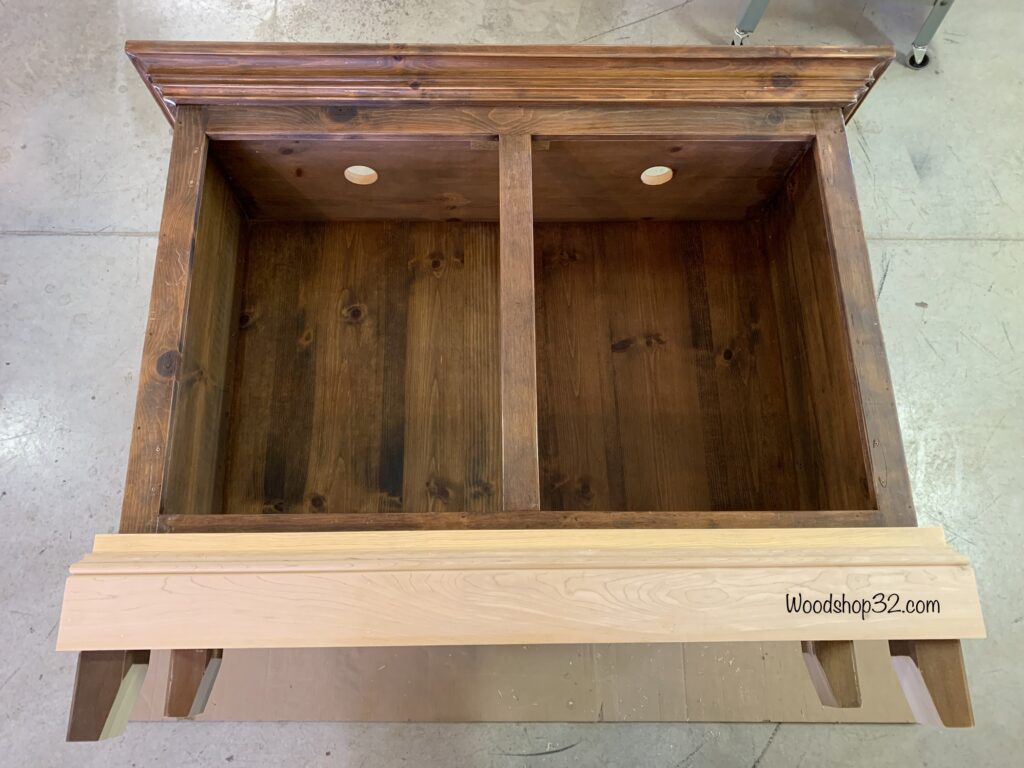
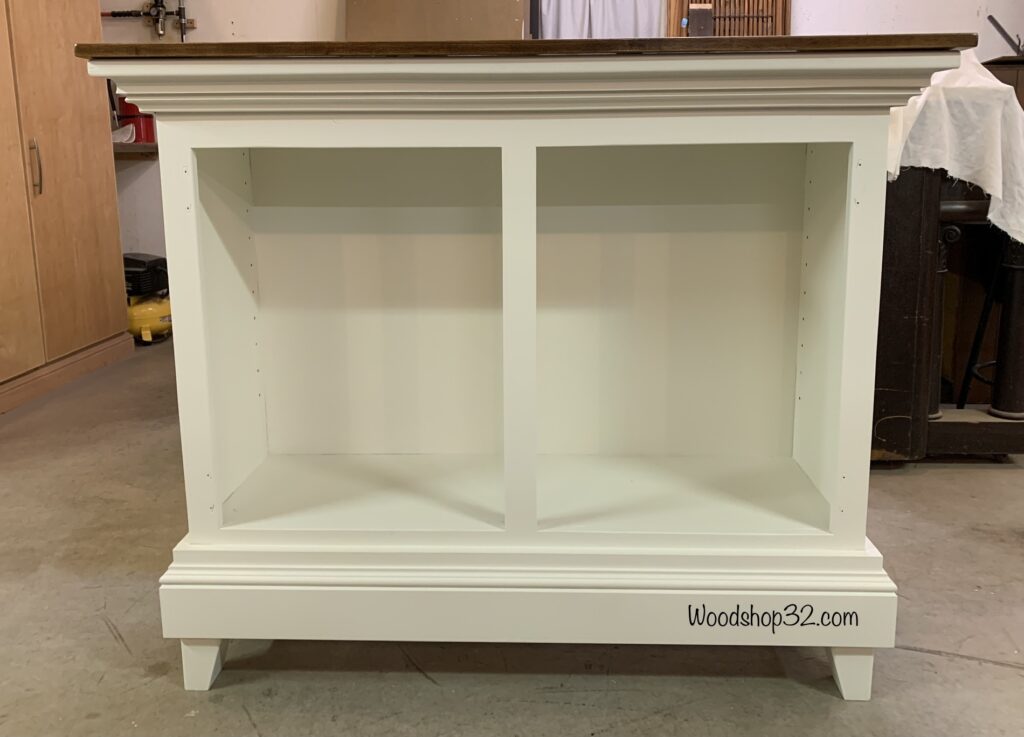
Step 2: Makeover Hutch Design
A 1×6 pine board is attached to the bottom of the hutch top cabinet but it still needed something more. I found an old piece of base molding in the woodshop and decided to layer it on top of the pine board. Voila! The china cabinet top and bottom are more symmetrical in my DIY design idea.
If you make a purchase from some links in this post, I may earn an Amazon referral fee at no cost to you.
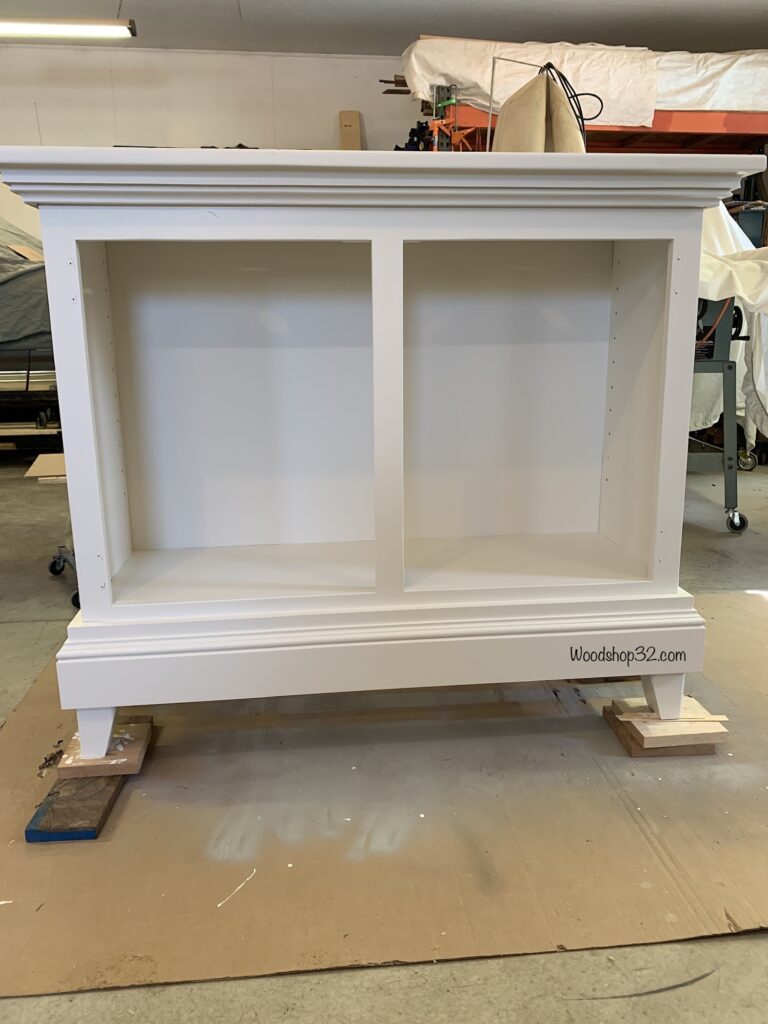
Guess what the cabinet feet are made out of? Old head board posts. It is a great way to reuse leftover wood from other projects. The new furniture feet are no extra cost! I’m loving my design so far!
I also primed and painted the original hinges the same color so they would match the hutch cabinet.
Follow Woodshop32.com on Pinterest!
Step 3: Sand and Paint Hutch Cabinet
Using my Dewalt palm sander, the hutch is sanded with 100 grit sandpaper to remove the original lacquer layer. Final sanding with 120 grit. Hand sanding is done in the decorative areas. Before painting, the sanding dust is wiped off with a damp cloth.
The whole cabinet is painted with two coats Zinsser primer to cover the dark stain color. I let the primer dry for 24 hours. My hutch makeover is painted white for a farmhouse design. I chose a satin antique white color for a modern farmhouse style.
My DIY hutch makeover idea is amazing! So glad I painted the hutch cabinet! It is a huge improvement over that dark wood stain color.
Step 4: Build Hutch Cabinet Wood Top
Scrap hickory 1×6 wood boards are used to create a top for the cabinet. Lucky, I just had enough to make top. Another cost savings! The hickory boards are glued and pipe clamped together for 24 hours to allow the glue to dry.
Using the table saw, the new hickory top is cut to size with a half inch overhang on the front and sides of the cabinet only The top back is flush with the cabinet back.
Want to save this post for later? Make sure to Pin It! Disclosure:
Step 5: Sand, Stain, & Seal Hutch Cabinet Wood Top
The hickory top is ran through the drum sander multiple times using 120 grit and 150 grit sanding strips for a smooth finish. The wood top is stained and lacquered for surface protection.
My DIY hutch top makeover is now a display cabinet. Love it!
My hubby attached wood blocking to the underside of the hickory top. The blocking is the same height as the crown molding. The hickory top is set in place and screwed on from inside the cabinet into the wood blocking. No wood screws showing. Great idea honey!
Looking for more DIY Makeovers? Click on my other DIY projects: Hutch Makeover, Fireplace Wine Rack, Vintage Display Cabinet
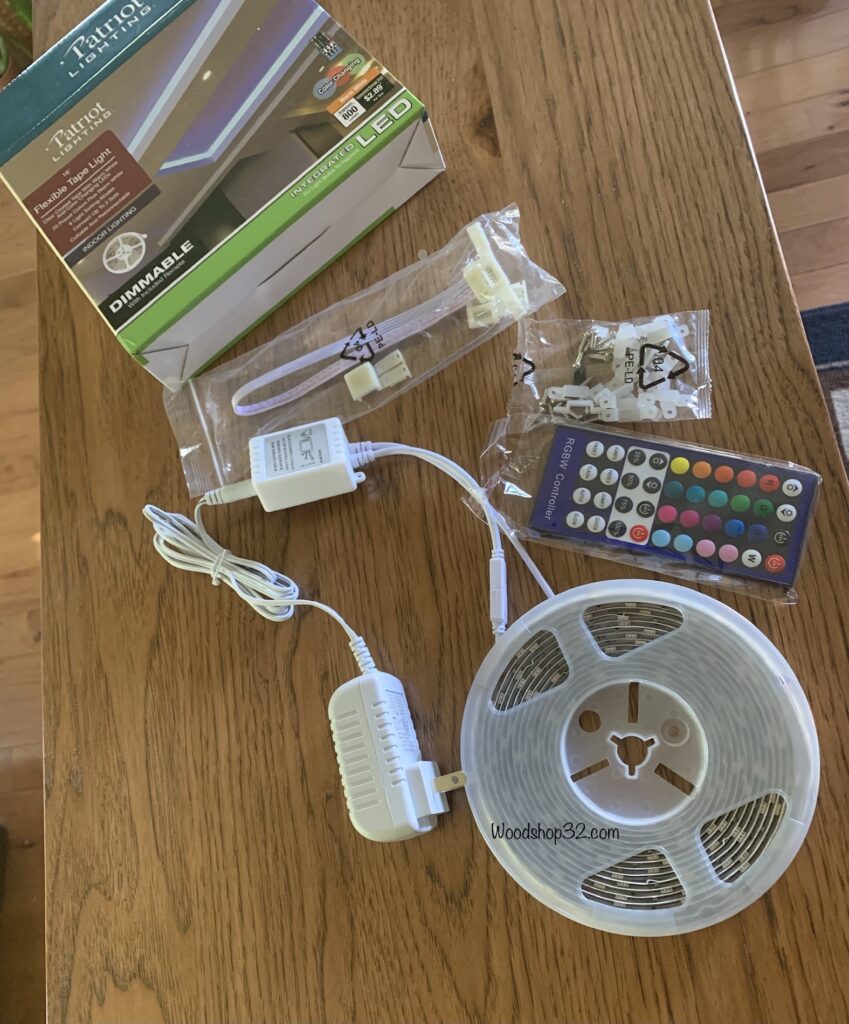
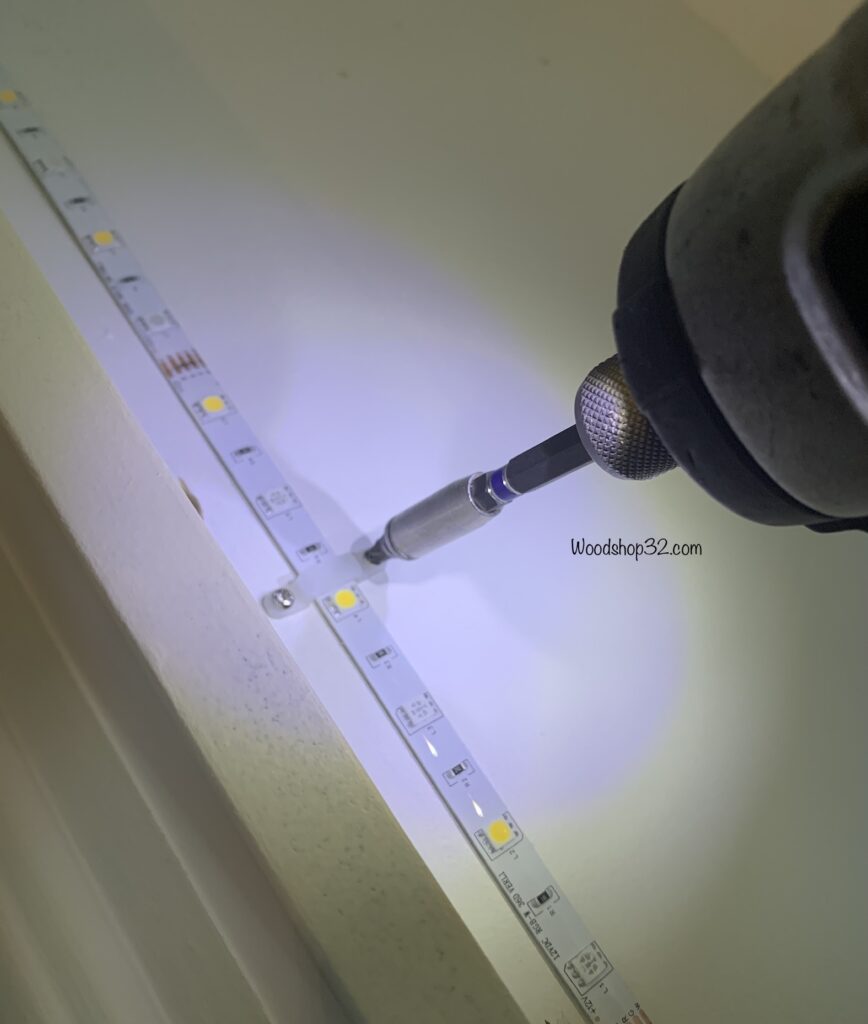
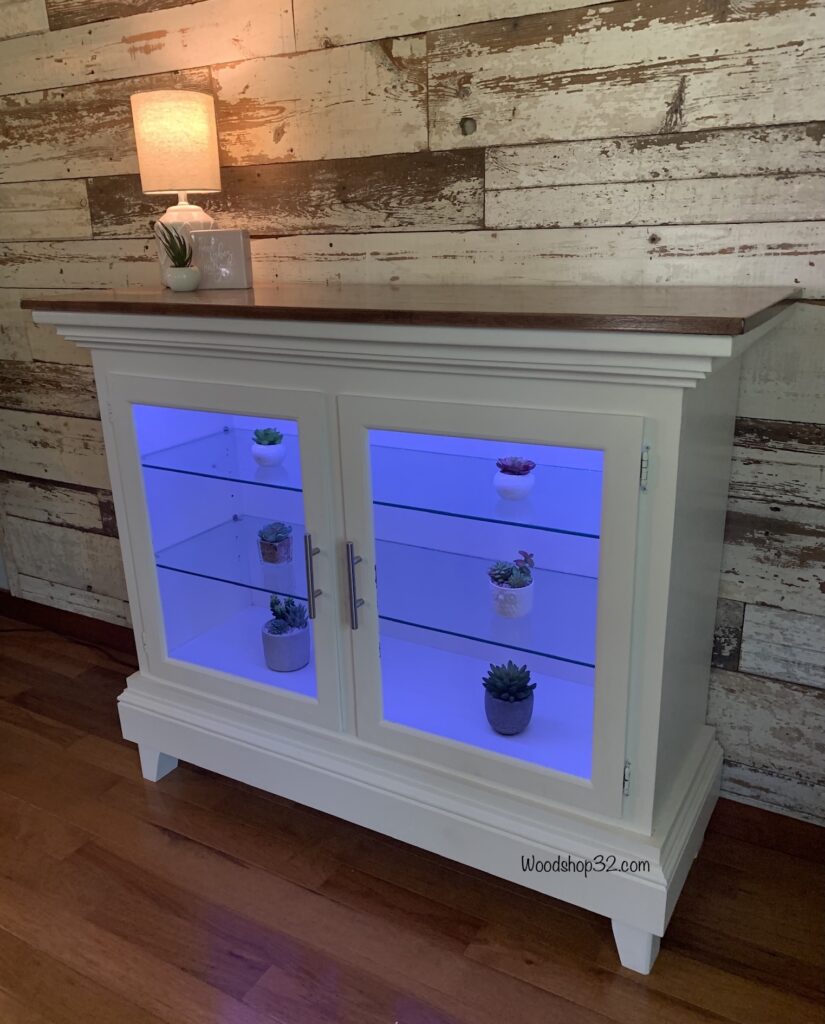
Step 6: Rope Lighting Hutch Makeover
I decided to add rope lighting to the inside top of the cabinet. The old lighting would heat up the inside of the cabinet. The new rope lighting has no heat when lights are on. Great feature! The lighting is super easy to install with a cordless screwdriver. The best part, the remote control has an assortment of colors to choose from. So awesome!
Step 7: Reattach Hutch Glass Cabinet Doors and Hardware
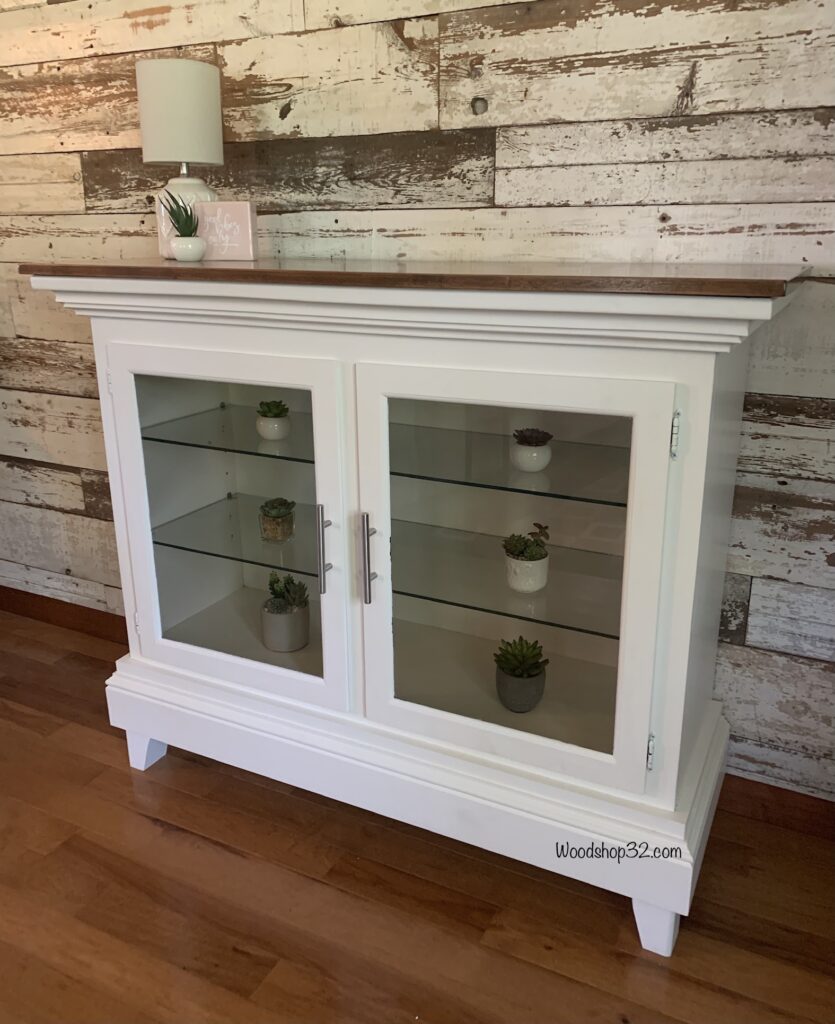
The glass cabinet doors are reattached using the same hinges and screws. I added new pull handles which only cost me a buck. What a deal! The original glass door panels and shelves are cleaned with a glass cleaner to sparkle.
The hutch cabinet turned out so beautiful. I love the DIY farmhouse style!
The best part of my hutch top makeover is being able repurpose old furniture into something new. Love my new DIY lighted display cabinet!
Check out this amazing rope lighting!
Here’s a quick video showing the variety of colors in the rope lighting – so cool!
Is your old hutch sitting around and collecting dust? Get creative and repurpose your china cabinet with glass doors into something new!
Share your hutch makeover before and after results in my comments section!
Thank you for visiting the Woodshop32.com blog!