Upright Piano Makeover
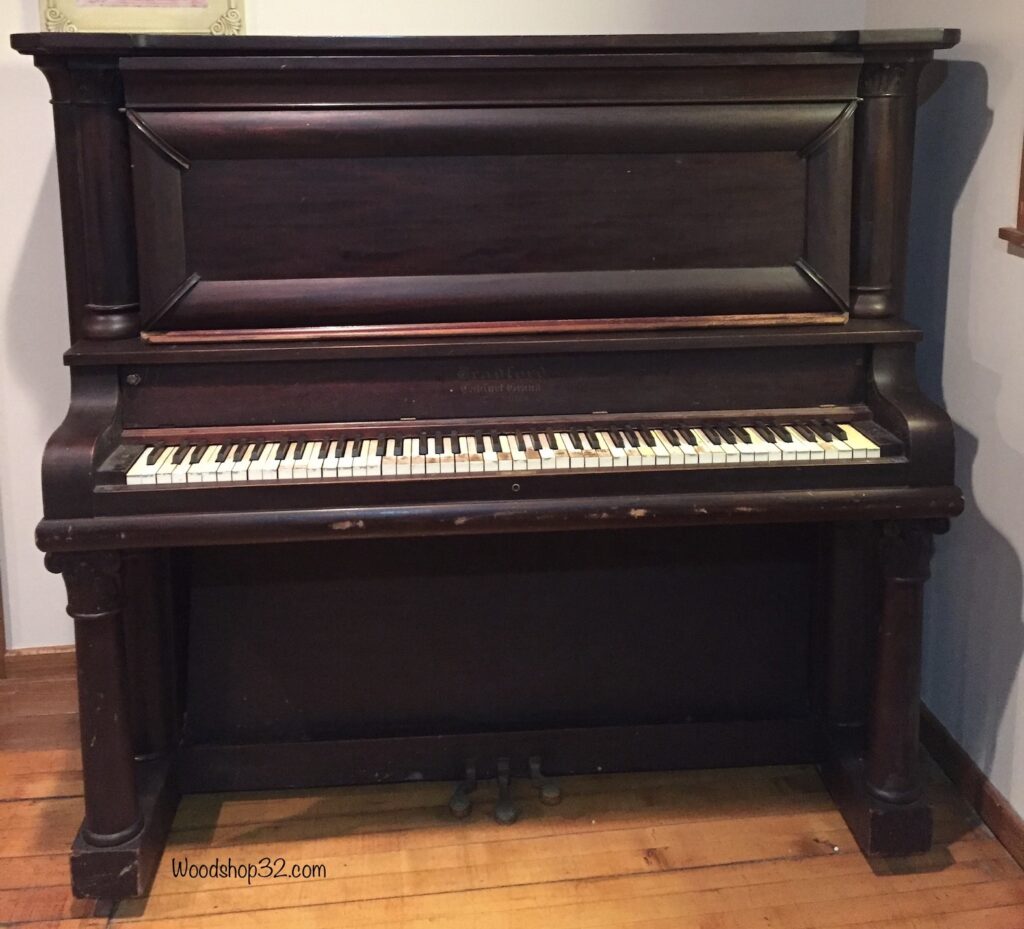
What can I do with a beautiful (extremely heavy) upright piano? How do I repurpose this early 1900s piano into a different piece of furniture? Hmm?
My piano makeover design is to preserve most of the original antique wood as possible when repurposing. The upright piano is an iconic piece of American history in which I want to preserve and repurpose into something new.
1. Piano Makeover – Reduce Weight
The first task in the DIY piano project is to dismantle parts of the piano. It took a couple of hours just to get the heavy piano harp removed. All of the dismantled wood pieces and other parts are saved for later. In order to get it out of the house for transport, we needed to remove as much weight as possible. After parts are removed, it is still heavy but can be carried.
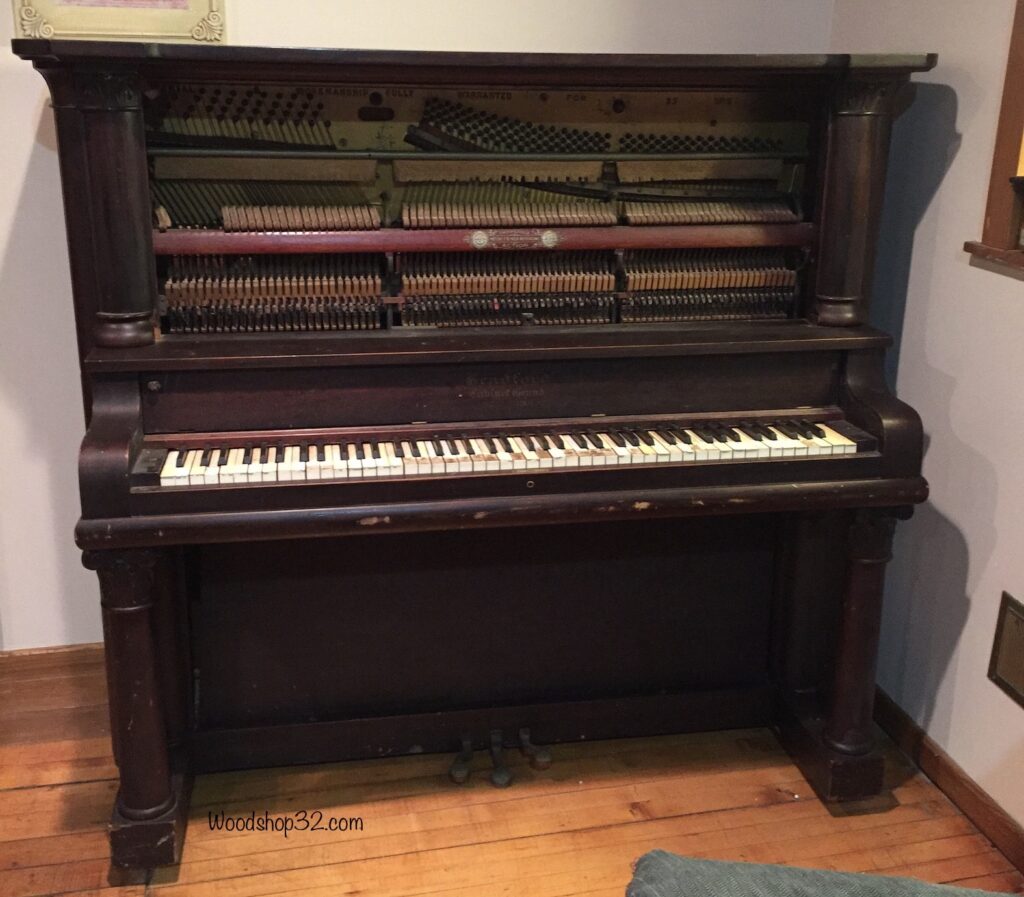
I am glad to be able to save the piano! The upright piano is built with excellent woodworking skills and craftsmanship. I cringed at the first reciprocating saw cut but it needed to be done to repurpose the upright piano. The leftover wood pieces will be reused towards other projects.
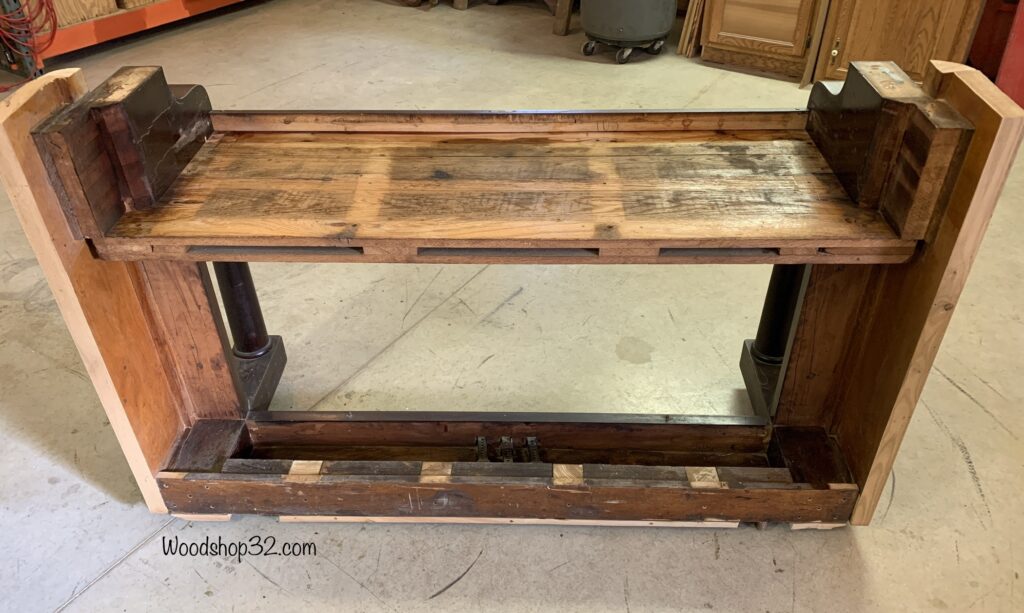
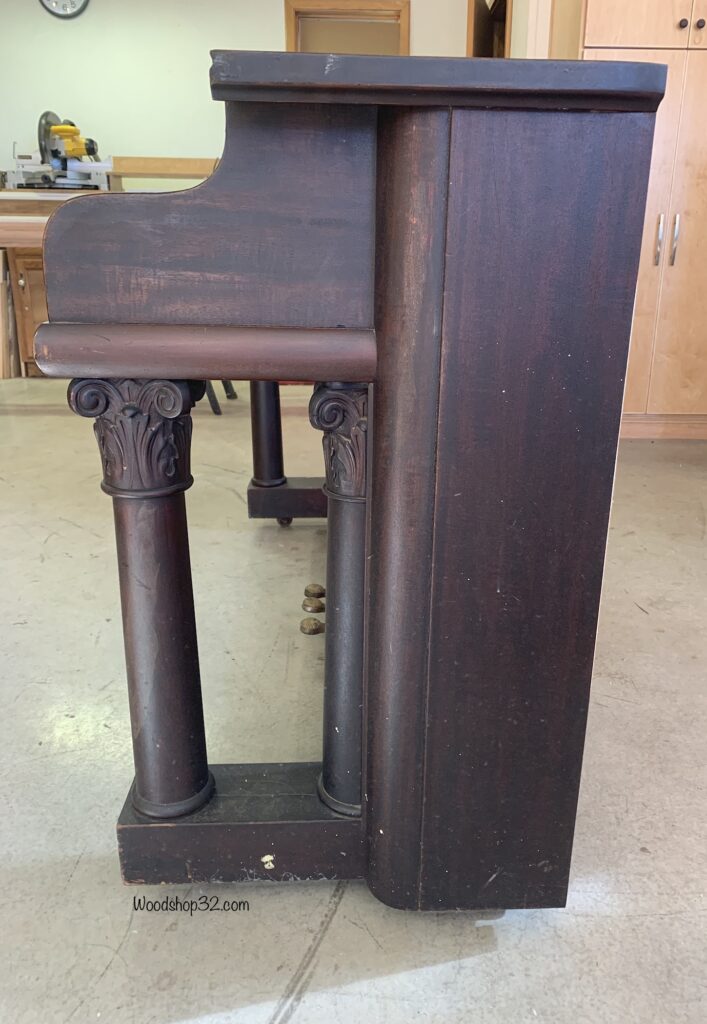
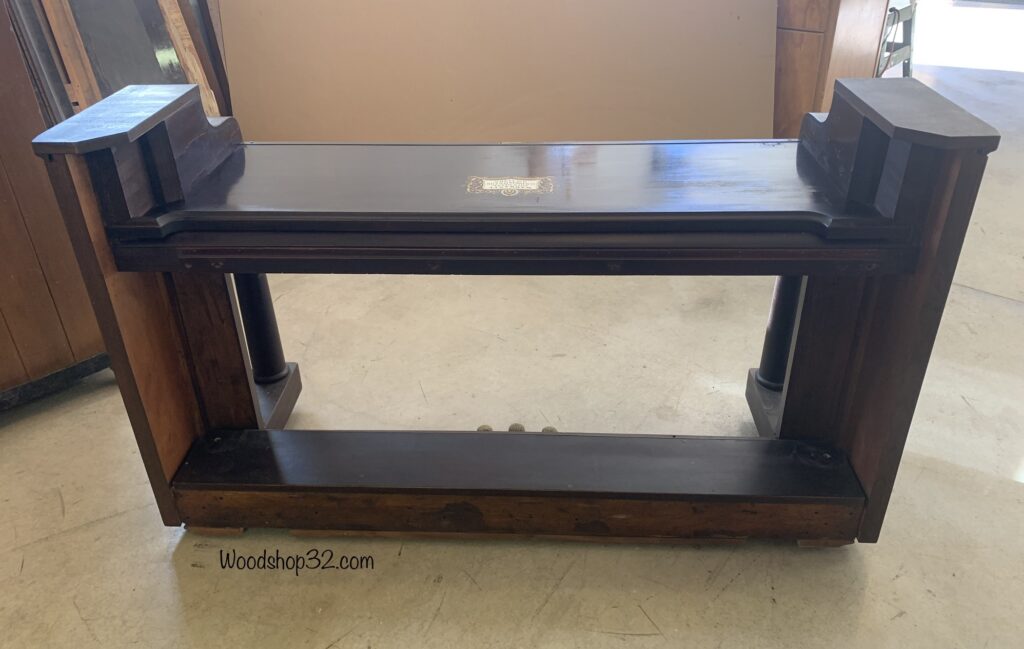
Once unloaded into our woodshop, it is still noticeably heavy when trying to move it. We removed more wood off the backside to get the piano thinner and lighter plus retain the original caster wheels. I used a wire brush to clean the medal caster wheels so they can roll easier.
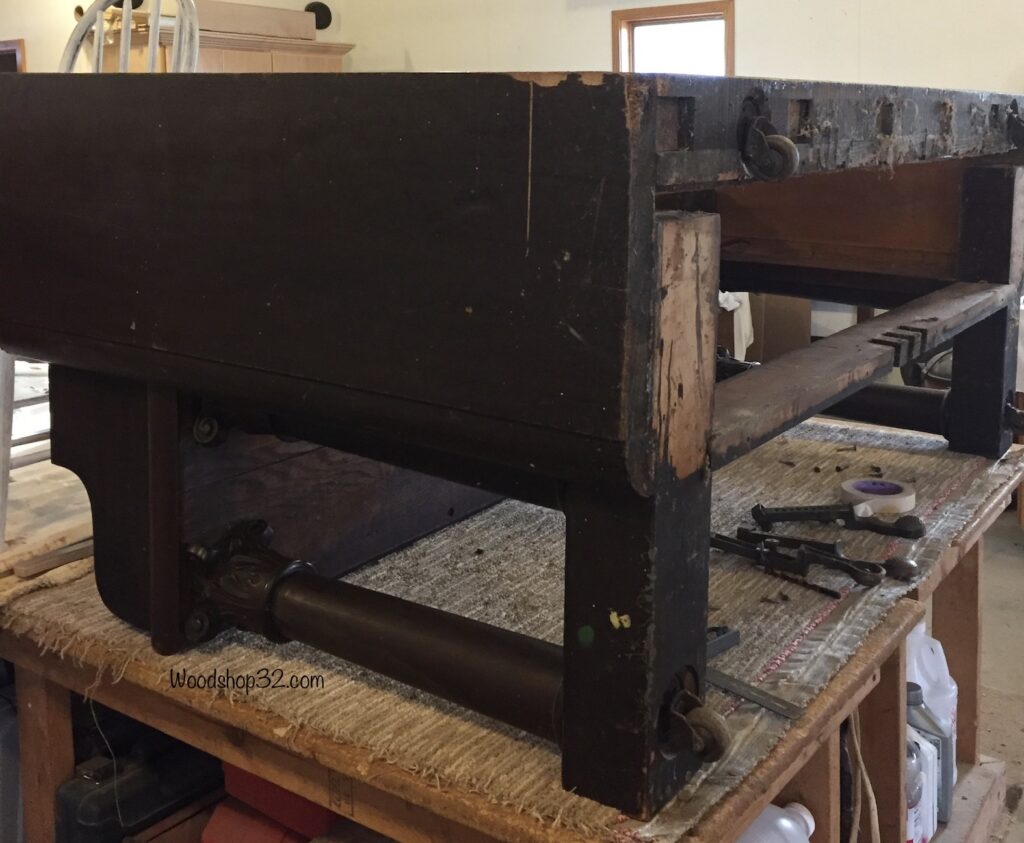
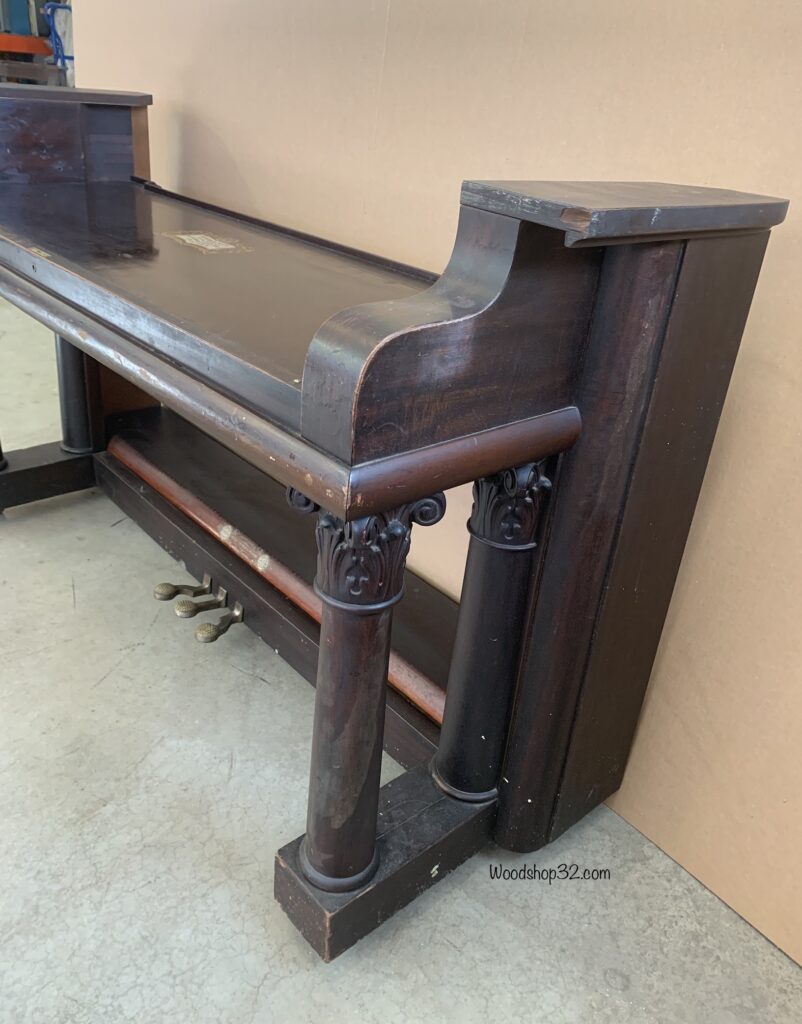
More weight is removed from both side tops since they are uneven by a couple of inches. The piano sides are cut down to be even for a flat surface. Since I can’t replicate the antique wood stain to cover the cut raw edges, I need to get creative with my DIY piano makeover.
I am designing on the go with this repurpose piano project!
Disclosure: If you make a purchase from some links in this post, I may earn a referral fee at no cost to you.
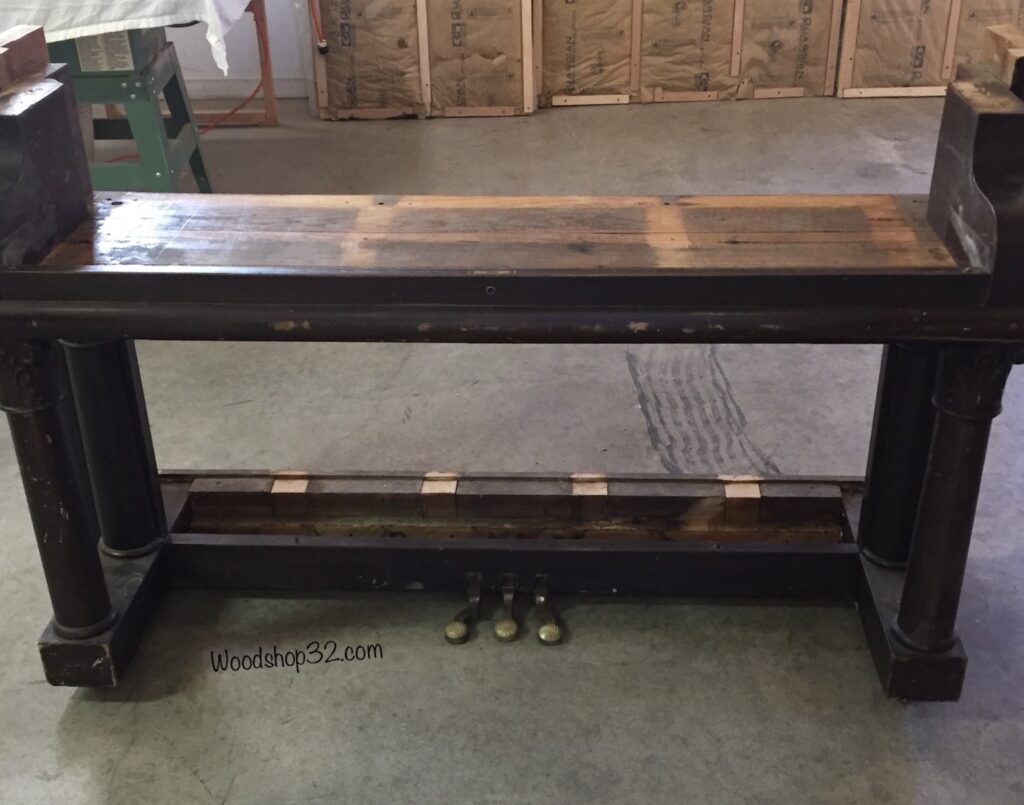
2. Piano Makeover – Bottom Design
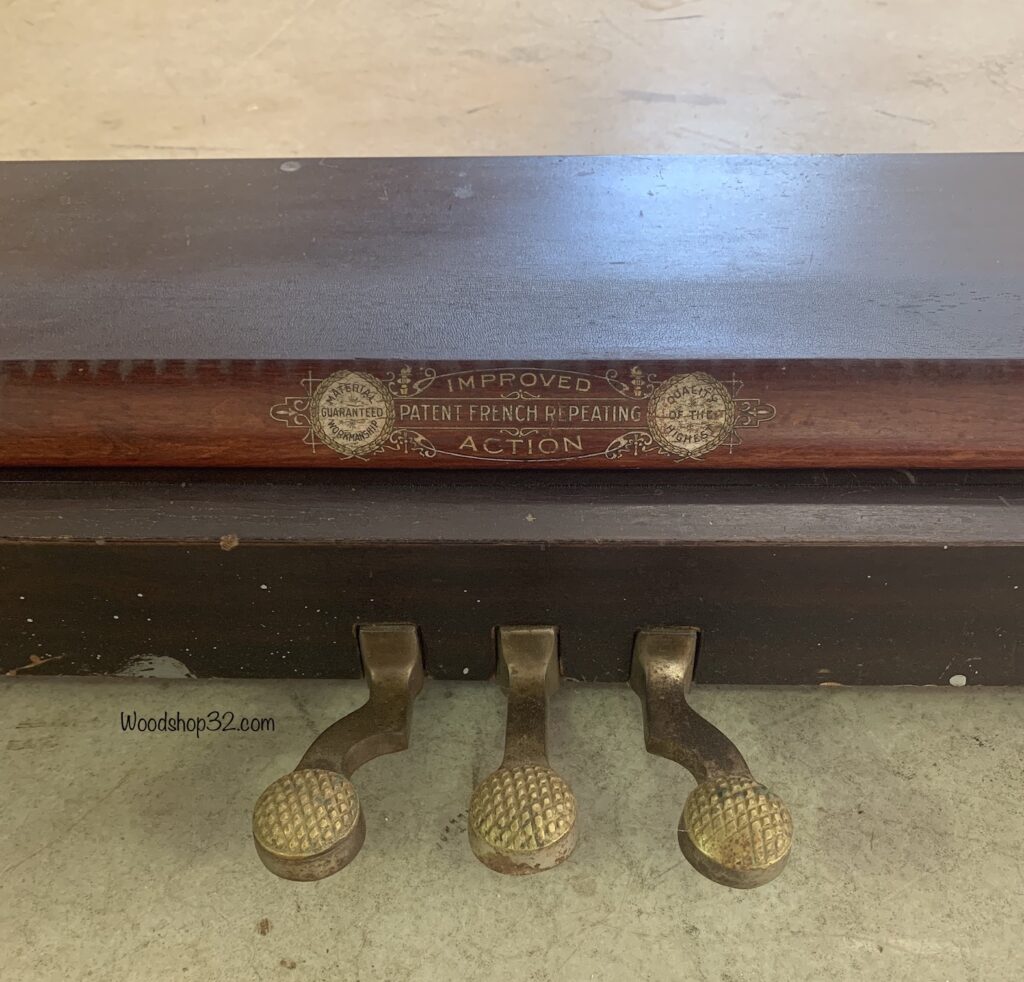
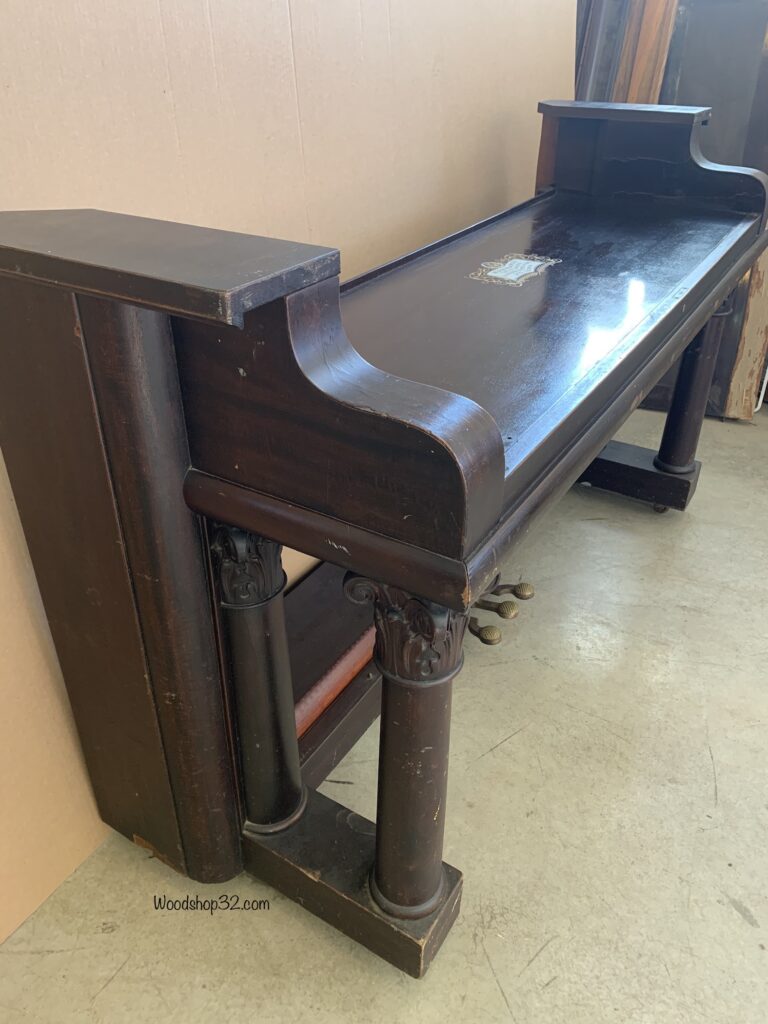
The piano pedals are permanently screwed to the bottom inside board. The strip of wood with the wording on it was hidden inside the piano. I decided to place it by the foot pedals for a nice decorative touch. The bottom shelf wood was also hidden inside the piano and relocated here.
Follow Woodshop32.com on Pinterest!
3. Piano Makeover – Top Design
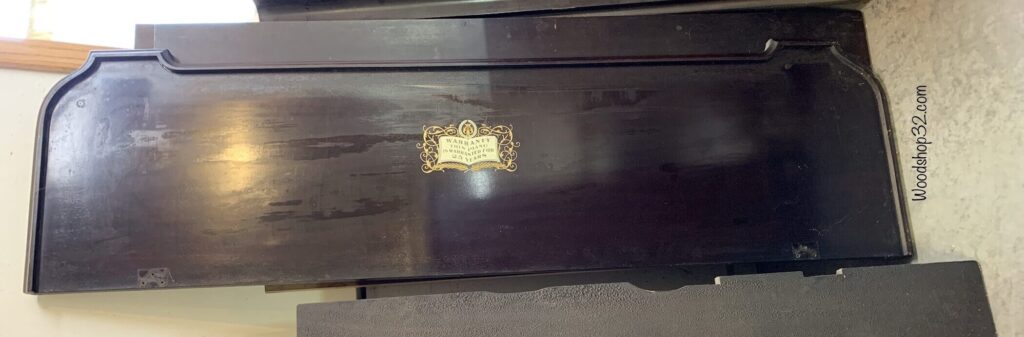
The piano lid underside is in excellent condition! This is the only part of whole piano that was protected over the last century. I decide to use this as the table top with the label facing up.
The top has to be precise in cutting. Each saw cut is crucial, it doesn’t come with spare parts! We absolutely can not mess up this part! Cross your fingers! My amazing husband is able to cut the ends perfectly with a jig saw. Thanks honey!
Looking for more DIY Makeovers? Click on my other DIY projects: DIY Farmhouse Mirror, Rocking Chair Upholstery, Fireplace Wine Rack
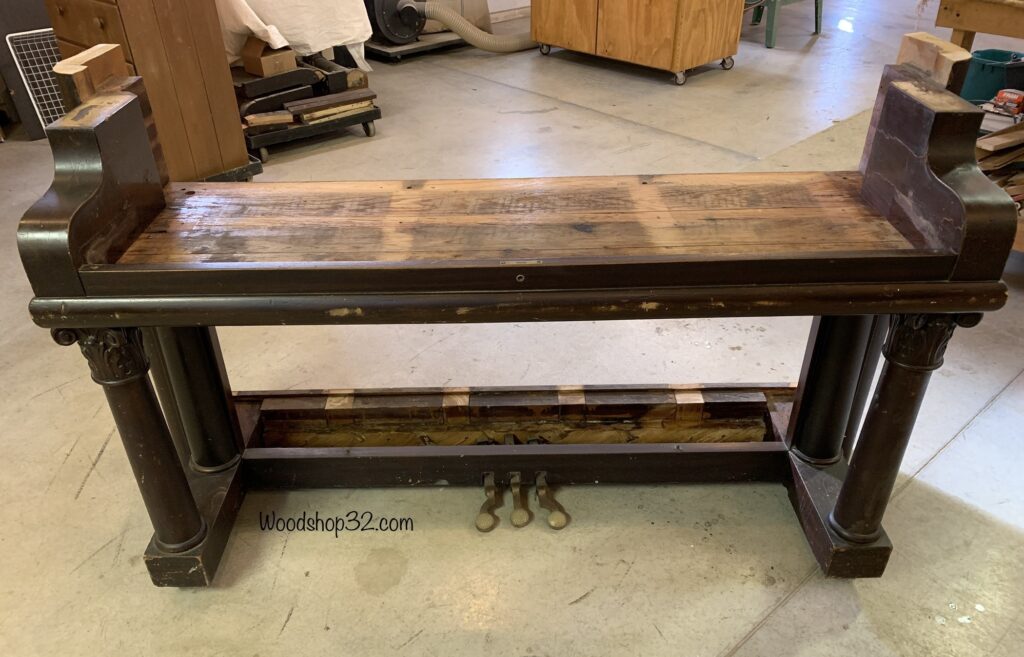
I found my solution to cover the raw cut top edges! Luckily, the table top cut off ends fit on the piano sides with little modification. Love it when a repurposing design idea comes together!
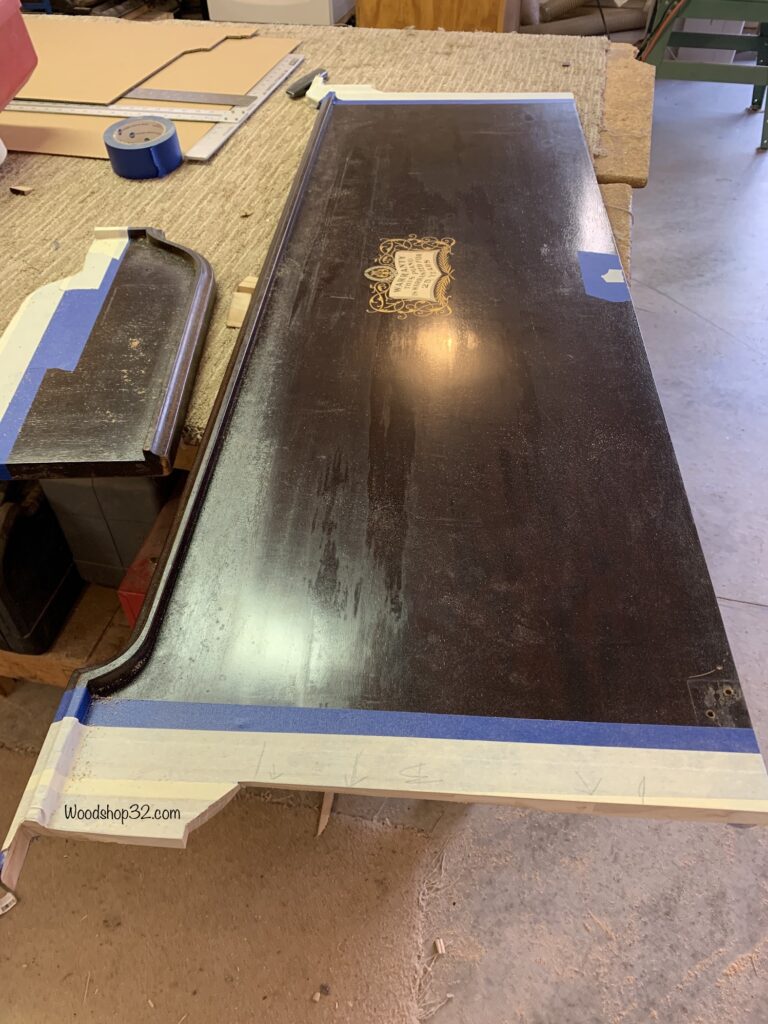
The cut off pieces fit nice and snug in their new location sitting on the side tops. I applied a dark wood stain to the cut board edges. It sorta matches but its the only solution to cover up the live wood edge.
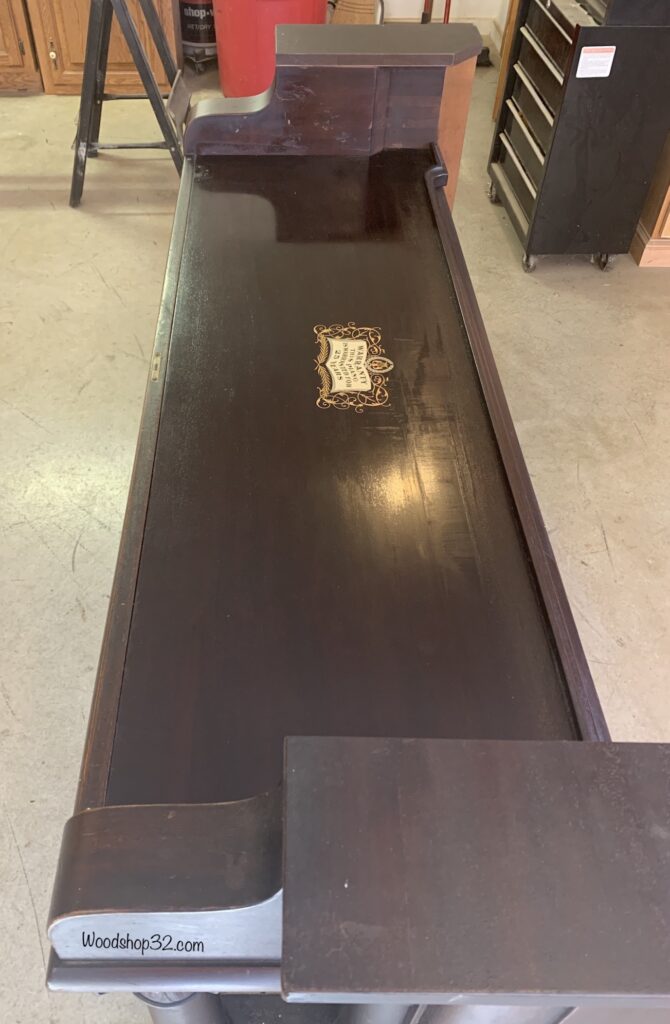
The piano top is relocated to the area where the piano keys once were. Wood blocking is attached to the bottom of piano top to raise it up to be flush with the front edge. It is attached from the underside of the piano using wood screws.
4. Piano Makeover – Back Design
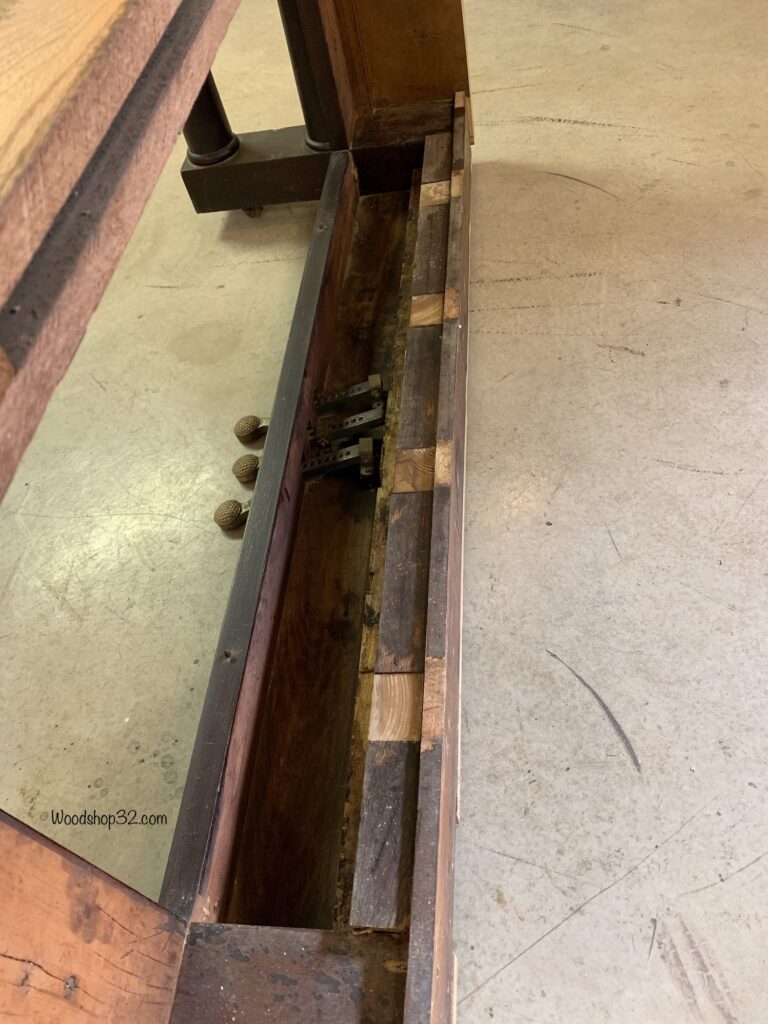
The back of the piano has a gap under the top because it had to be raised with blocking. Remember how I kept the original wood from the dismantling? So glad I saved those pieces of wood! I found one board in that pile that is long enough to cover this area. YES! I feel like a super hero!
Want to save this post for later? Make sure to Pin It!
5. Piano Makeover – Wash & Wax
Time for clean up! I washed the piano with mild soap and water. After the piano is dried, furniture wax is applied. The wax definitely helped the old piano shine!

The antique upright piano is repurposed into a desk, table, or a dry bar. The DIY piano makeover was a fun project to work on! The upright piano table can be used for another century!
I am proud to say that every piece of wood cut and modified is original to the piano. Love keeping the history alive!
Thank you for visiting the Woodshop32.com blog.
Stunning piece!
The piano was definitely a labor of love to work on!