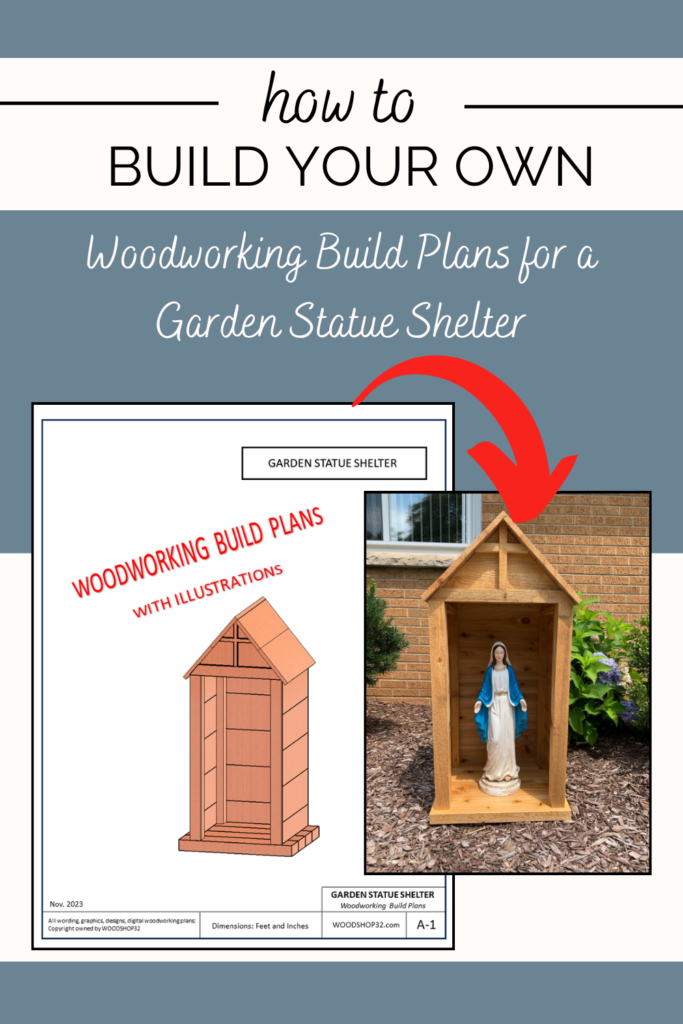
Garden Statue Shelter
I am really excited to design this do-it-yourself garden shrine project! It’s a great opportunity for us to build a cedar statue shelter for a Blessed Virgin Mary Statue.
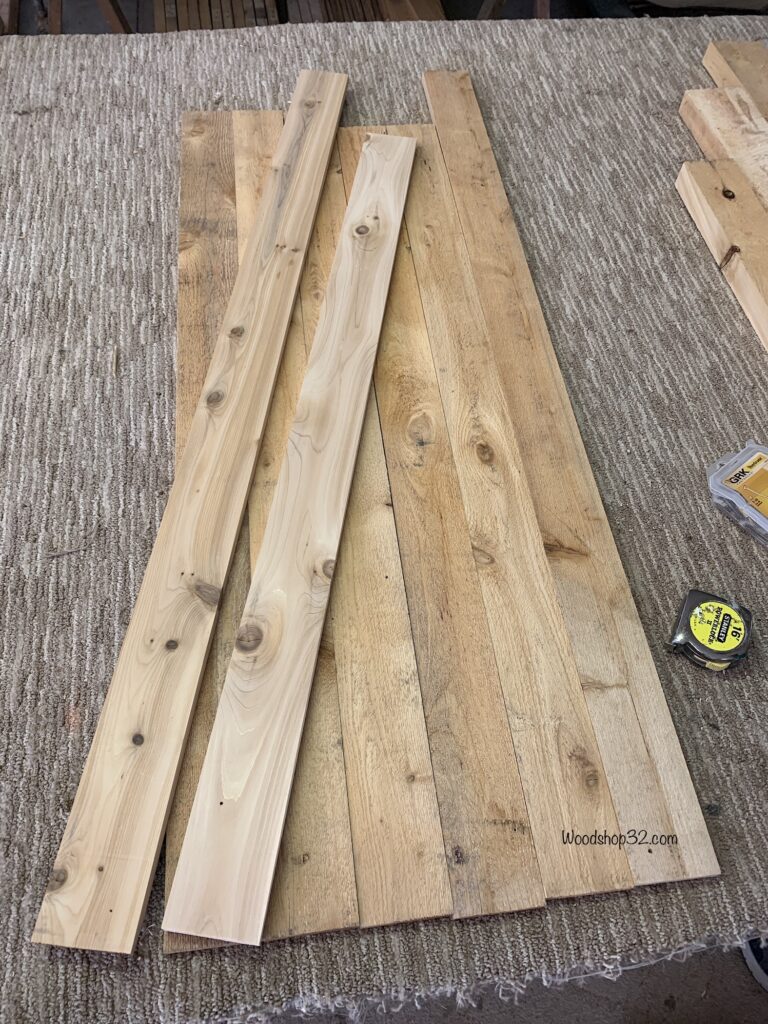
Our first stroke of luck, we got a free pile of random 2×4 cedar boards. Amen! Cedar wood is costly but free is better. The DIY challenge is to design around the Blessed Mother Mary Statue only using the boards we have.
The Blessed Virgin Mary statue size is 21″ x 7″.
Cutting Cedar Boards
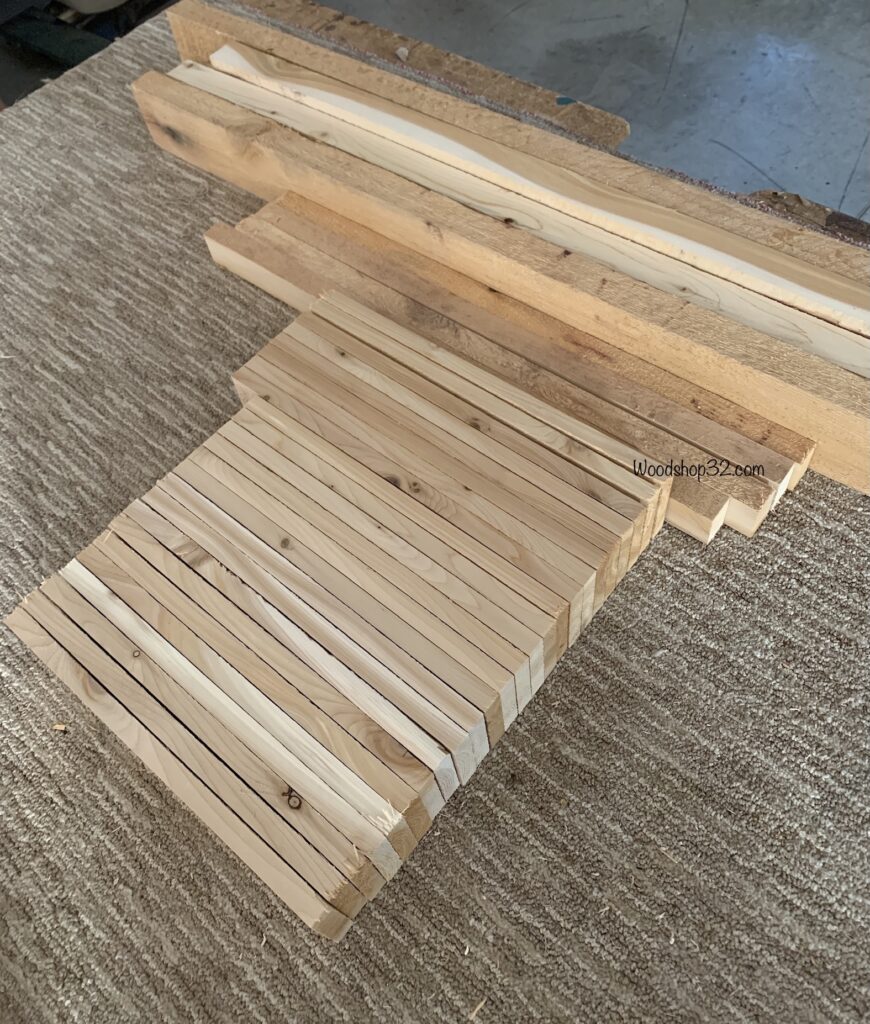
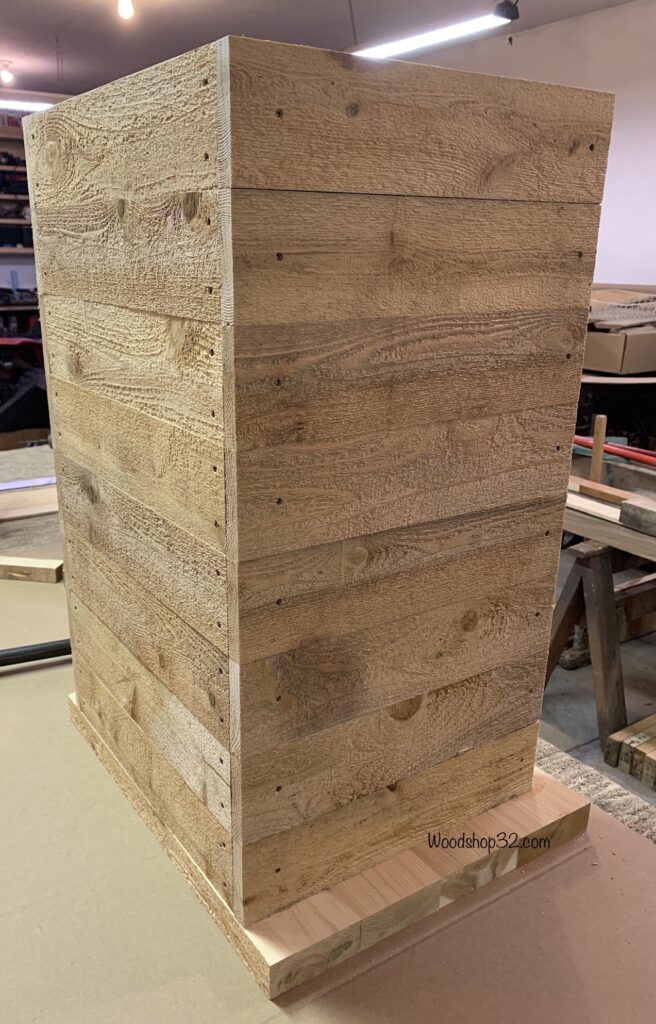
The cedar wood will remain as a rough texture for the outside of the shrine shelter. For the side walls, 2×4’s are cut in half using the table saw. By using the Dewalt wood planer, the boards are planed on the cut side only to remove the saw blade marks.
I loved the look and decided not to sand any of the planed sides. (There was absolutely no sanding on the project.) Amen again!
Disclosure: If you make a purchase from some links in this post, I may earn a referral fee at no cost to you.
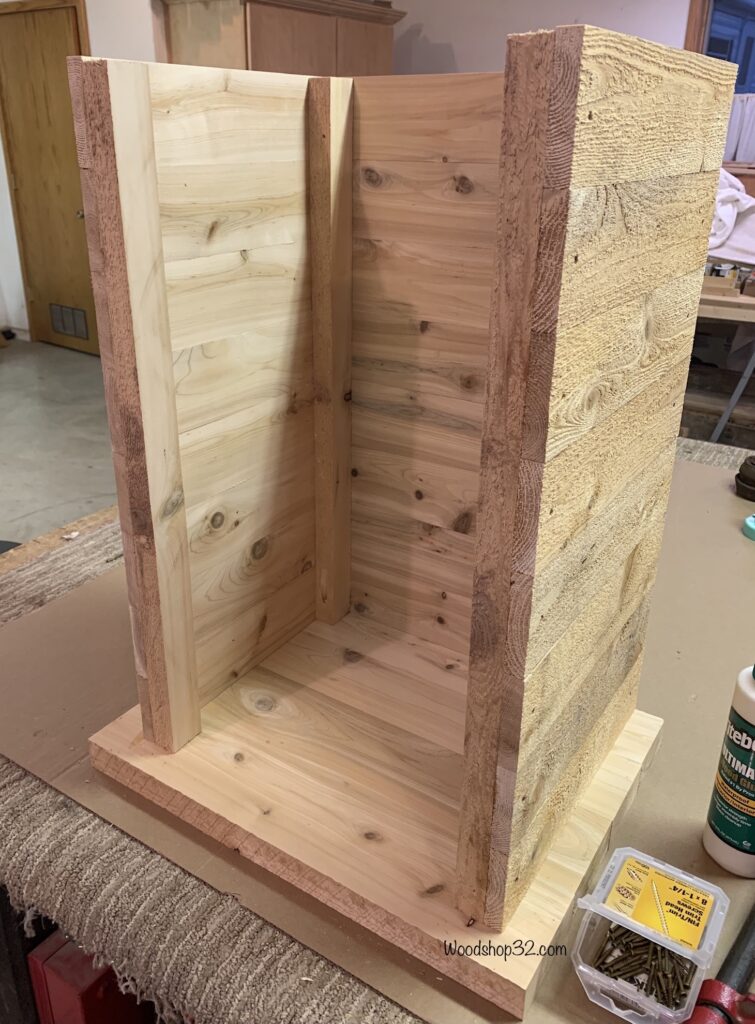
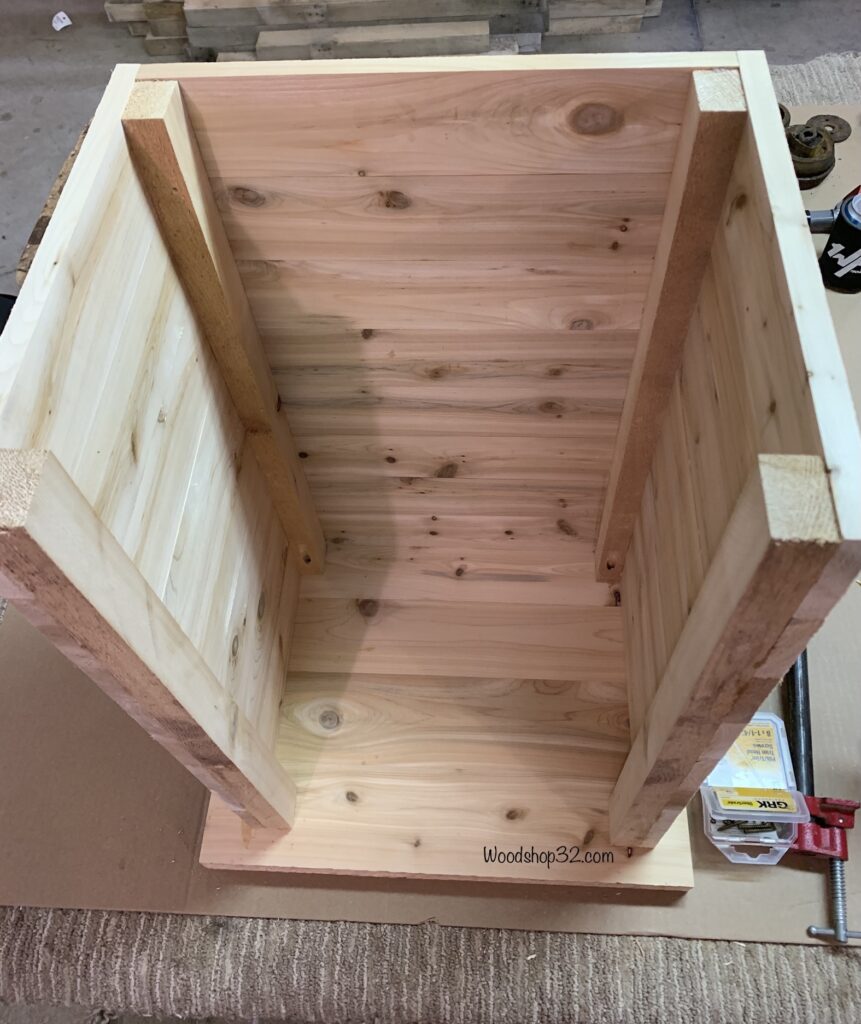
Building Base & Sides
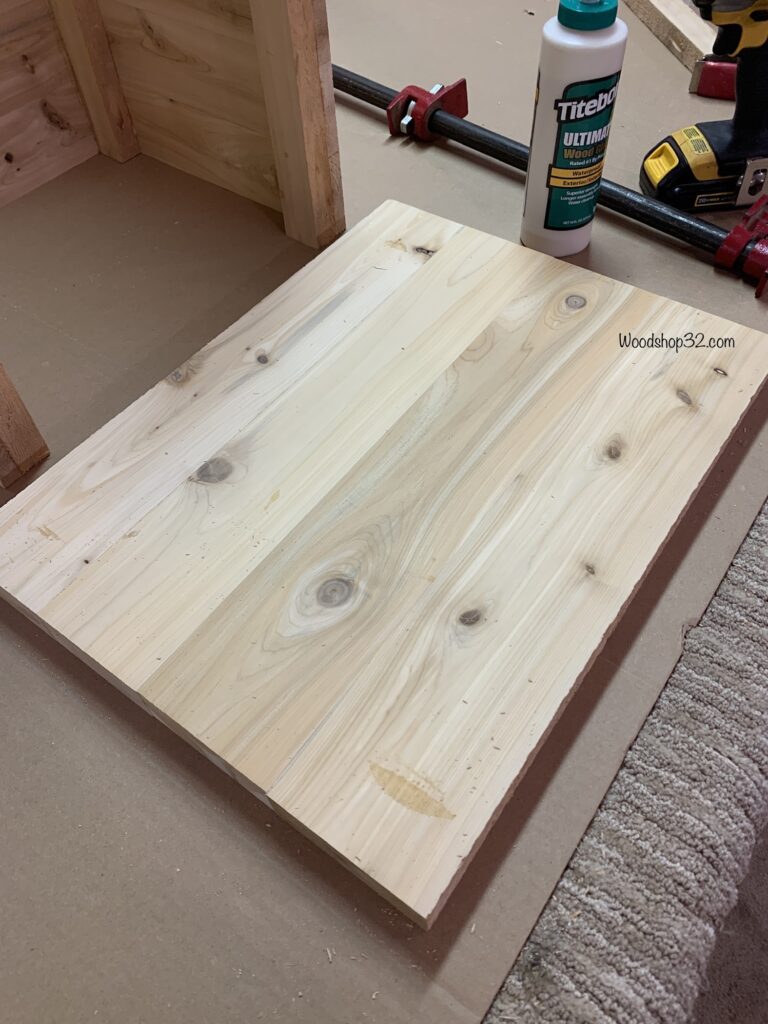
For the base, 2×4’s are wood planed on both sides to achieve a flat surface when constructing it. The base boards are wood glued and pipe clamped together overnight. Titebond glue has always works great for us!
By using our Keg pocket hole kit, the corner posts are screwed to the base. The sides boards are glued and screwed using a Dewalt cordless screwdriver onto the corner post covering up the pocket screw holes.
Following Woodshop32.com on Pinterest!
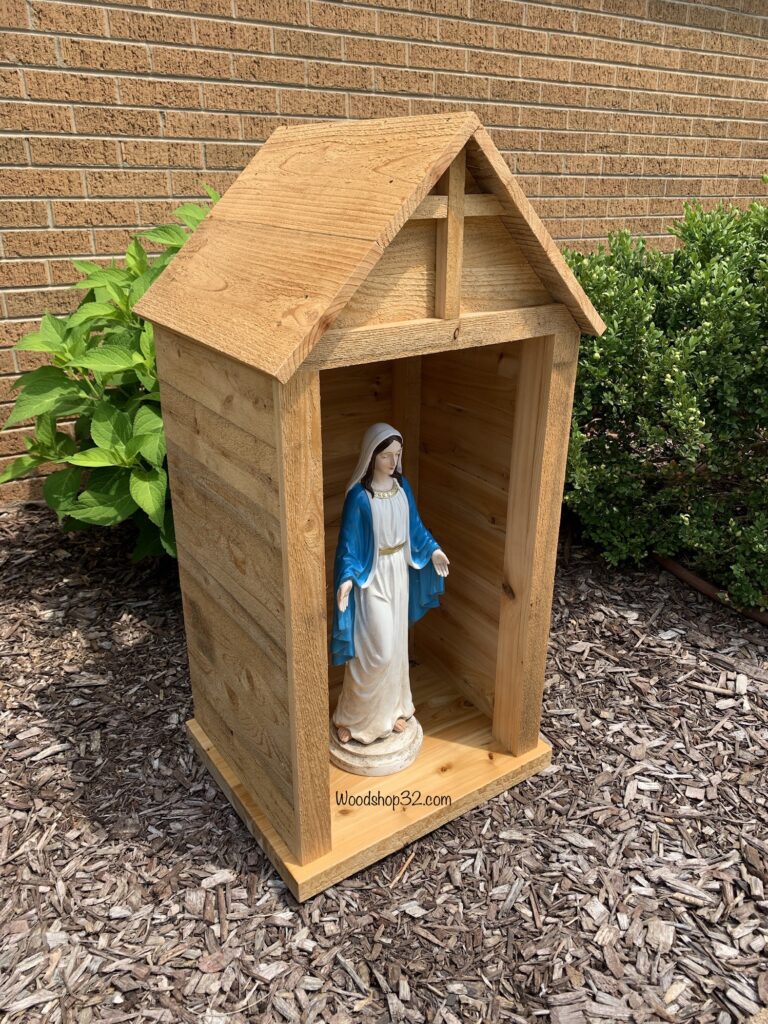
The wall height was just a couple inches taller than the garden statue height.
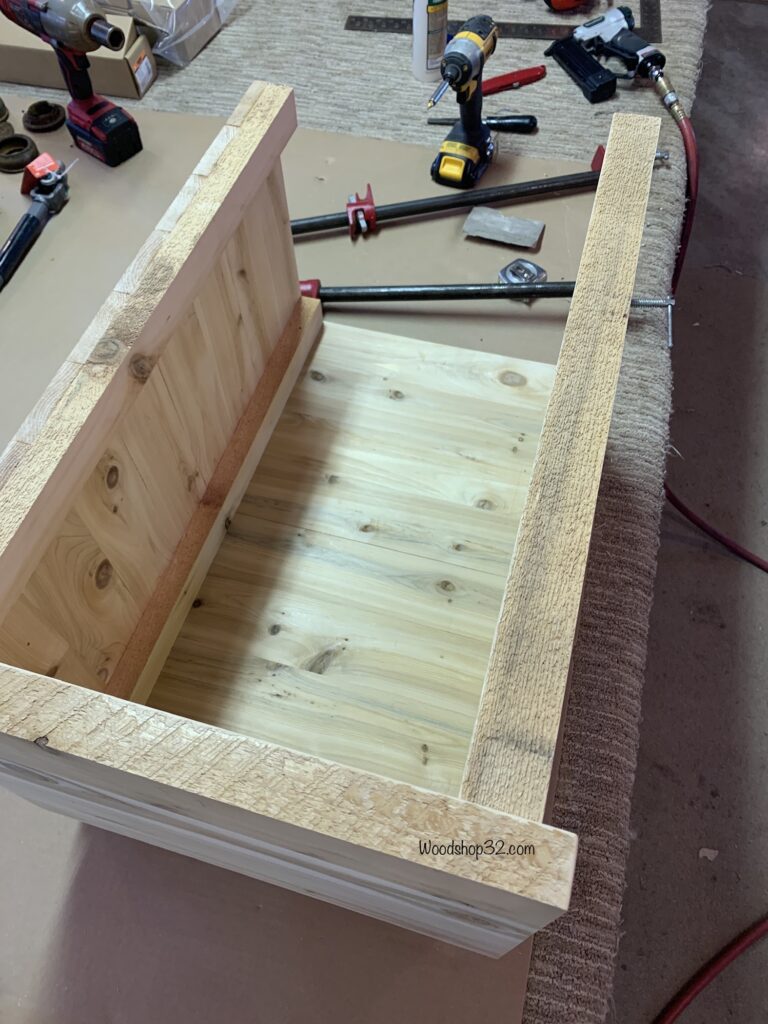
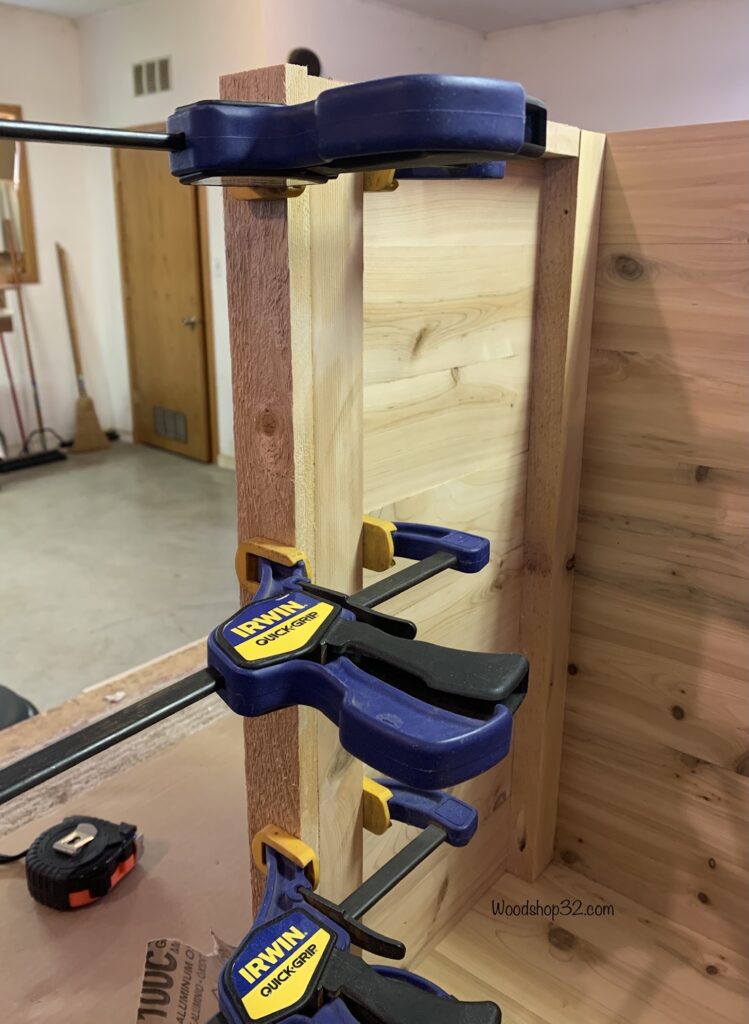
Adding Trim
The front trim was added by using wood glue and the Irwin clamps to hold in place when securing with finish trim screws. You can never had enough wood clamps in the woodshop! The trim boards are also rough texture to continue with the design.
Want to save this post for later? Make sure to Pin It!
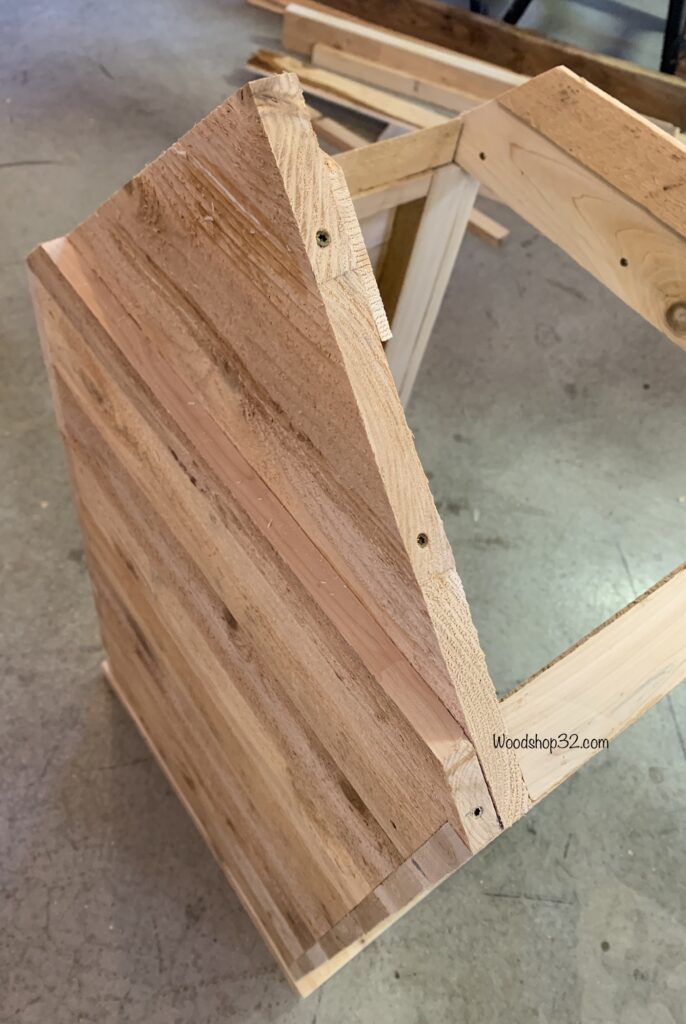
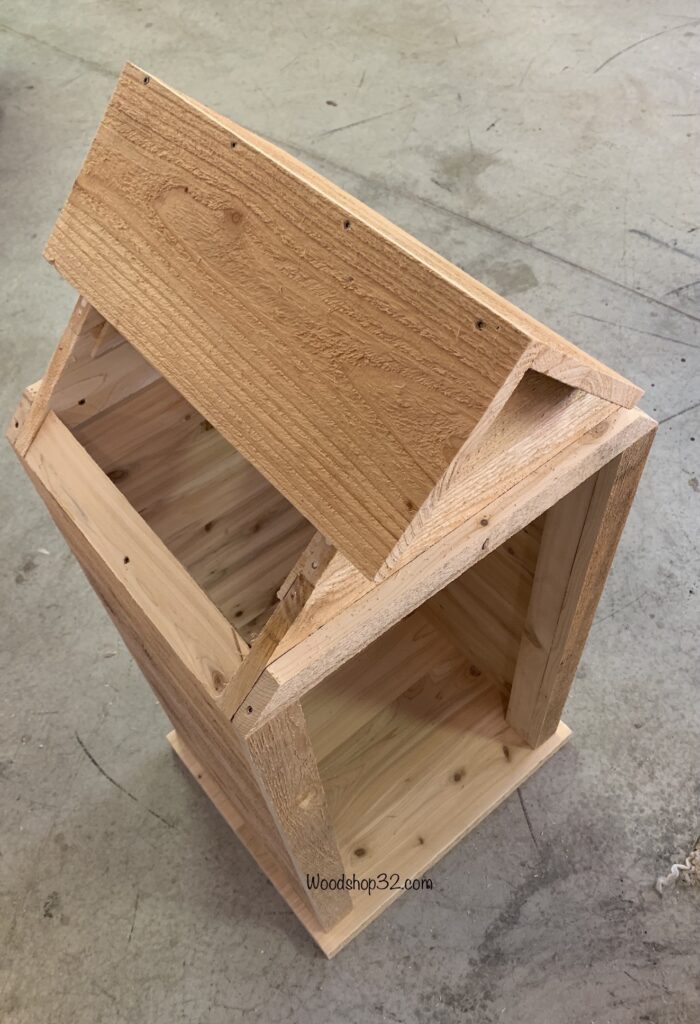
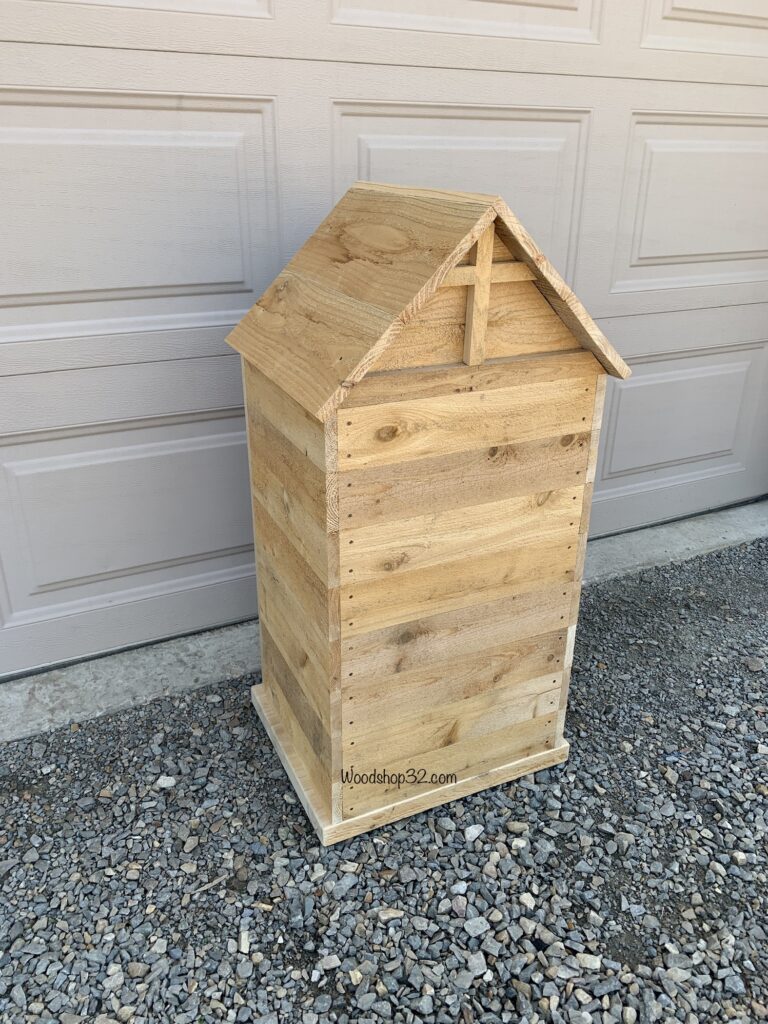
Constructing Roof
The roof was a little challenging but we figured it out on-the-go. After using the Dewalt miter saw, a 45 degree angle cut cedar board is placed on the side wall and it worked perfect. The gable end boards are cut with the same angle. Cut, glue, stack, secure, and repeat!

Out of the random free pile of cedar wood, there was only one dog ear fence panel. Just enough to cover roof!
Underneath the roof peak, I applied a clear exterior caulk as extra protection against outdoor weather before securing it on.
Apply Protectant
Cedar wood is naturally resistant to rot and moisture. I decided to apply two coats of Rust-oleum clear coat protectant inside and outside of shelter as an additive measure against the outdoor weather.

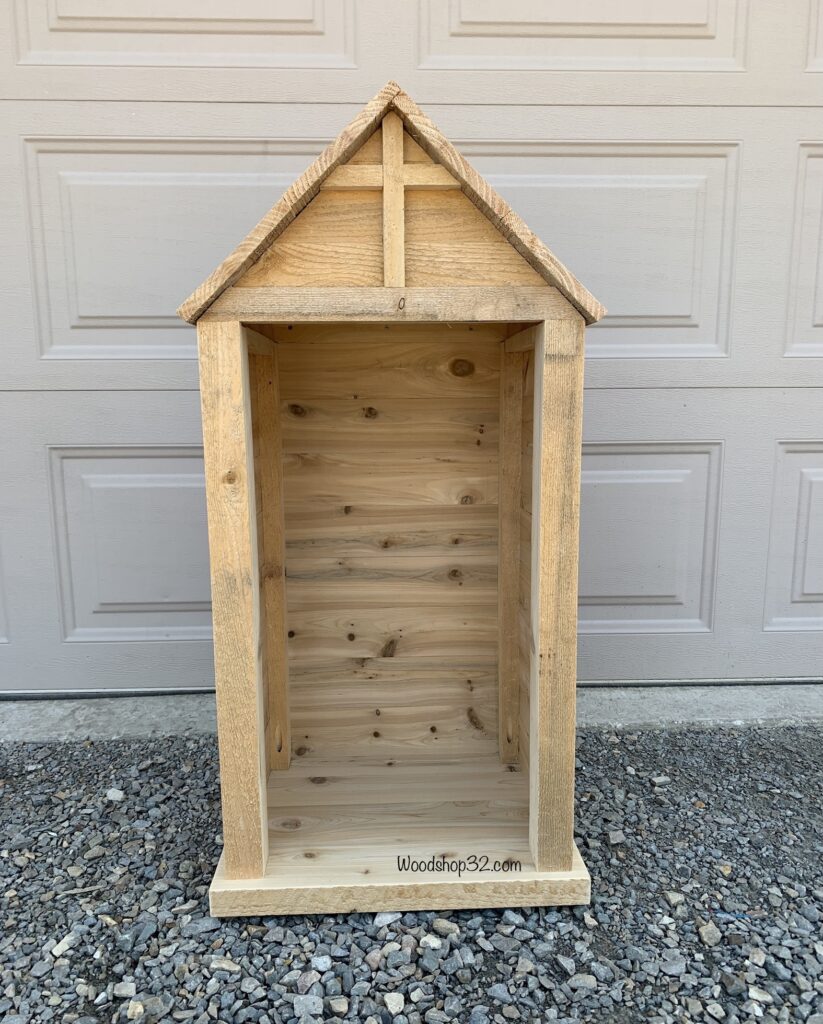

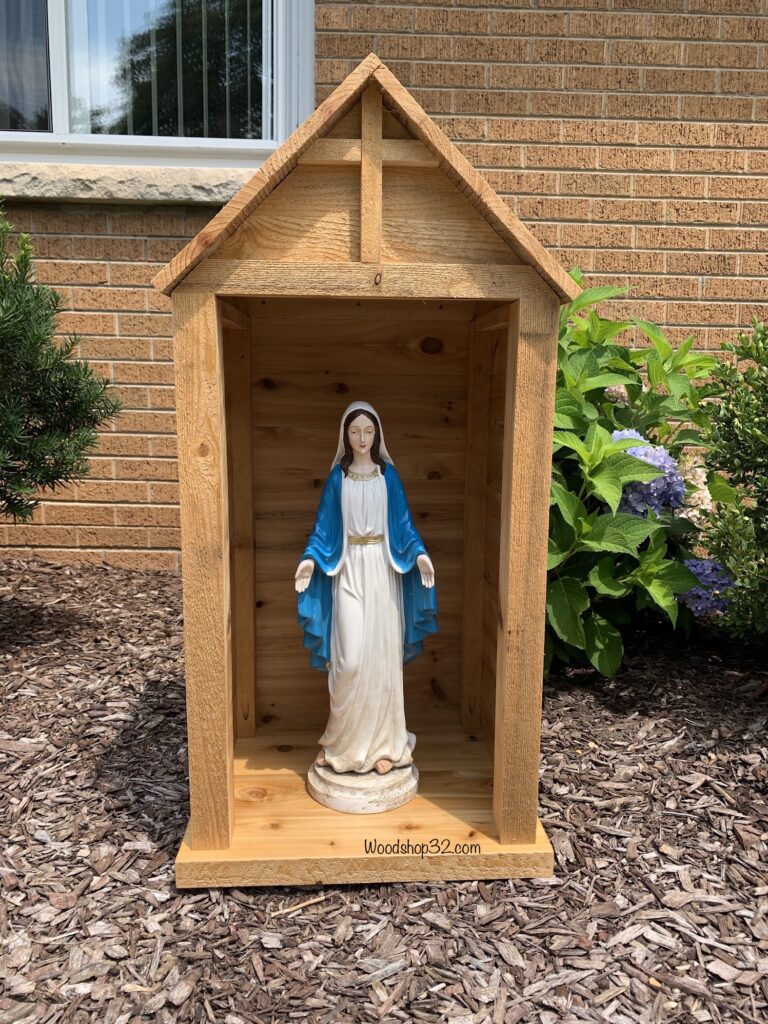
I’m so glad we decided to add the holy cross on the front and back! It’s the little details that make a design really shine. My hubby and I really enjoyed working on this amazing Blessed Mother Mary outdoor shrine project!
The Blessed Virgin Mary statue looks so beautiful in her new garden shelter. I love our DIY design!! #blessed
Hail Mary, full of grace, the Lord is with thee; blessed art thou among women, and blessed is the fruit of thy womb, Jesus. Holy Mary, Mother of God, pray for us sinners, now and at the hour of our death. Amen.
Blessings!
Tip: By storing the statue and cedar wood shelter in a dry location during the winter months, it can help reduce the natural deterioration from harsh weather. You will be able to enjoy them for years to come!
Thank you for visiting the Woodshop32.com blog!
I like your project. Since our Blessed Mother is about the same as yours, I would like to duplicate yours. Could you please send me the dimension that you used? I sure would appreciate it.
Build plans are available here to purchase.
https://woodshop32.etsy.com/listing/1591545490/build-plans-garden-statue-shrine-shelter
Are the shelter dimensions available?
Build plans are available here to purchase.
https://woodshop32.etsy.com/listing/1591545490/build-plans-garden-statue-shrine-shelter
Is there a material list for this project. I am interested in building the same enclosure.
Build plans are available here to purchase.
https://woodshop32.etsy.com/listing/1591545490/build-plans-garden-statue-shrine-shelter
Hi, are you able to be a bit more specific on the dimensions for the shelter? My husband and I would like to build this for our Mary statue(same size as yours), but he would like a bit more info on the measurements. Thank you, Cindy
Build plans are available here to purchase.
https://woodshop32.etsy.com/listing/1591545490/build-plans-garden-statue-shrine-shelter
Est-ce que vous vendez l’abri pour statue
Build plans are available to purchase here — https://woodshop32.etsy.com/listing/1591545490/build-plans-garden-statue-shrine-shelter