Motorcycle Helmet Holders
Do you ride a motorcycle? If so, where do you place your helmet after a long day of adventurous riding?
At our house, the helmets sit on our kitchen table, countertops, or chairs. The riders in our family don’t have a designated place to set their helmets.
Motorcycle helmets are definitely an investment that you want to take care of. They need to be placed in an area preventing them from getting scratched or damaged.
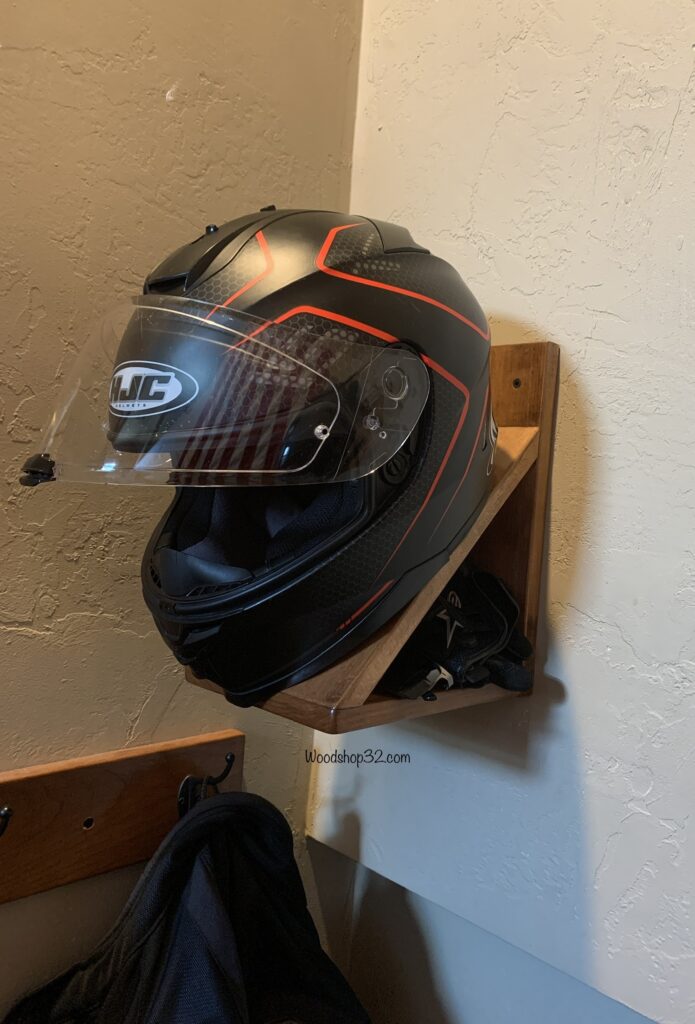
I decided to create a wall mount helmet holder with a design that doesn’t flatten or damage the inside cushion of the helmet. As a bonus, I added a cubby for motorcycle riding gloves and sunglasses!
This post includes Amazon affiliated links in which I may earn from qualifying purchases at no extra cost to you.
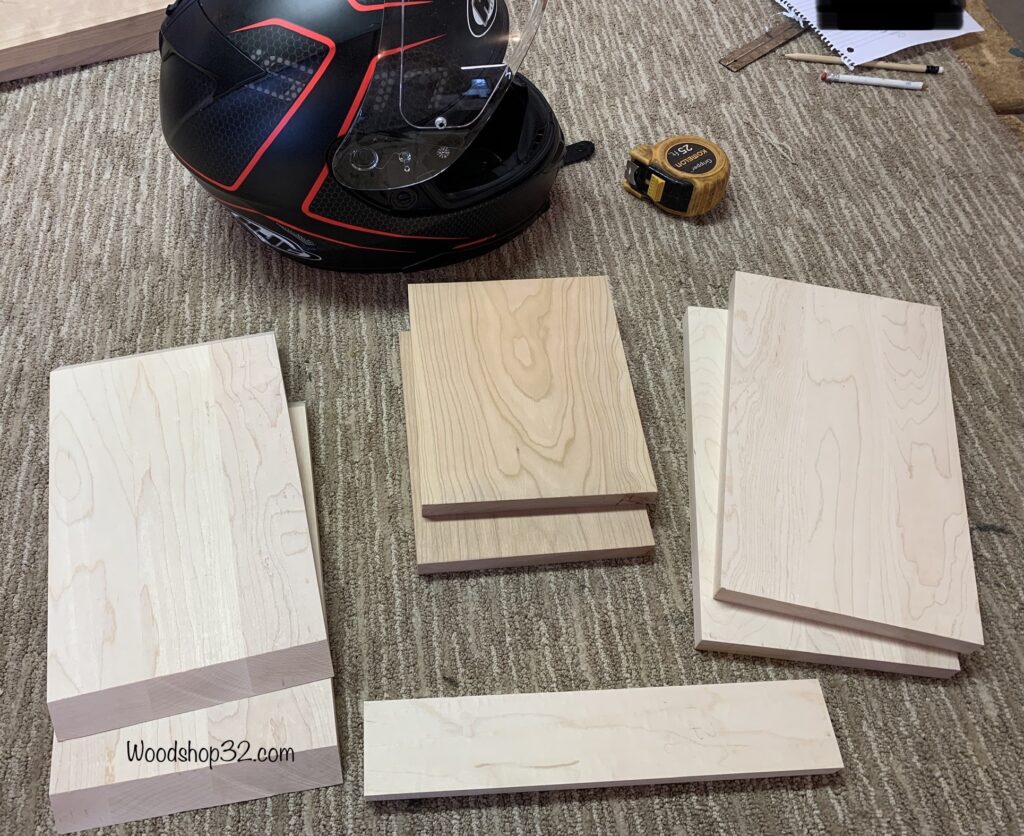
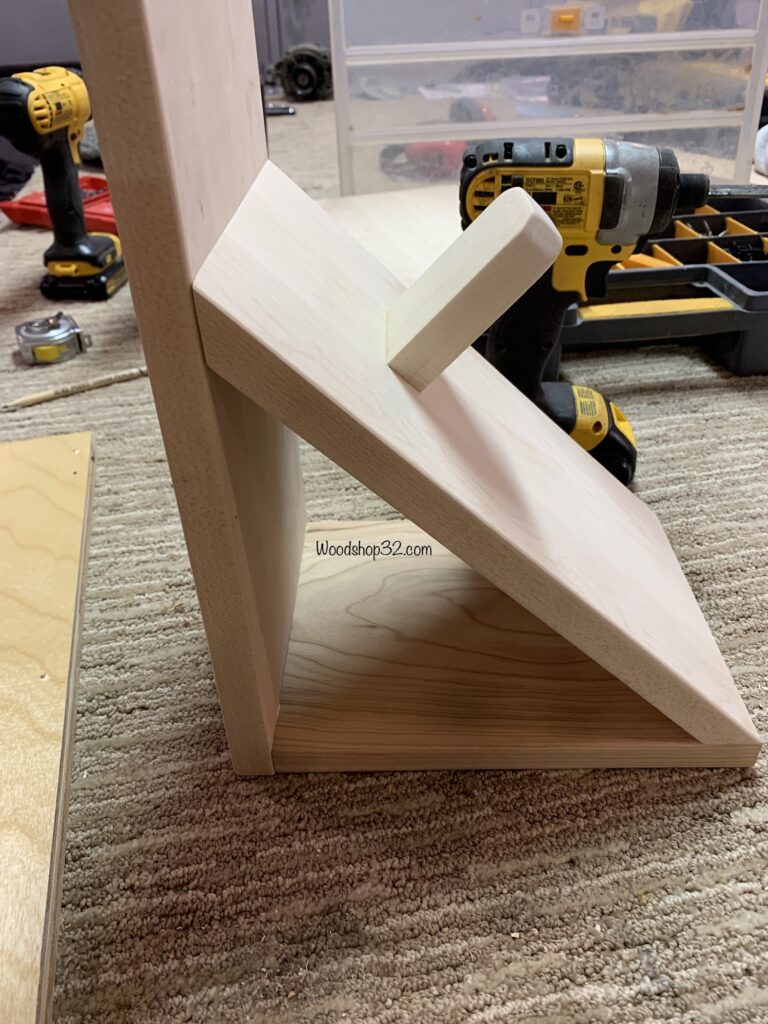
I only measured the length and width of the motorcycle helmets for the front board. The bottom board length was determined on how far I wanted the helmet angled from the wall. The back board was cut accordingly.
My design-as-I-go-plan is working out so far! Luckily, I had enough scrap cut-off boards from old projects that I could use up.
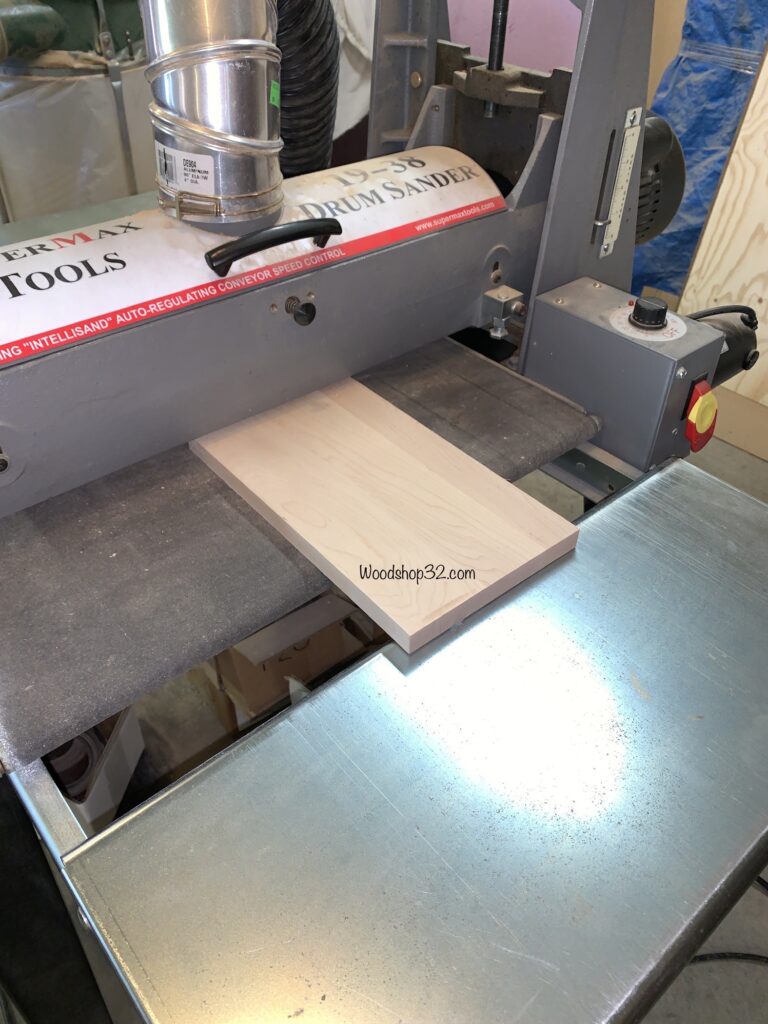
After cutting the boards to size, I ran them through the drum sander using 120 grit sandpaper strip.
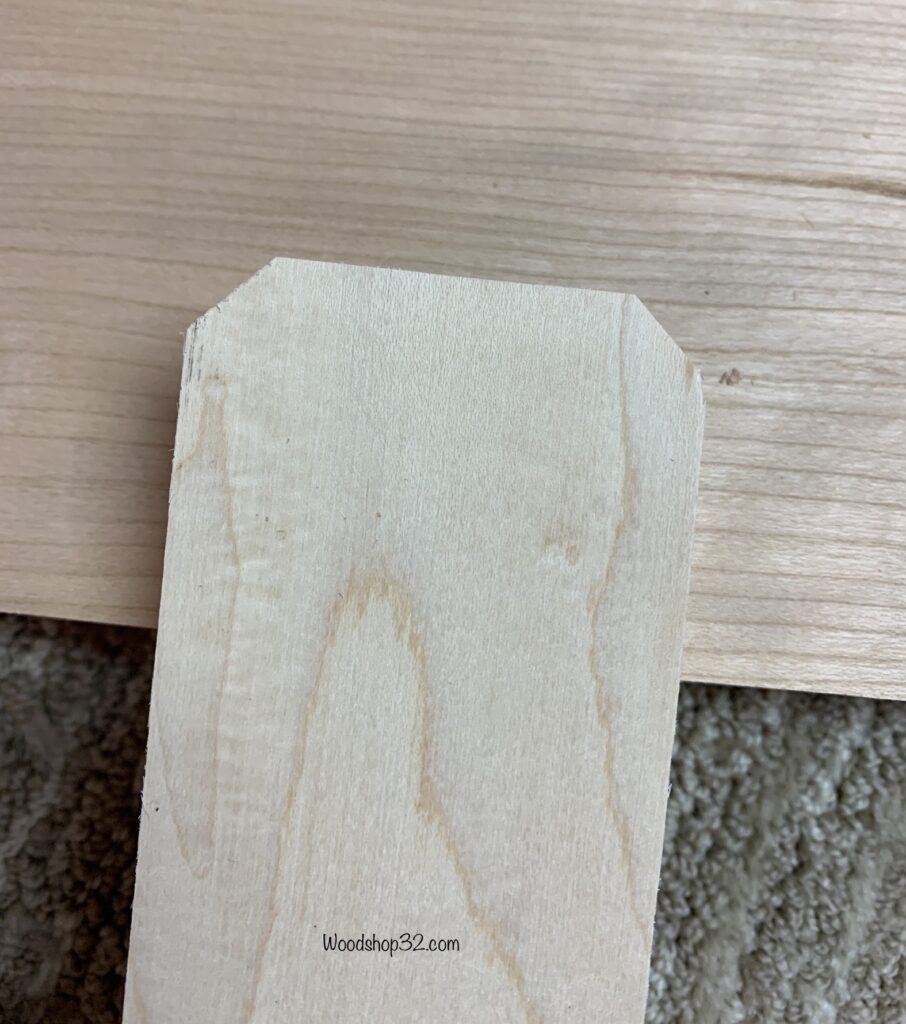
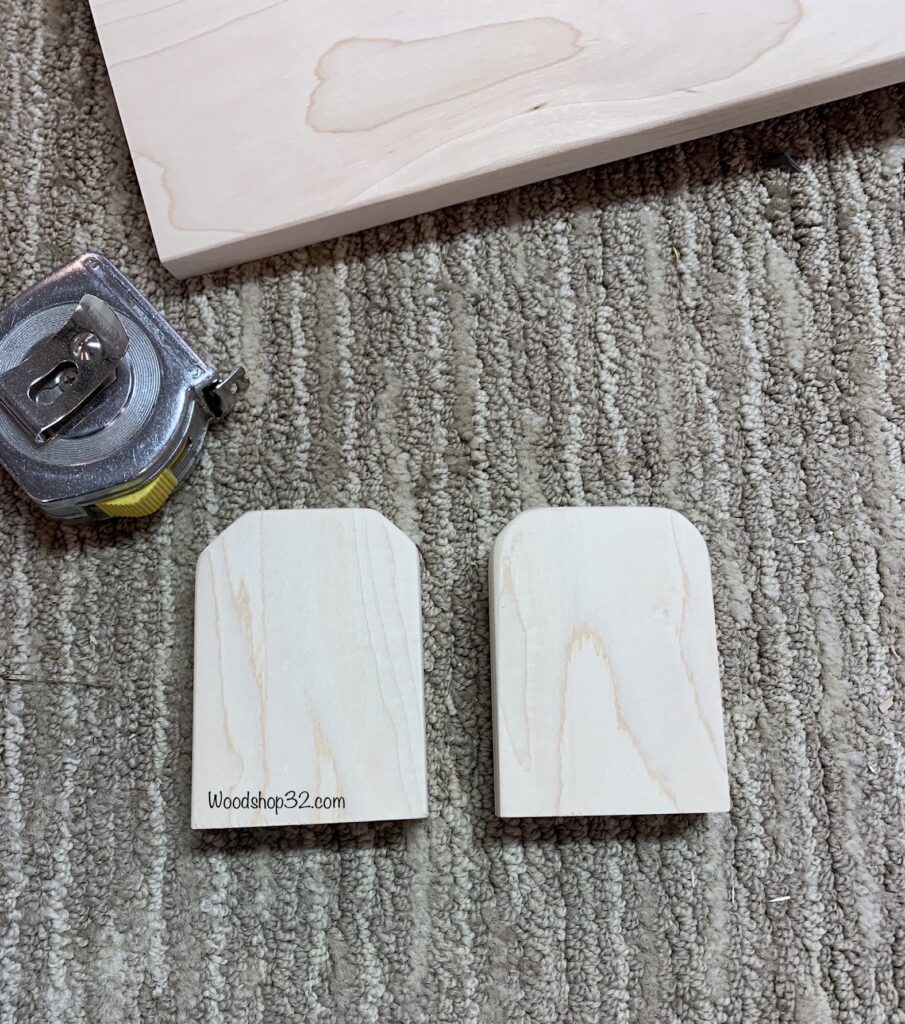
I cut the post board with 45 degree angles for the edges using the Dewalt miter saw. The edges are smoothed using my palm sander with 100 grit then 120 grit sandpaper. With rounded edges, it will prevent any damage to the inside of the helmets.
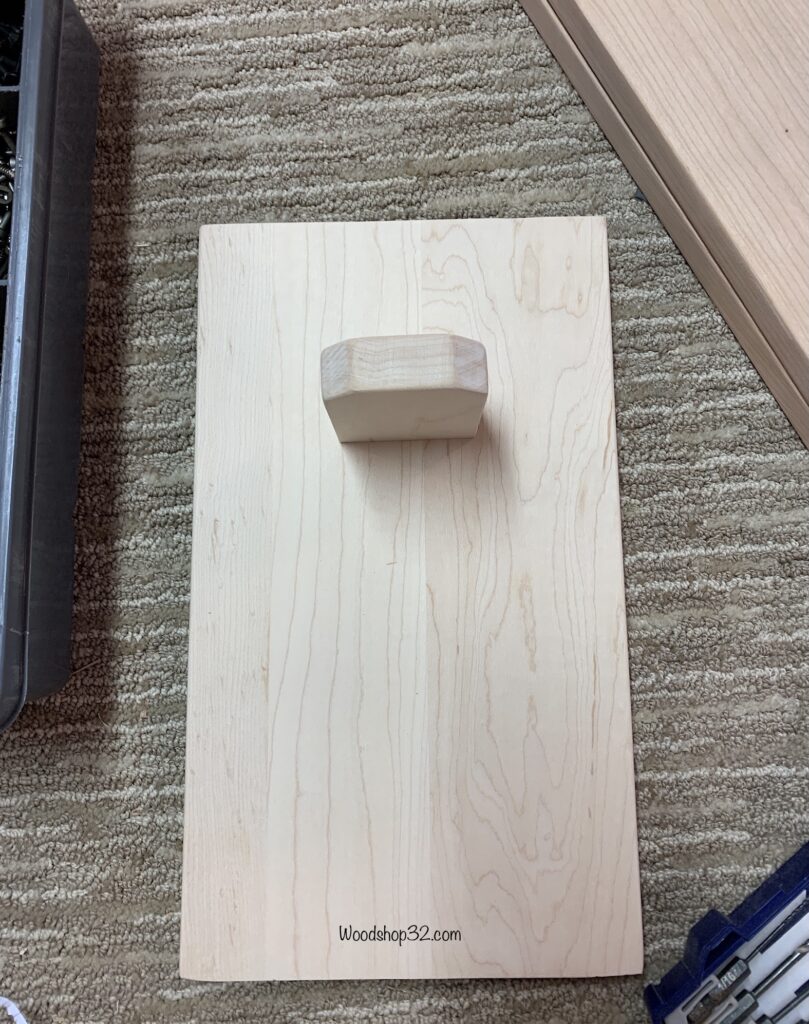
I set the post on the board to get an idea of placement before securing.
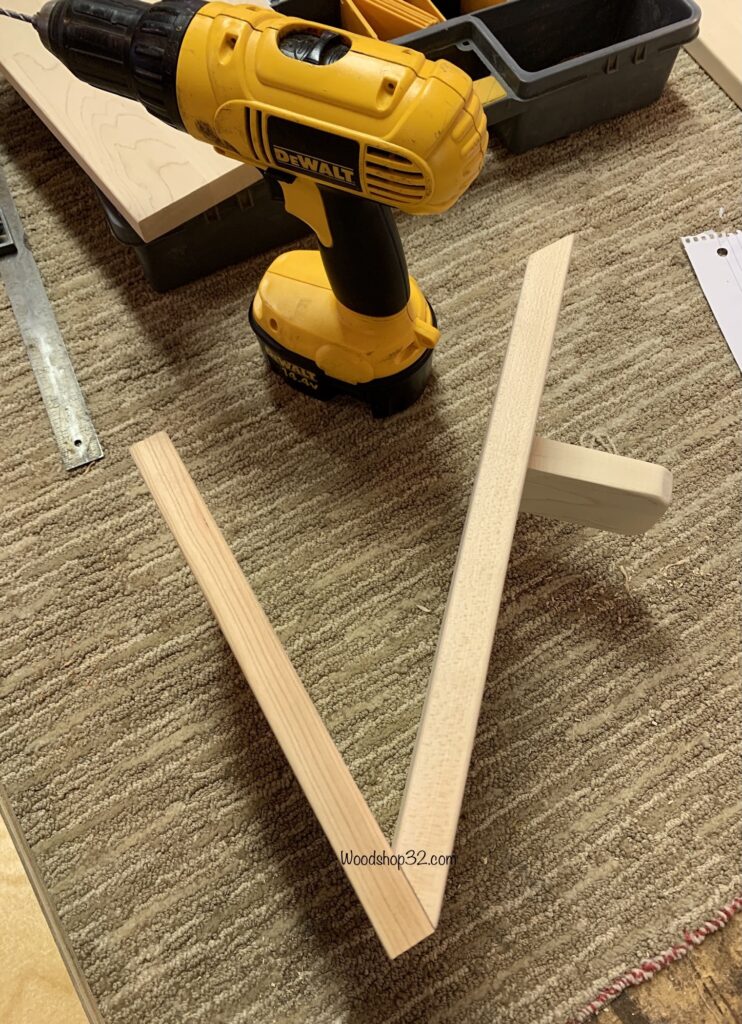
The front board was cut at a 45 degree angle on both ends. Using my cordless drill. I piloted holes with a wood drill bit first. The post is attached with two wood screws to the underside using my cordless impact driver. I love my Dewault tools!
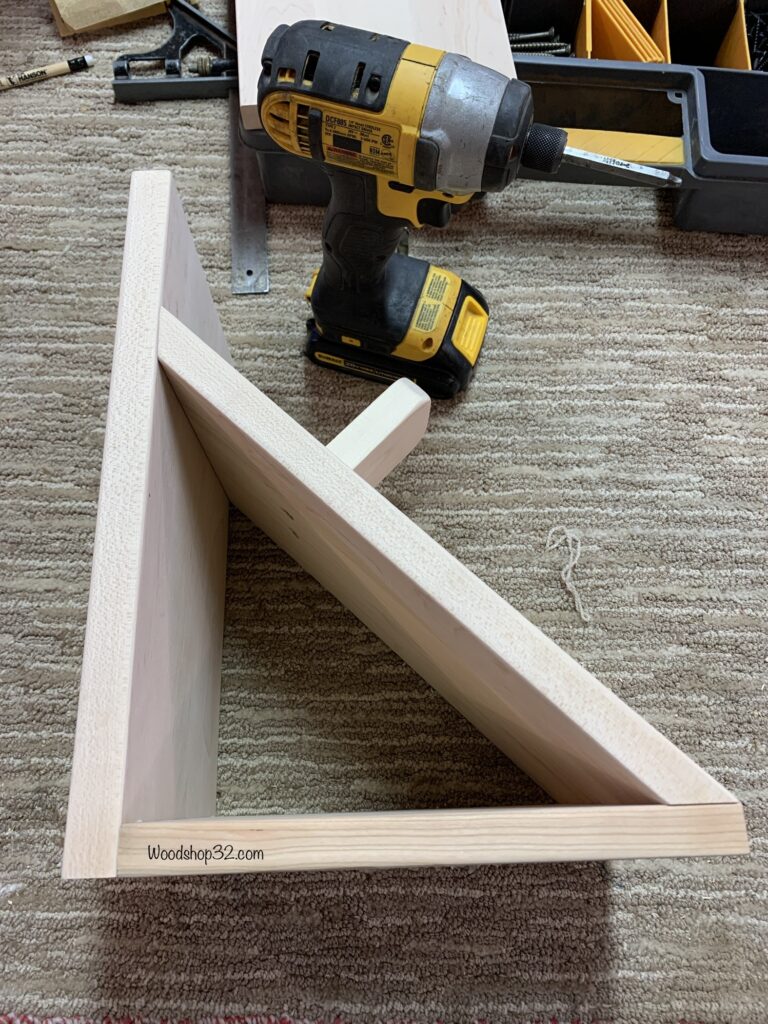
The boards are attached together using wood glue and wood screws. Now you can see the cubby! Great spot for those gloves and sunglasses!
The wood stain is applied first. I usually set my projects on nails so the undersides can dry thoroughly.
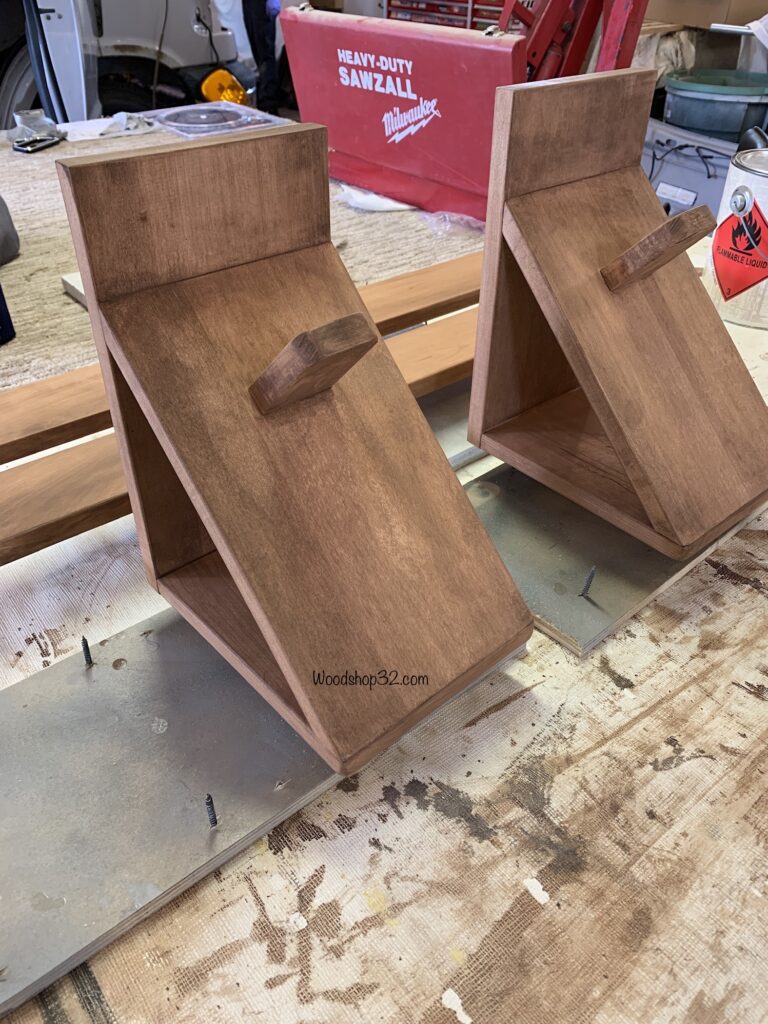
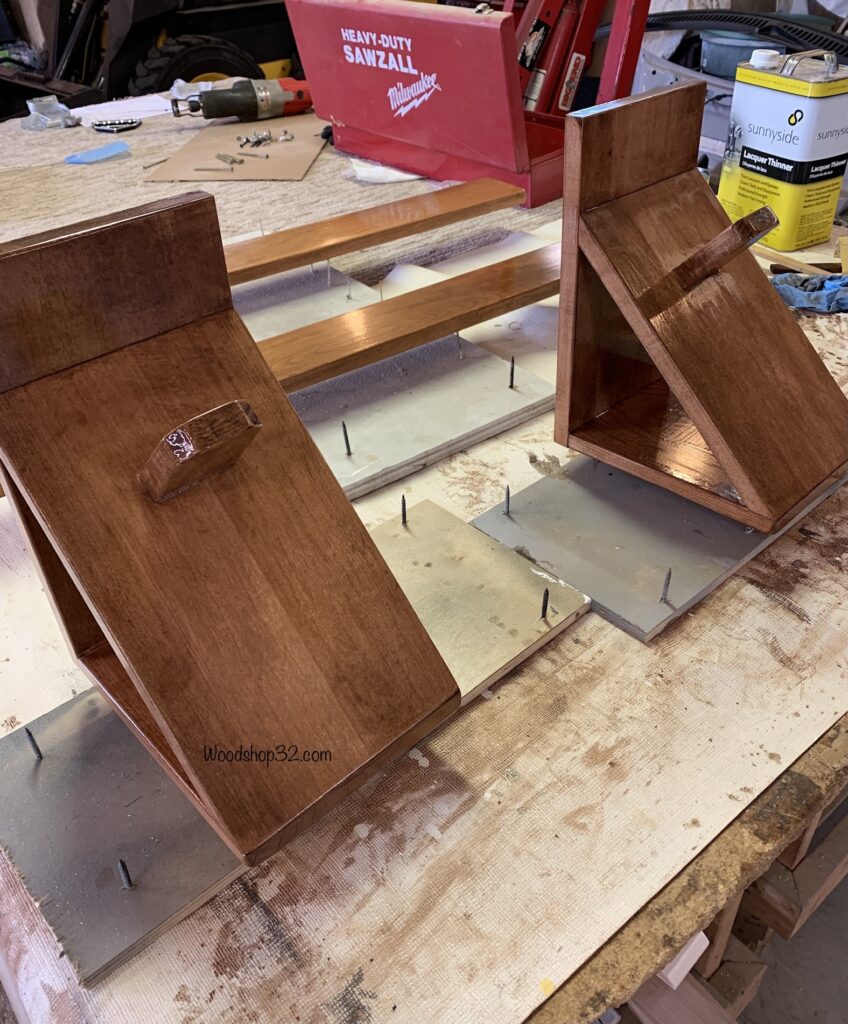
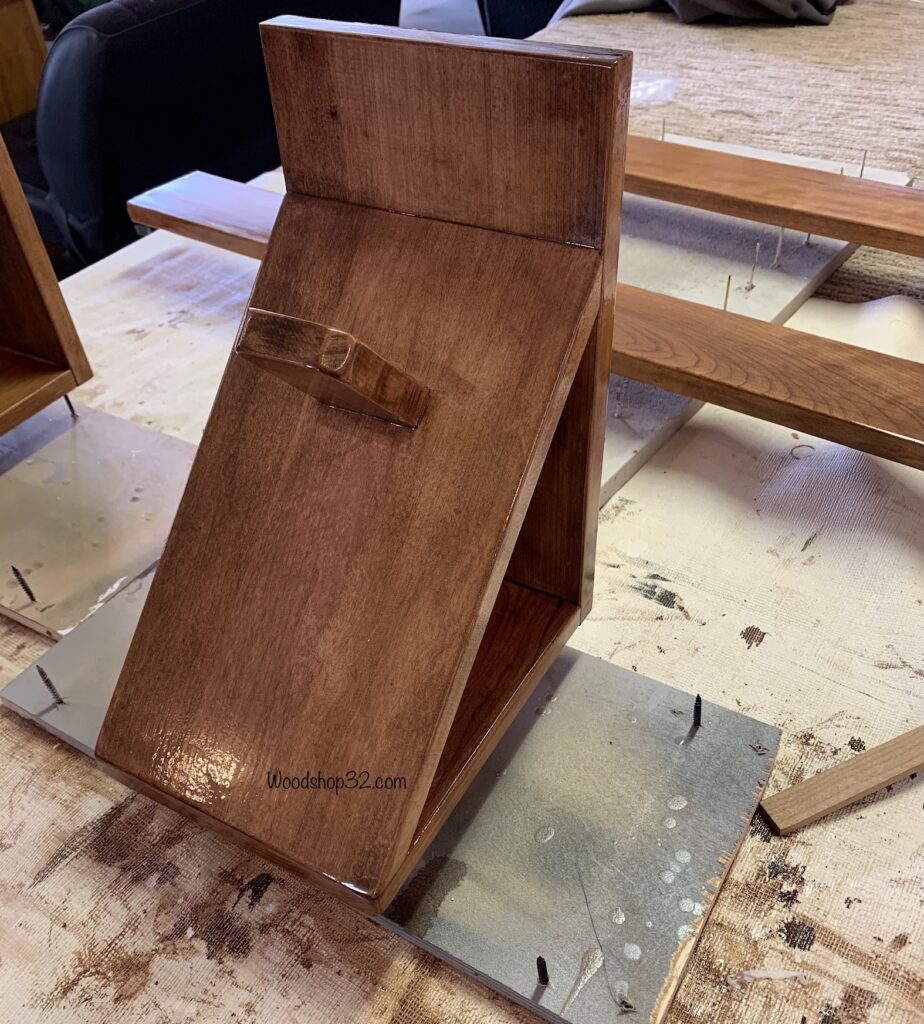
The lacquer coating is applied next. I brushed it on because I didn’t want to dirty up the spray gun for a small project. The clean up is never fun. Spraying it on would have given it a better look.
Oh well. If I every do this project again, I will definitely be spraying the lacquer on the correct way!
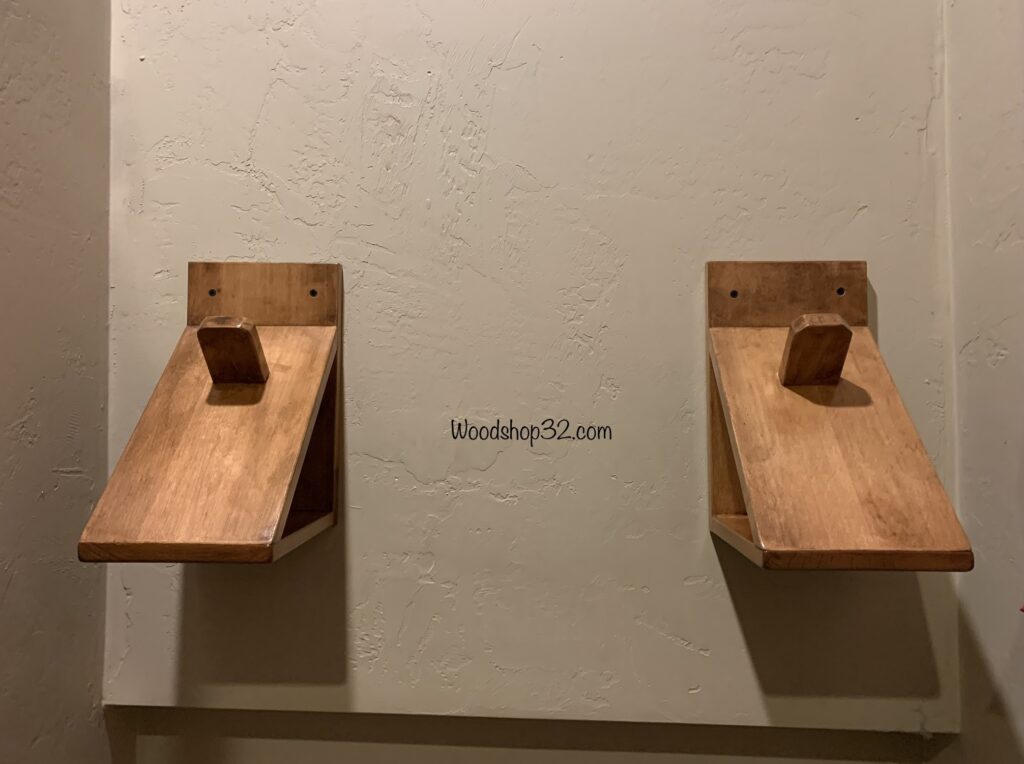
I decided to place the motorcycle helmets on the wall in the stairwell. So when walking down the stairs, you can grab the helmets and go. They are high enough so no one bumps their head on them.
When securing to the wall, only one of the two wood screws went into the wall framing stud. Wall studs are 16 inches on center and my board was much smaller than that.
So, only one wood screw went into the stud and the other into the drywall. (We framed that wall so we knew where the stud locations were.)
If you are unsure of wall stud location, using a stud finder could be an option to try.
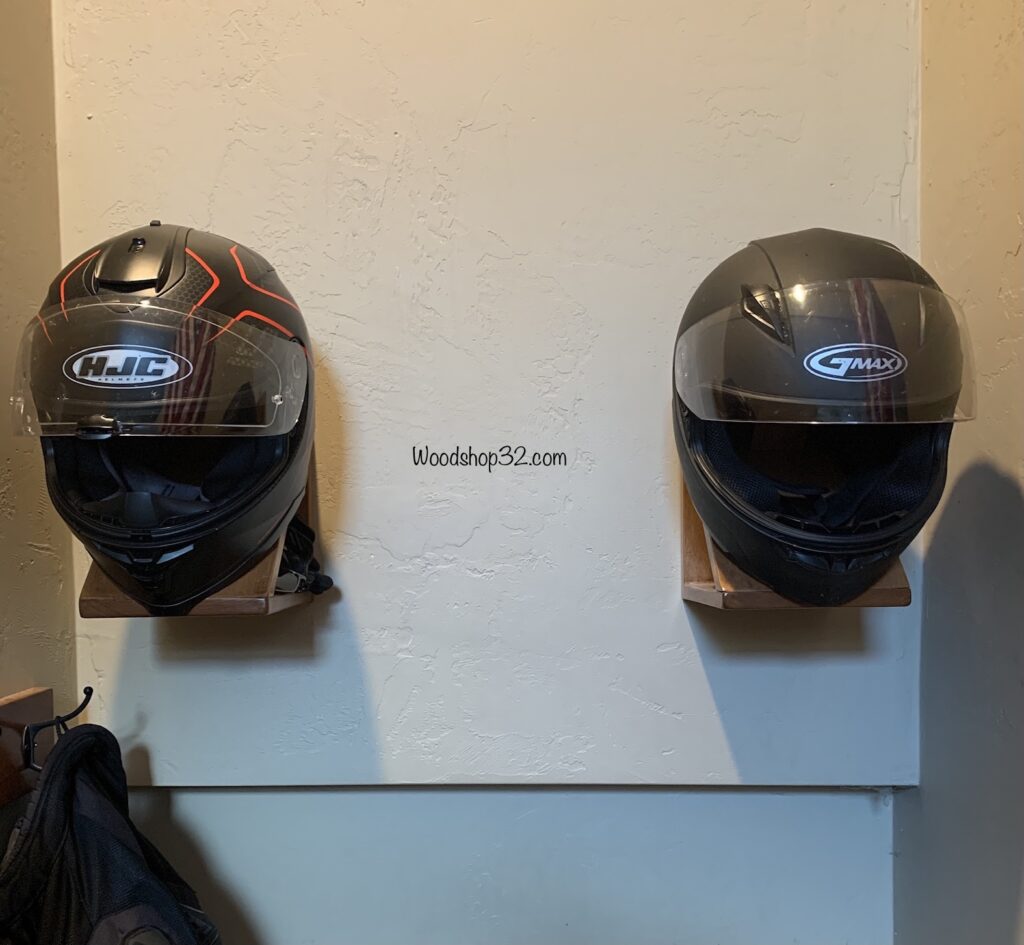
The wall mount motorcycle helmets holders turned out really good! The cubby for the gloves and sunglasses are just the right size. Sweet!
Thank you for visiting the Woodshop32.com blog!
I love it! But I’m missing a bit of building plan information for if I want to try it myself. Which width are the planks, and the resting stud?
Purchase build plans here:
https://www.etsy.com/shop/Woodshop32
Hallo,
Nice project…could you let me know the dimensions of the boards?
Appriciate it,
Sincerely
Benny
Purchase build plans here:
https://www.etsy.com/shop/Woodshop32
Would you happen to be able to post the cut sizes for the boards as I will be making one for myself and would like some guidance size wise?
Purchase build plans here:
https://www.etsy.com/shop/Woodshop32
What are the dimensions. Board width
Purchase build plans here:
https://www.etsy.com/shop/Woodshop32