Wicker Planter Makeover Idea
How to create simple wall shelving? Easy makeover idea using old wicker planter boxes!
An easy home decor project using wicker planters for beginners in 6 easy steps!
Outdoor wicker planters never crossed my mind when working on other makeover projects. I had recently picked some up at a thrift store and I wasn’t sure what to do with them. Keep the wicker flower planter boxes ‘as is’ or not?
I usually work with repurposing furniture but this challenge was unique for me on a much smaller scale. Time to get creative in a makeover wall shelf design!
Disclosure: If you make a purchase from some links in this post, I may earn a referral fee at no cost to you.
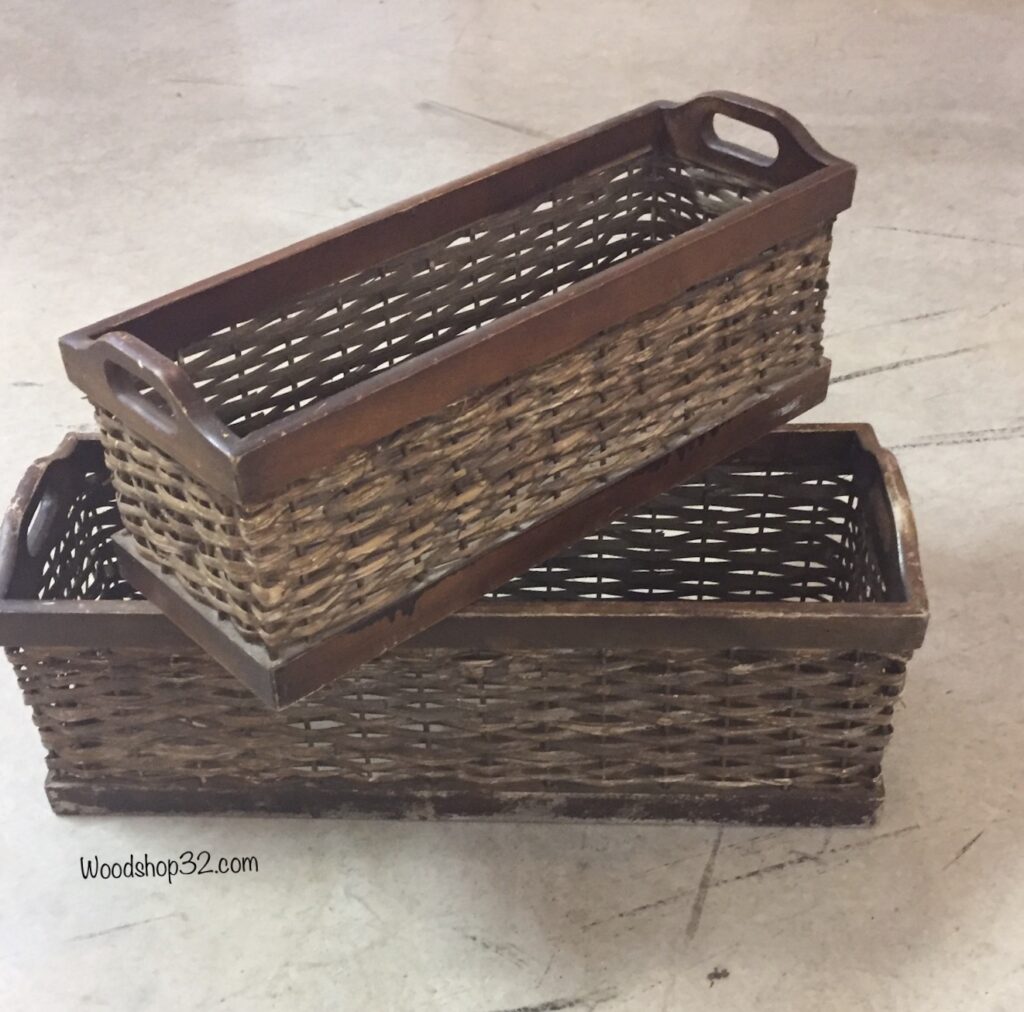
Step 1 – Sand Planters
To get started, the wood is lightly sanded by hand using 120 grit sandpaper. Next. the wicker planters are cleaned with mild soap and water to remove the sanding dust and dirt. I set mine in the warm summer sun to dry faster before continuing.
Follow Woodshop32.com on Pinterest!
Step 2 – Attach Wicker Planters
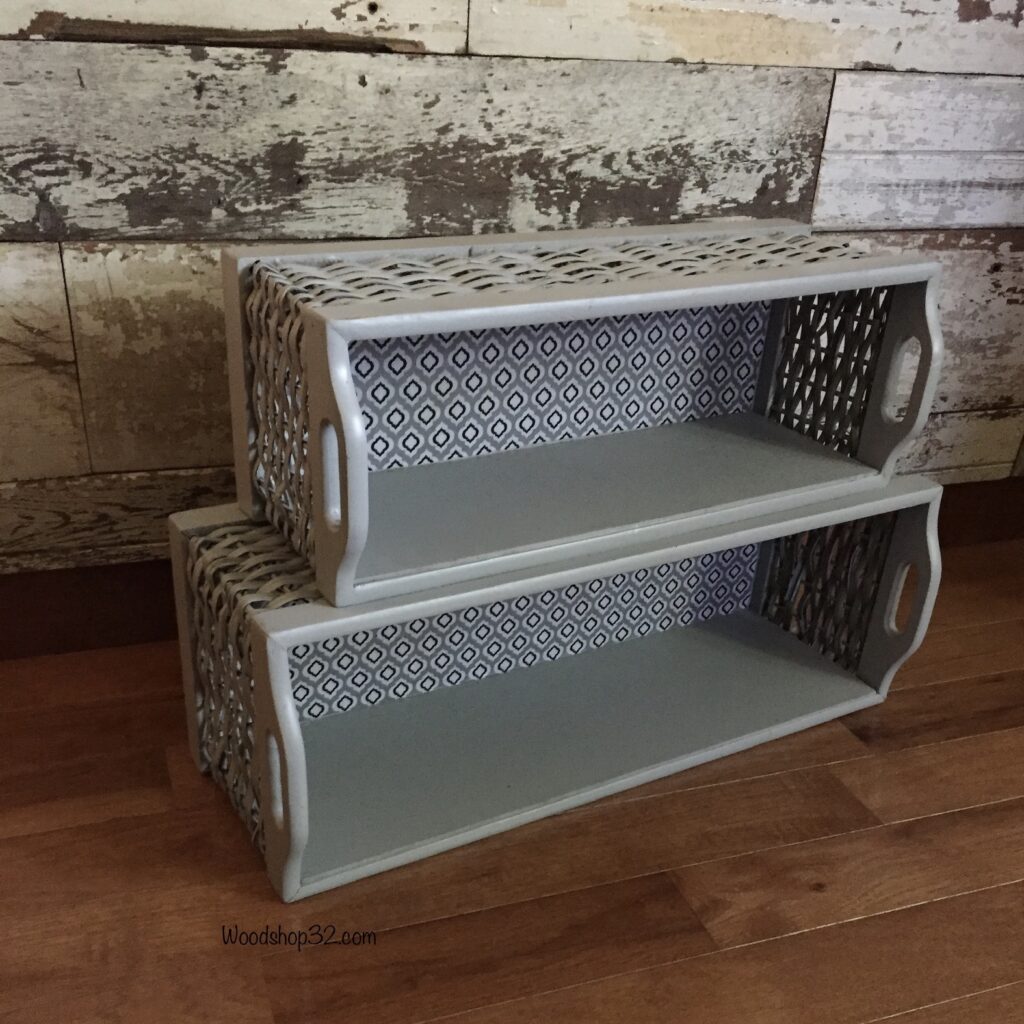
The smaller wicker planter box is centered and screwed onto the top of the larger one (must secure to the wood not the wicker). I used four wood screws. The two wood screws in the back will not be seen since it will be up against the wall. The two wood screws in front are screwed down inside the smaller wicker planter (these will be covered up).
Looking for more DIY Makeovers? Click on my other DIY projects: DIY Farmhouse Mirror, Upright Piano Makeover, Fireplace Wine Rack
Step 3 – Make Shelf Bases
The inside of the each wicker needs a flat shelf base. I cut to size for each planter a scrap piece of 1/4 ” wood panel and wood glued it on. The front edge of each 1/4″ panel is micro pinned to the wood to keep it secure.
My DIY shelf makeover idea is coming together! Love it!
Want to save this post for later? Make sure to Pin It!
Step 4 – Paint Wicker Shclves
While using a handle attachment, the planters are spray painted with a soft grey color.
Step 5 – Glue on Fabric
I purchased inexpensive fabric for the inside backs to match the paint color. The fabric is cut to size for each wicker planter. Set the planters upright and brush on mod podge glue to the bottom of each flat surface. With the fabric face up, place it onto the wet glue and press down smooth. When done, brush the glue on top of the fabric for a protective layer. It will dry clear.
Step 6 – Attach Wall Hardware
Wall hanging brackets are attached to the back of the planter. For extra strength, I added two wall brackets.
The old wicker box planters are now repurposed into a one-of-a-kind wall shelving for a possible bedroom or bathroom. (My picture shows them sitting on the floor.) I am very happy with my DIY wicker planter makeover idea!
My little adventure to the thrift store turned into a fun, easy DIY home decor project!
Enjoy creating your own DIY shelving idea!
Thank you for visiting the Woodshop32.com blog!
Clever way to use them!
Thanks!