Rocking Chair Upholstery
How to DIY reupholster a seat and backrest for a vintage rocking chair project.
A budget friendly furniture flip by using upholstery fabric and paint for a chair makeover idea.
This rocking chair is a beauty! Love at first sight and with a discounted price!
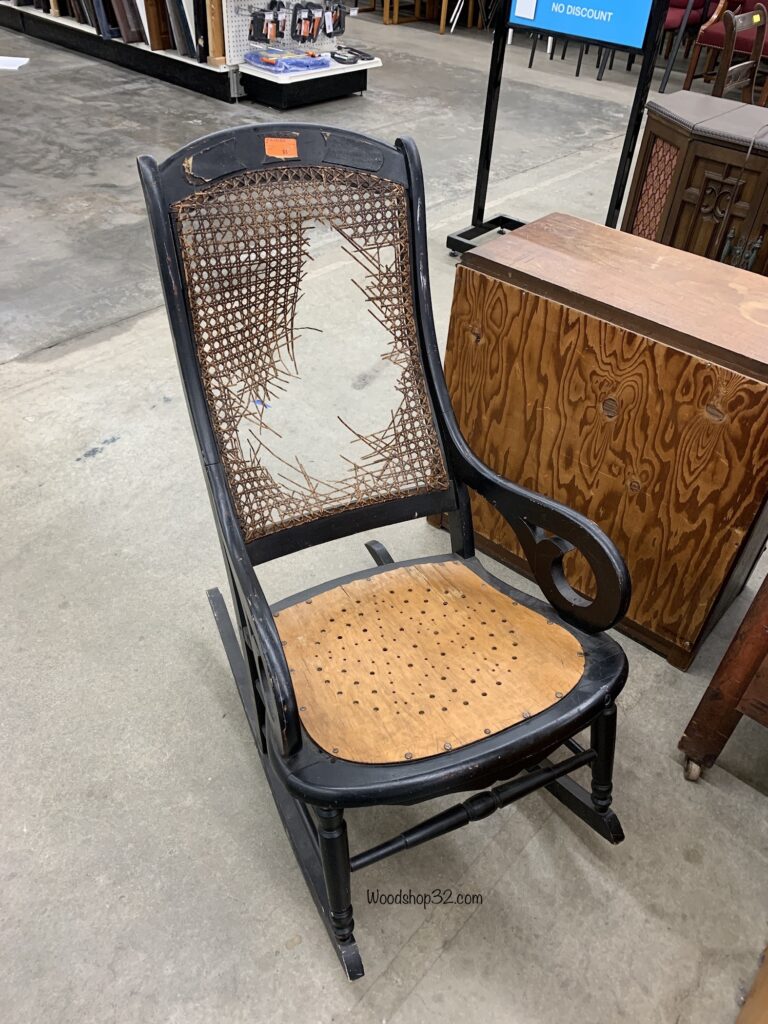
I did get odd looks in the store when I sat on it. Ha Ha! Try before you buy! The rocker is very sturdy and build good. I’m so excited to design a DIY rocking chair upholstery project!
This post includes Amazon affiliated links in which I may earn from qualifying purchases at no extra cost to you.
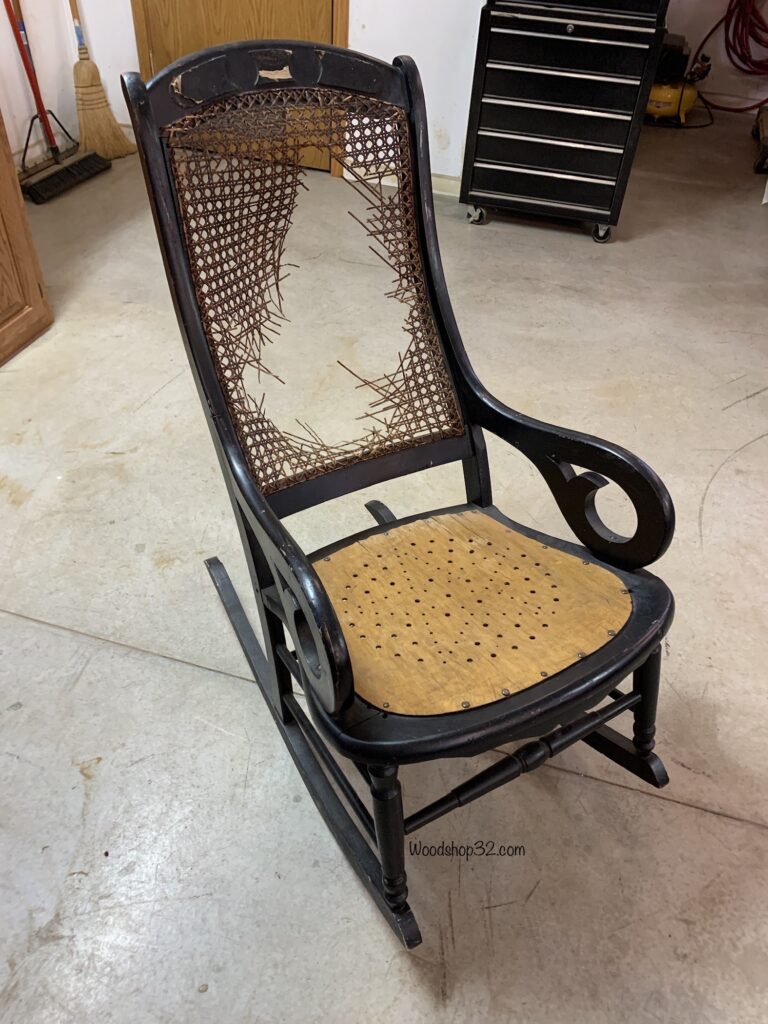
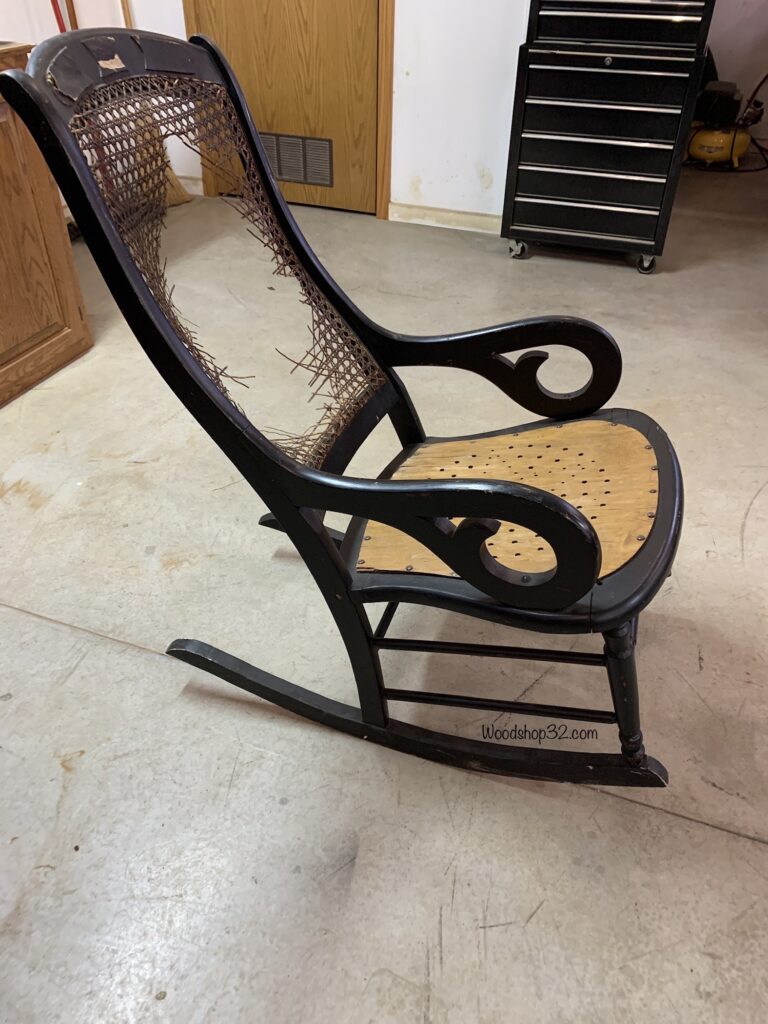
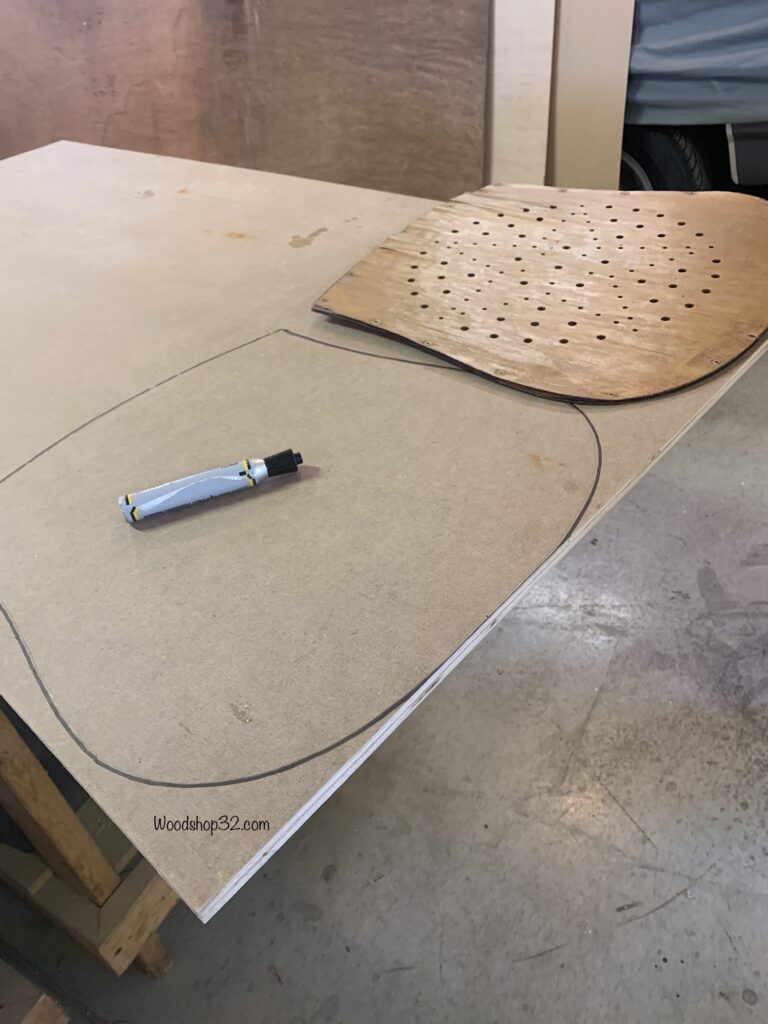
Remove Cane Webbing and Chair Seat
Time for rocking chair surgery! The broken cane webbing is removed from the frame using a utility knife to cut it off. A flat head screwdriver is used to pry off the old wood seat and remove webbing staples. I noticed a price of 39 cents on the back of the seat board. Hmm? Wonder if that was a deal back then?
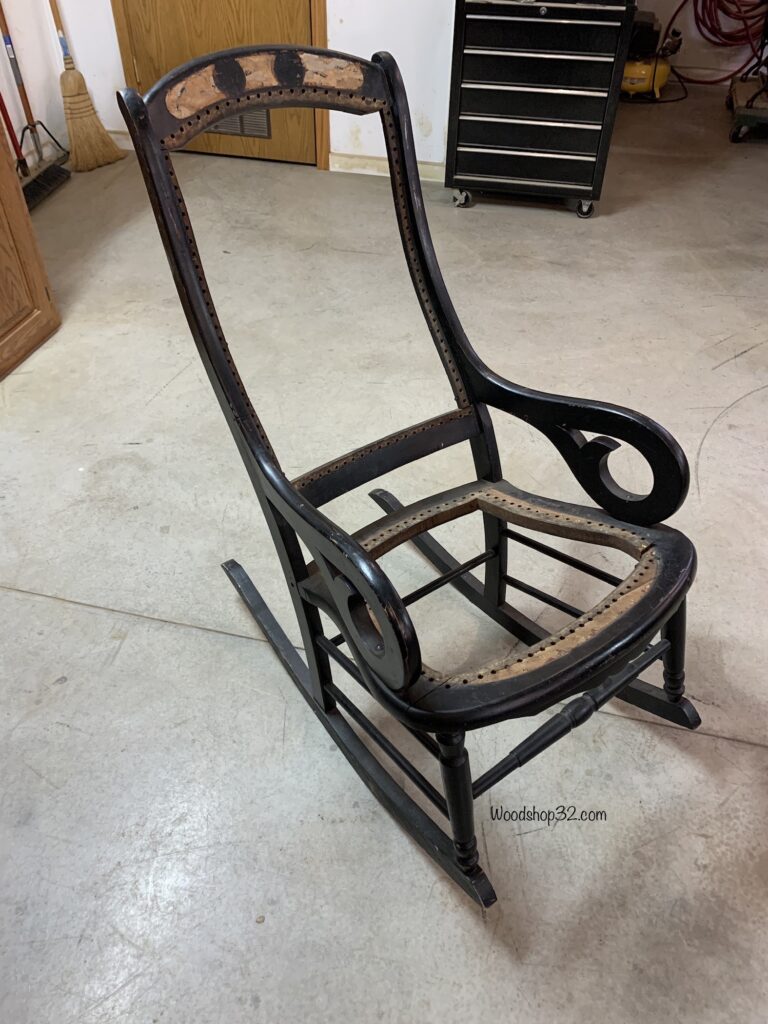
Replace the Rocking Chair Seat
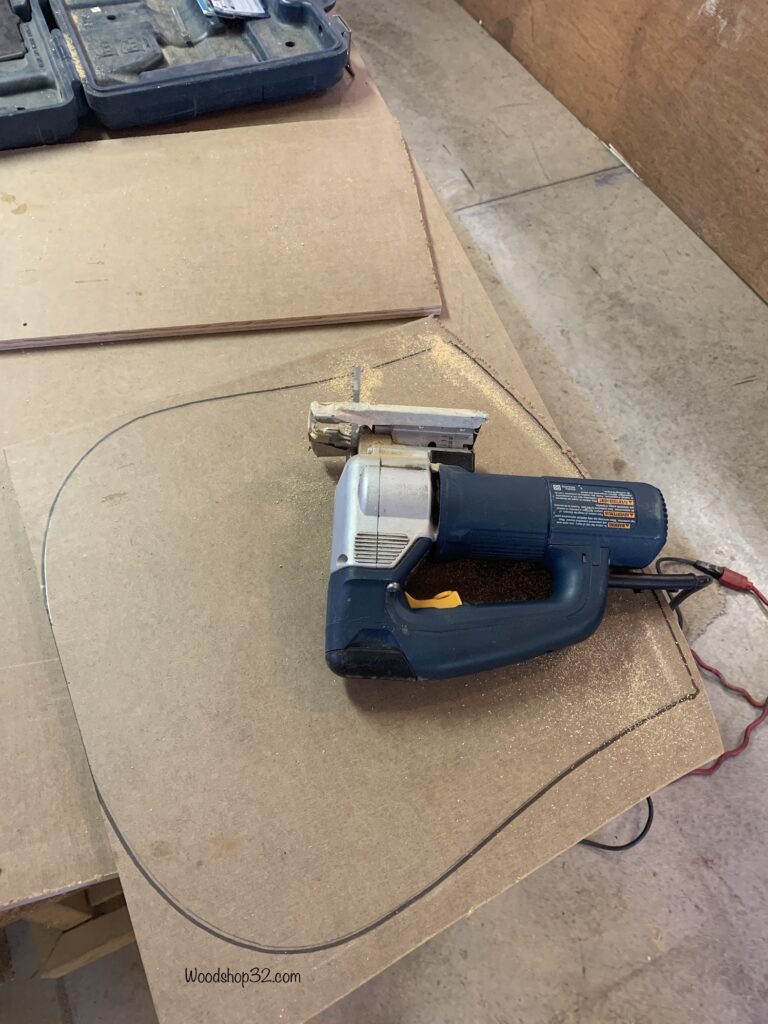
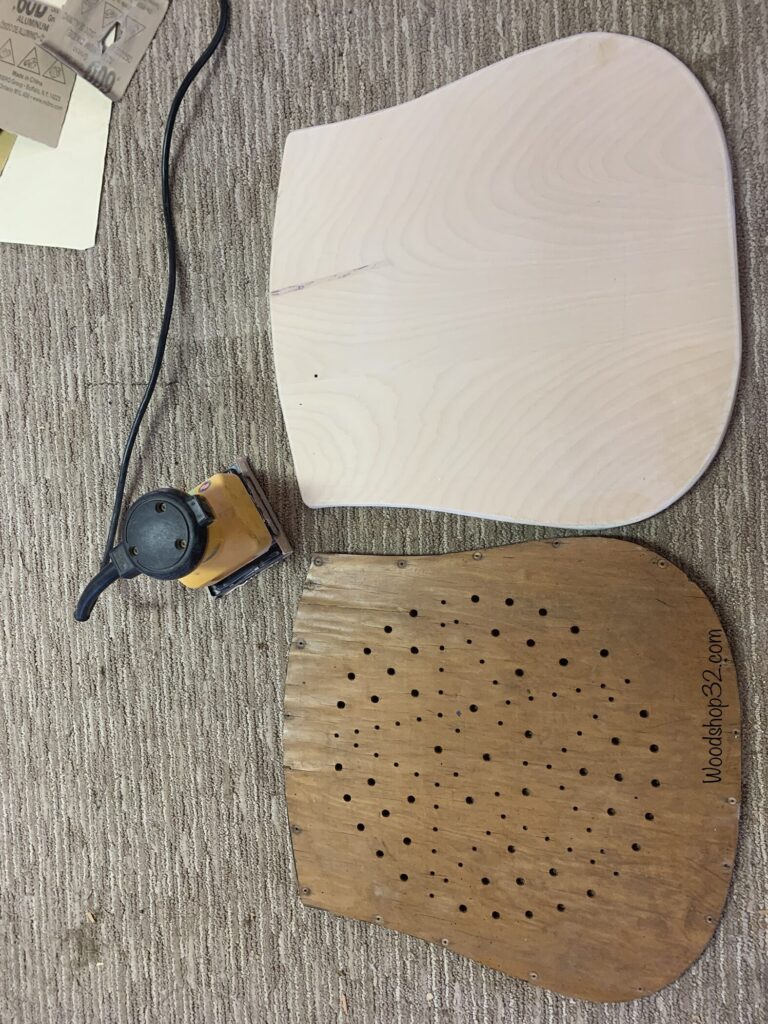
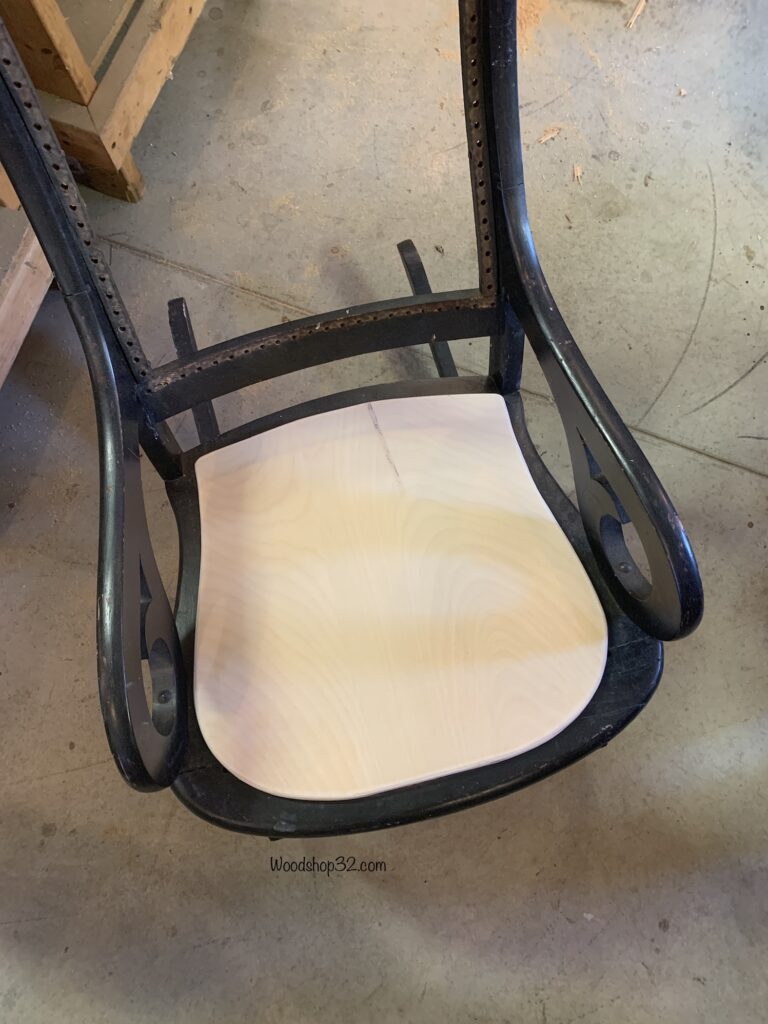
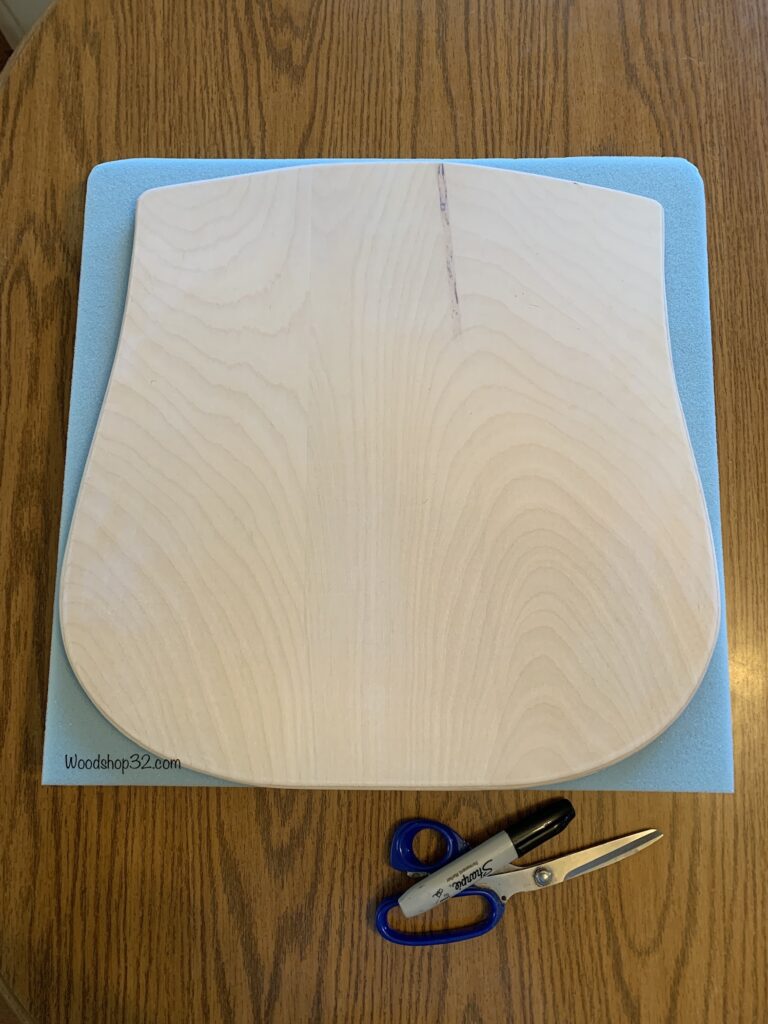
My DIY replacement seat is made by using 1/2″ veneer plywood material. I traced the old seat pattern and cut it out using a jig saw. Easy DIY chair seat repair!
My new replacement seat turned out really good! Using the palm sander, the seat was sanded with 100 grit. It will be covered up so no extra sanding needed.
Follow Woodshop32.com on Pinterest!
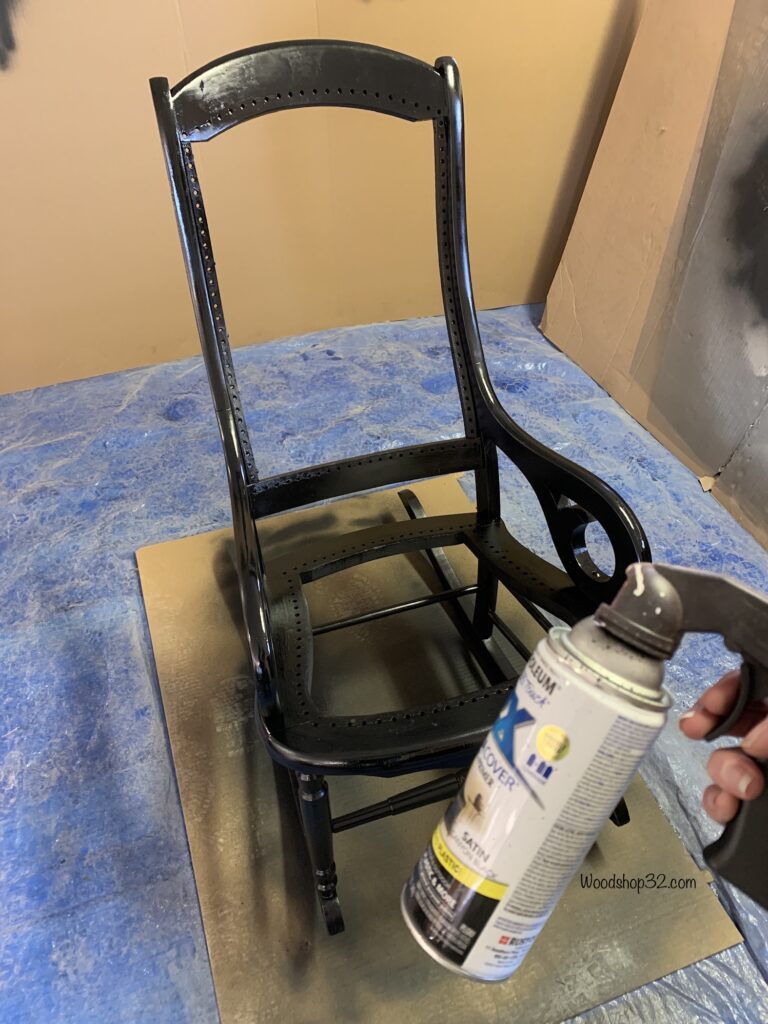
Painting the Chair Frame
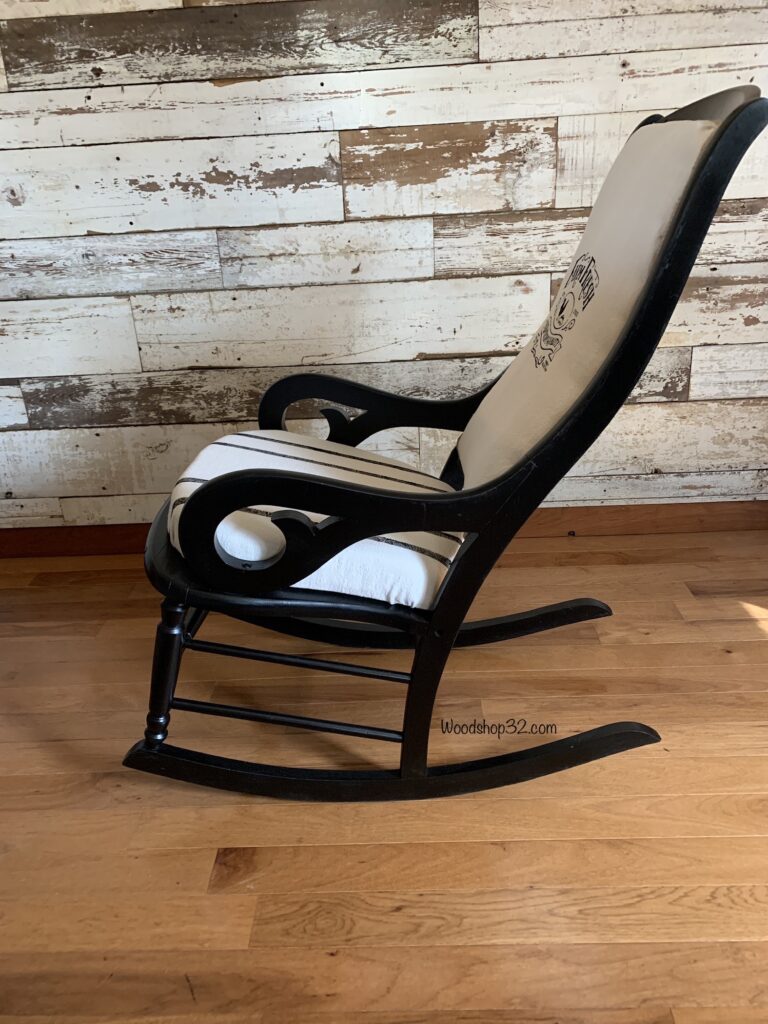
The rocking chair frame is cleaned with mild soap and water. Once dry, it was ready for spray paint. I decided to keep the same chair paint color because it was part of my farmhouse design. A fresh coat of satin canyon black paint is applied. Looking good so far!
Upholstery DIY
The areas of the rocking chair that need supplies are measured for estimated yardage (canvas fabric, burlap chord, jute webbing, seat size).
The supplies for the upholstery phase of the vintage rocking chair restoration are listed here:
- medium drop cloth canvas fabric
- burlap chord
- jute webbing
- stencil
- painter tape
- masking tape (2 inch)
- acrylic craft paint (permanent)
- stencil sponge (round)
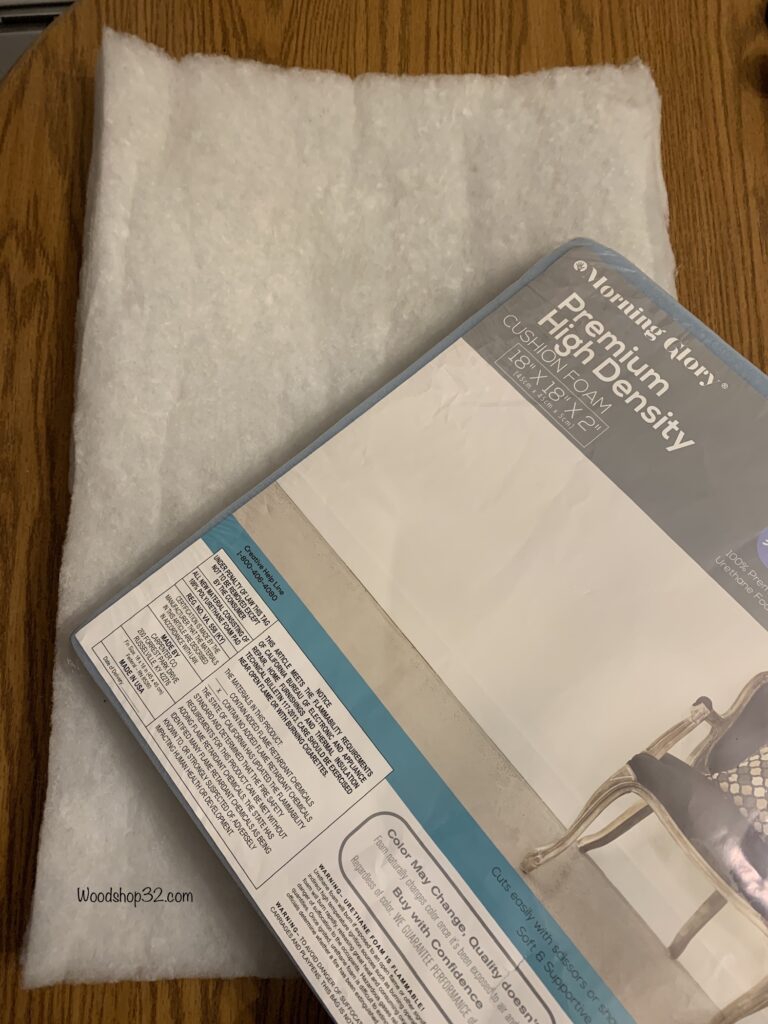
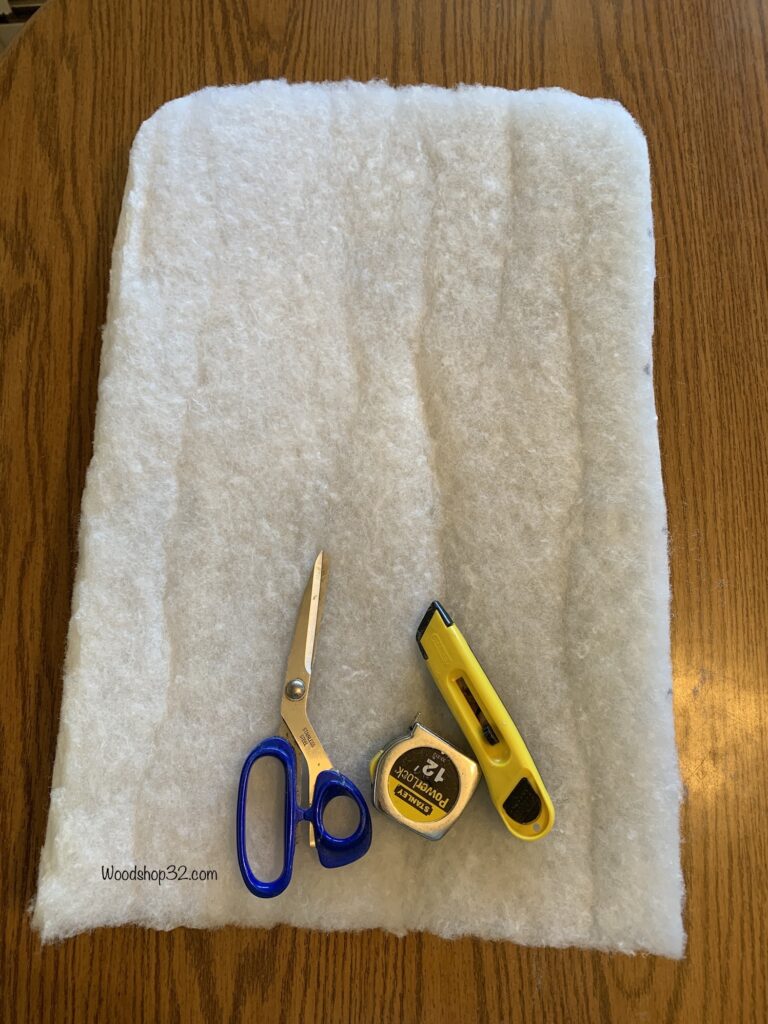
- cushion material for chair back rest (2 inch thick)
- cushion foam for seat (2 inch thick)
- spray adhesive
- electric stapler or manual
- hot glue gun

Cutting Upholstery Seat Foam and Canvas Fabric
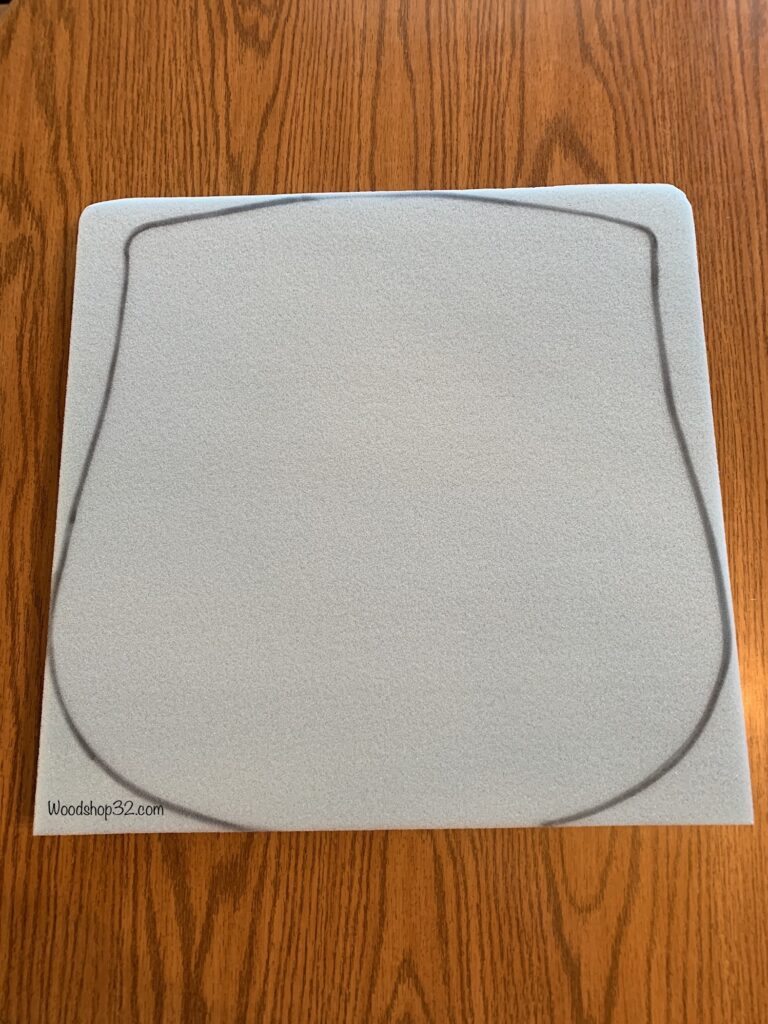
The new replacement seat is traced on top of the foam cushion and cut out.
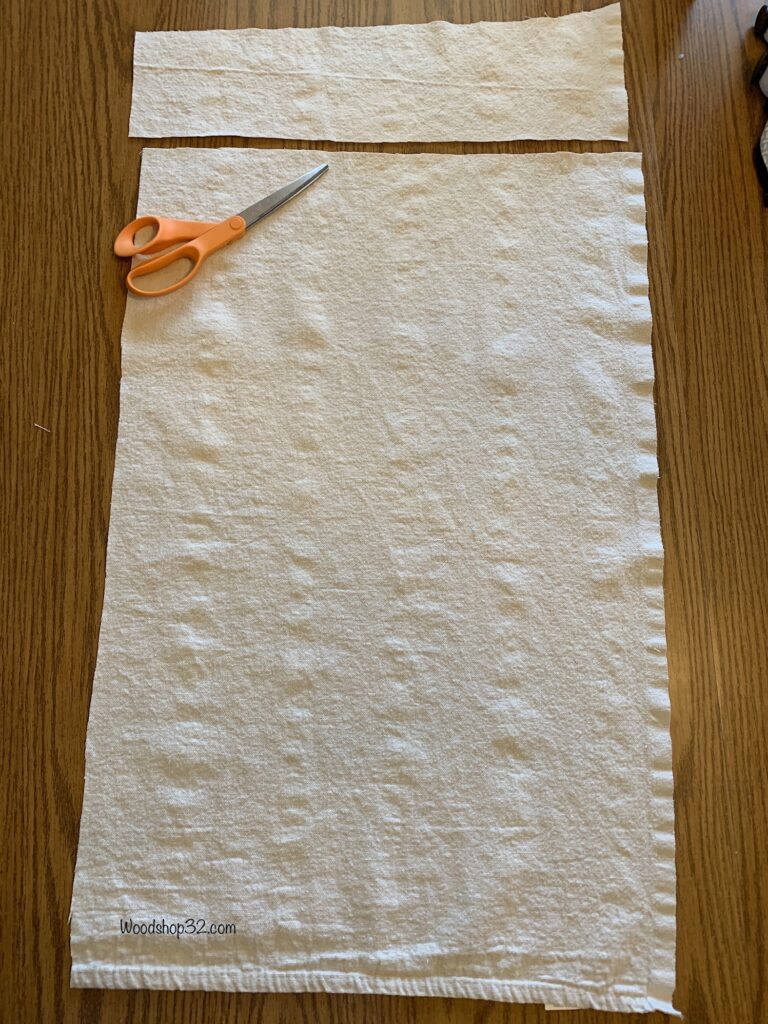
Back Rest: Two pieces of canvas fabric are cut for the front and back of the rocking chair. The front side canvas fabric is cut two inches larger for length and width. This will accommodate for the back rest padding thickness.
Want to save this post for later? Make sure to Pin It!
The back side canvas fabric is smaller because no padding there – only fabric. So only one inch larger for length and width.
Painting Upholstery Fabric
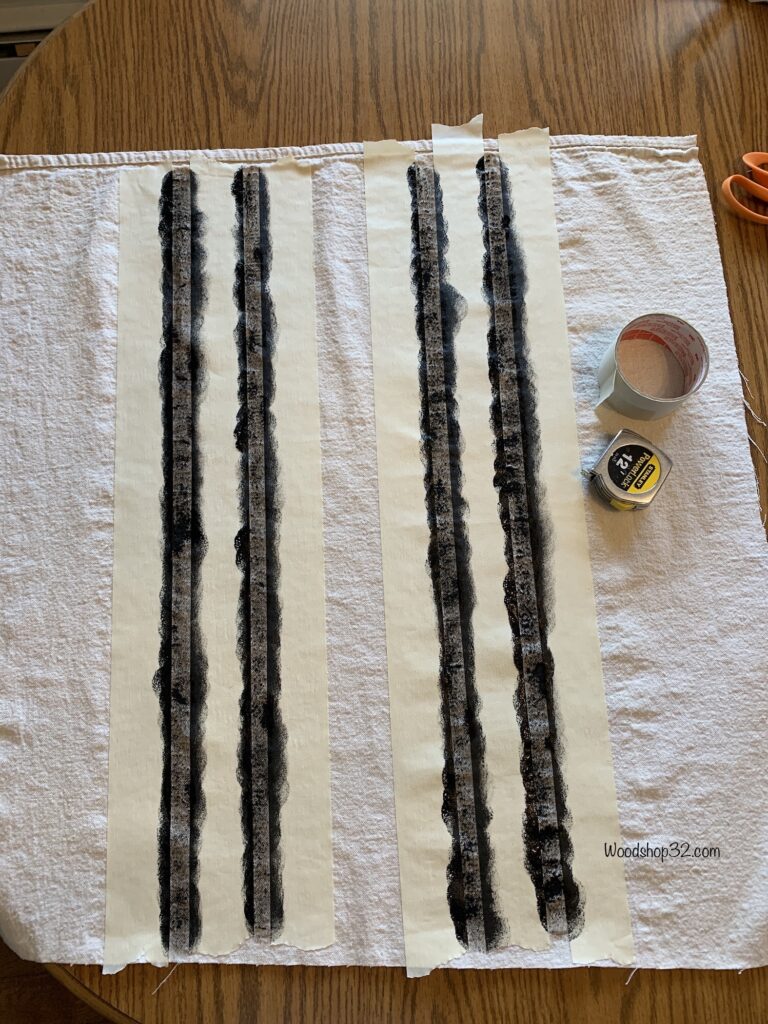
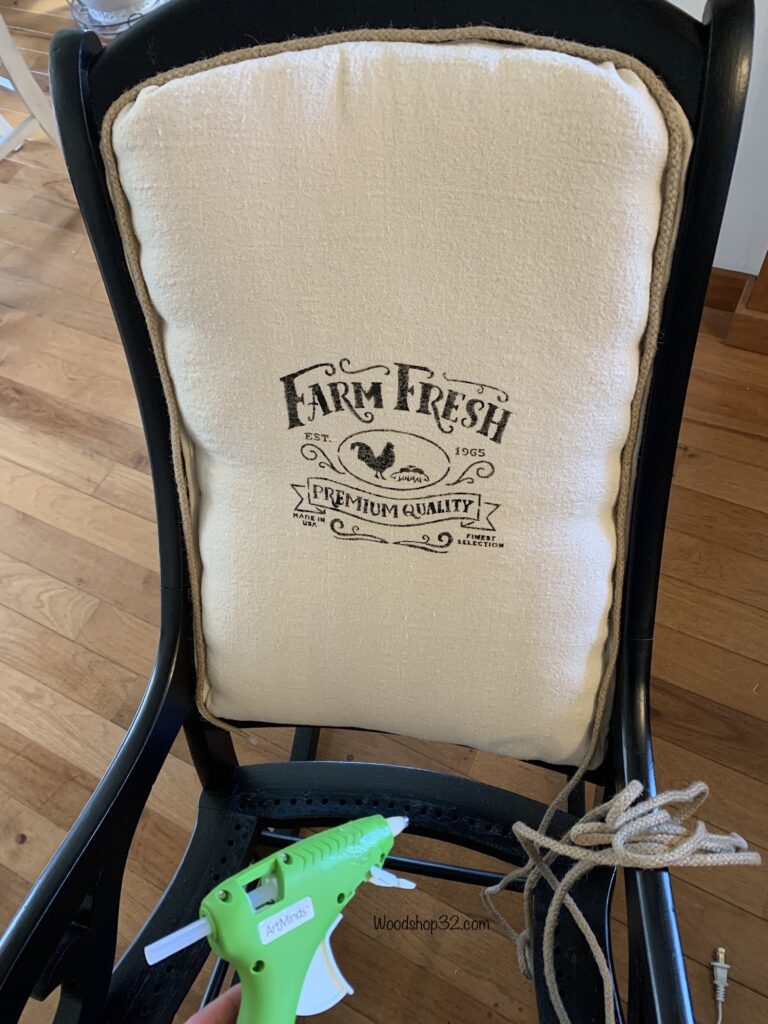
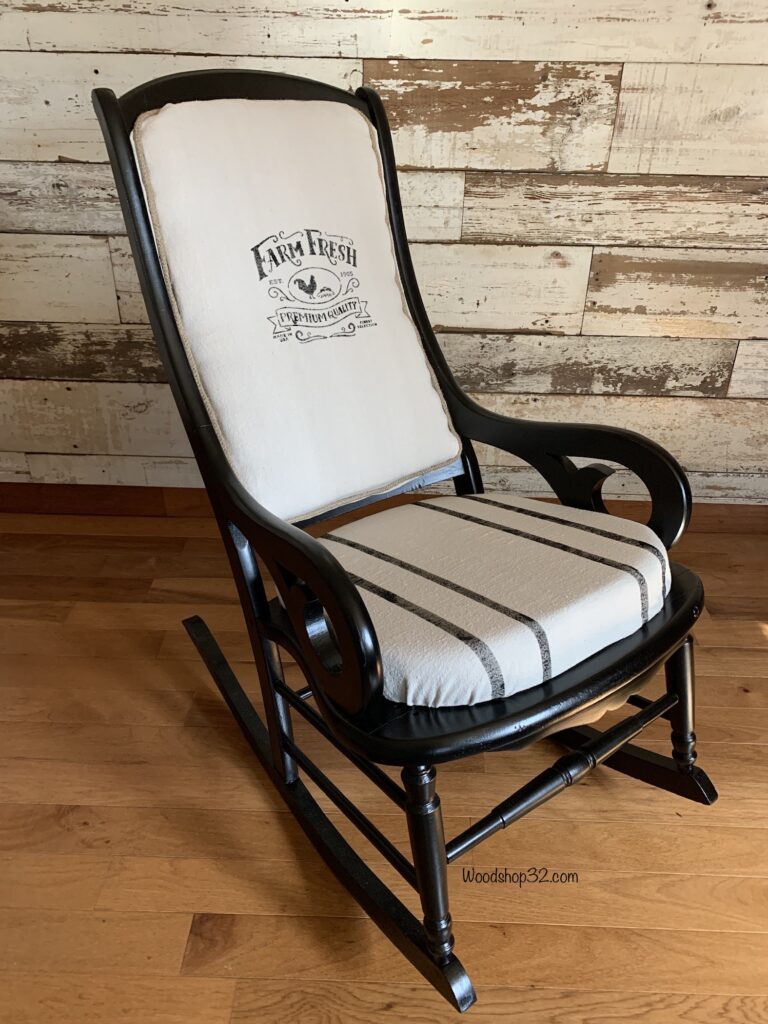
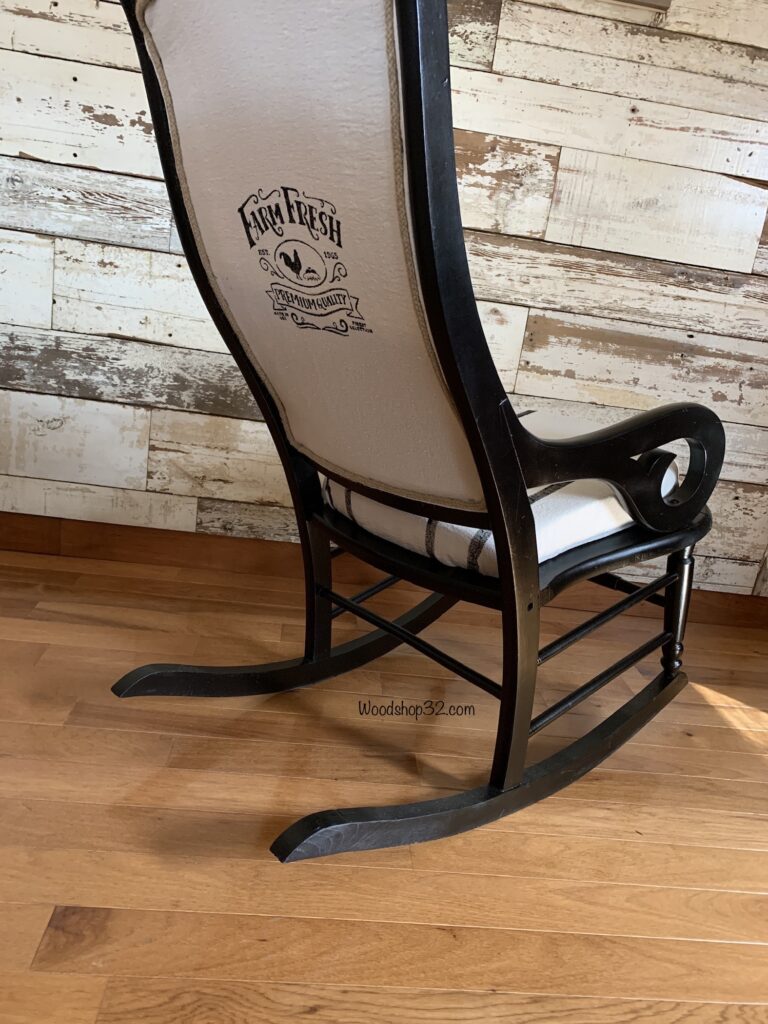
My farmhouse chair upholstery idea for fabric is to use a farm themed stencil. The stencil is centered onto each of the back rest pieces of upholstery fabric and painted with black acrylic paint. Easy cost saving idea for a chair makeover!
The seat upholstery fabric is cut larger to accommodate both the seat cushion foam and wood board thickness. Must have enough fabric to overlap both.
I used masking tape to form lines on the seat fabric and then blotted the black acrylic paint on it.
The stencil and tape are removed and the paint is allowed to dry for 24 hours.

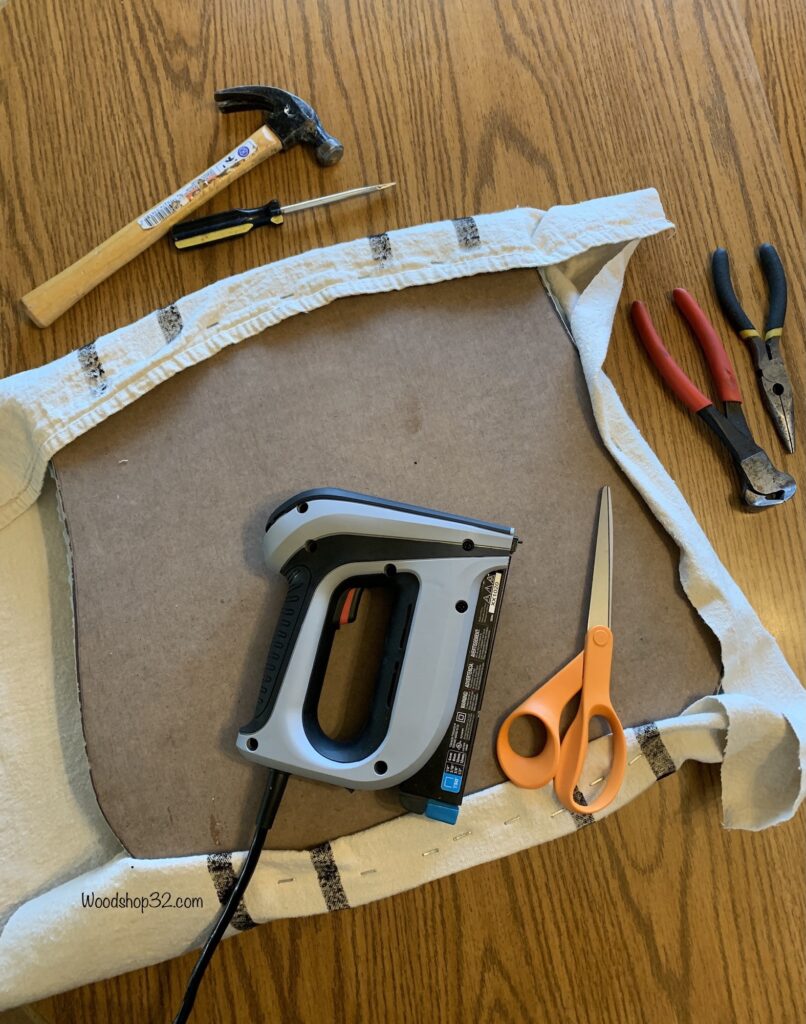
Upholstering Seat Fabric & Cushion
I used adhesive glue spray on the seat board and firmly placed the cushion on it. This will stop the seat cushion from moving when stapling. Using an electric stapler, the drop cloth fabric is stapled nice and snug to the seat board.
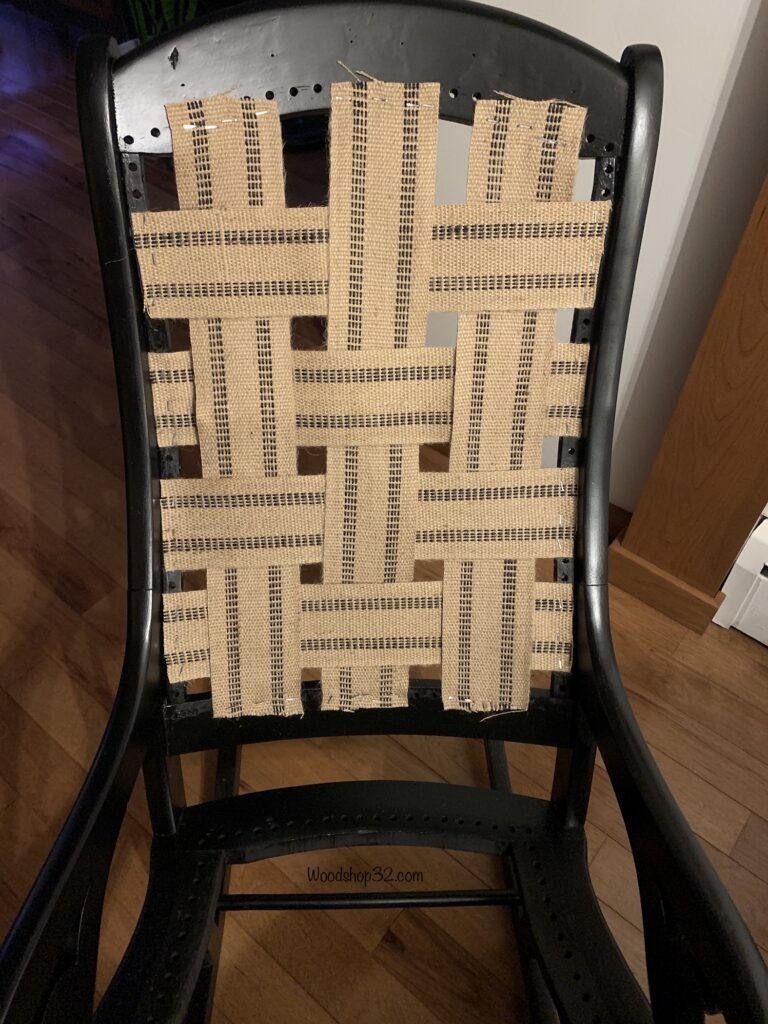
Stapling Jute Webbing
I cut the jute webbing strips to size according to the rocking chair back frame opening. The longer jute strips are stapled on first. The shorter jute webbing is interwoven for strength.
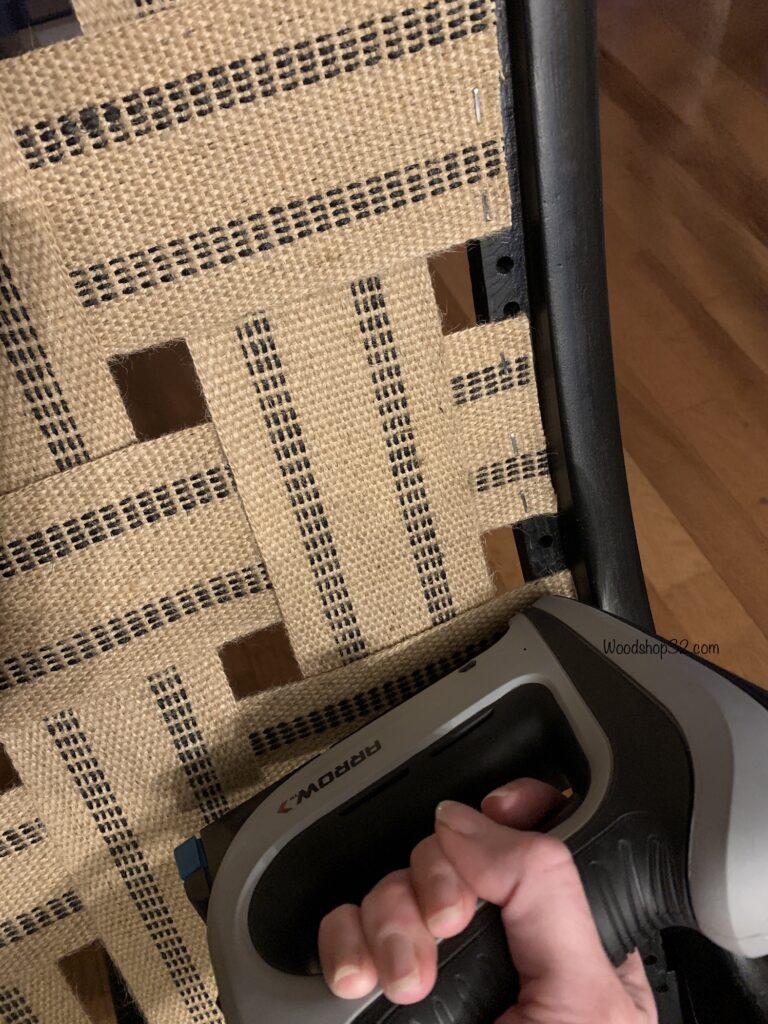
Attaching Upholstery Fabric & Back Rest Cushion
The chair is put on it’s back so I could place the back cushion and fabric on top of the jute webbing without it sliding off. I stapled the top of the fabric is first. The vintage rocking chair is placed upright and I continued to staple the rest of the fabric. The same procedure is used the back side of chair.
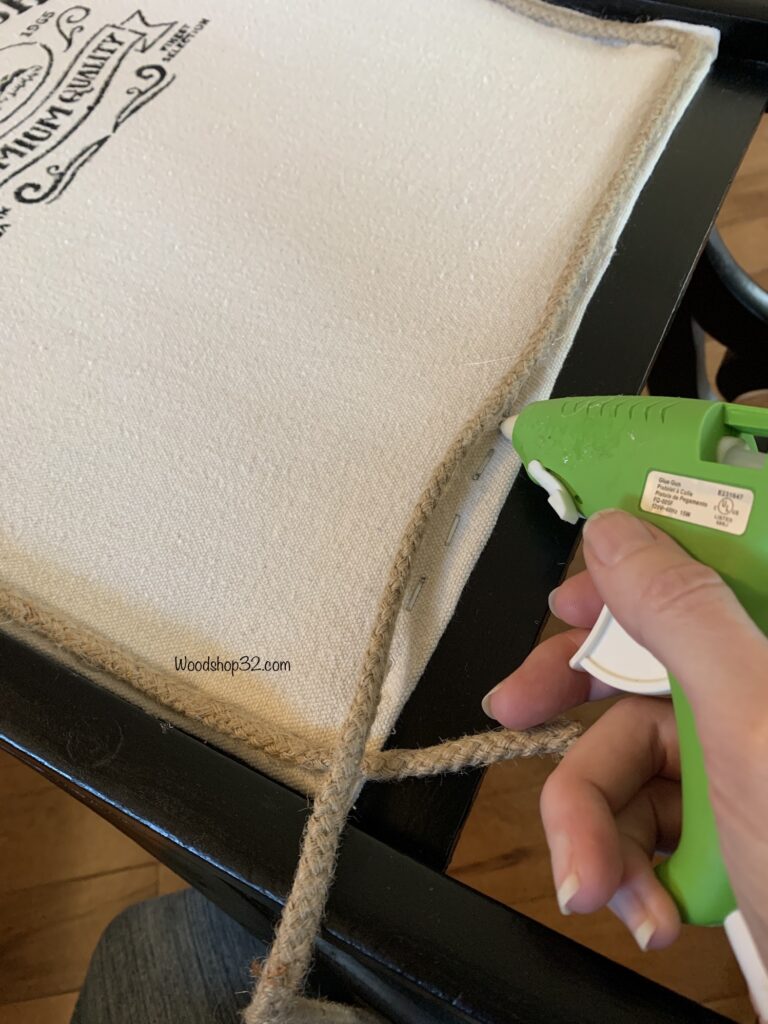
I placed the burlap chord around the stapled fabric then started to hot glue it over the staples to hide them. The burlap chord is cut and hot glued together to look seamless.
The upholstered seat is screwed onto the frame using wood screws.
Reupholstered Rocking Chair Makeover
After a lot of hard work, the vintage rocking chair received a complete upholstery restoration. I am so happy with the results. This is one project I am actually keeping for myself!
This is my first DIY rocking chair upholstery project. If I ever do another one, there are different techniques I would change up next time. Learning is the best part.
I am so happy with my farmhouse rocking chair makeover design!
Time to get cozy in my chair with a blanket and a good book!
Thank you to visiting the Woodshop32.com blog!
I love this chair so much!!
Thank you so much! I really love this rocking chair.